
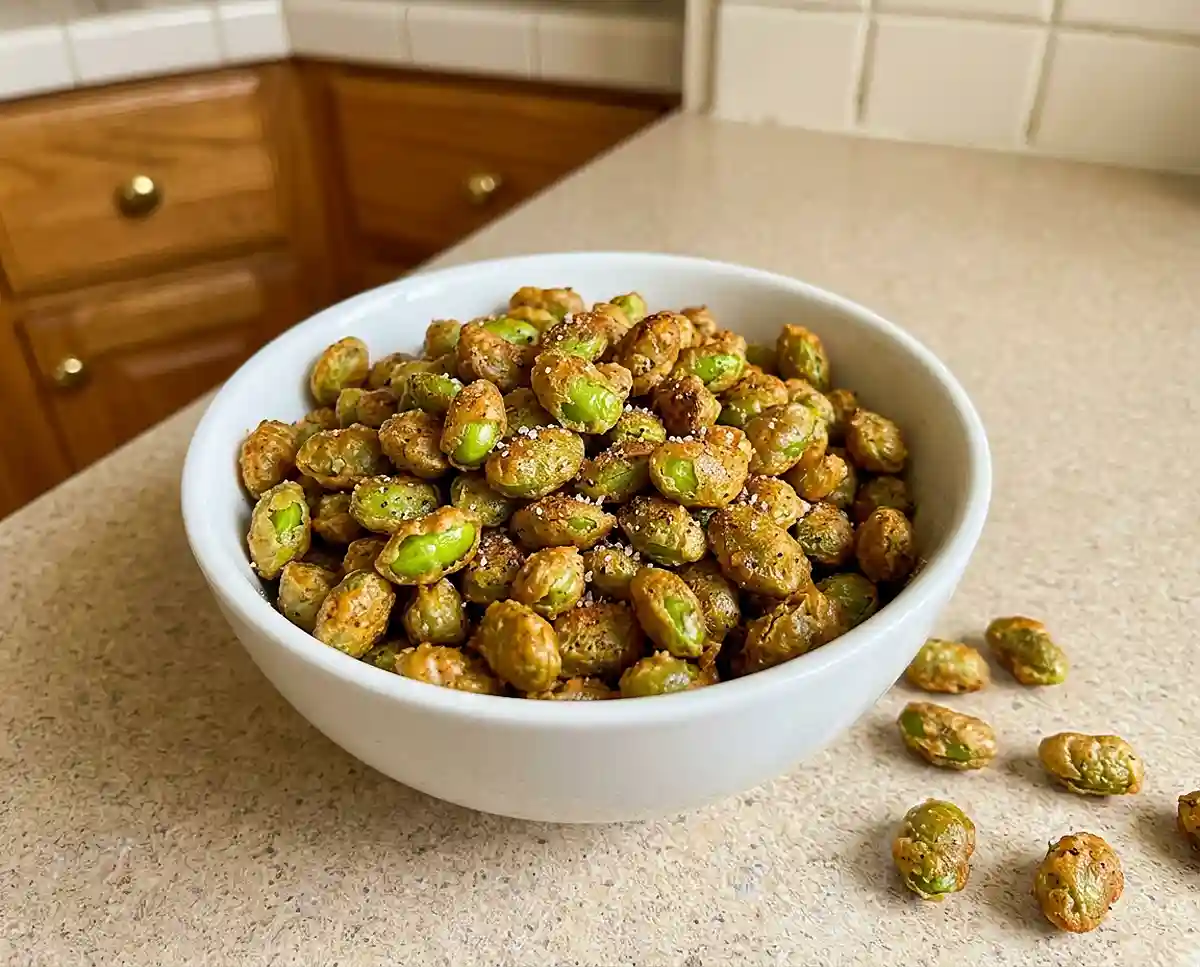
Air-Fryer Crispy Edamame
Learn how to make gluten-free air-fryer crispy edamame with step-by-step directions, seasoning ideas, storage tips, and fixes for soggy beans.
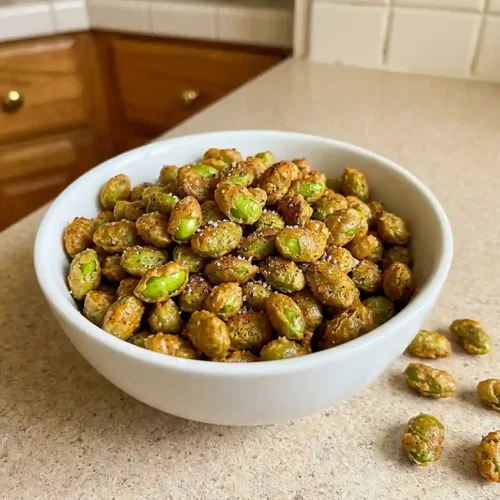
Crispy edamame sounds like a contradiction, since most of us know these soybeans as the soft, steamed pods served with sea salt. After testing this gluten-free air-fryer crispy edamame twelve times, I found that moisture is the only real enemy. Get the surface dry and the air fryer does the rest.
A student in my Saturday workshop once asked me why her roasted beans came out leathery every time. Turns out she was skipping the blotting step and tossing wet edamame straight into the oil. Here’s the thing… surface water steams the beans before they ever have a chance to brown.
Why settle for a limp snack when 12 to 14 minutes at 400°F gives you golden, crunchy edamame bites? This frozen edamame recipe is also friendly to a gluten-free kitchen, because plain soy beans are naturally gluten-free and the seasonings are labeled to match. The kitchen smells warm and toasty, a little like roasted nuts, as the beans crisp.
At a Glance: Why This Gluten-Free Air-Fryer Crispy Edamame Delivers
- Texture: Golden and crunchy on the outside with a tender, nutty center.
- Difficulty: Beginner-friendly, with only four required ingredients and no special equipment beyond an air fryer.
- Dietary fit: Naturally gluten-free, dairy-free, and vegan, as long as your optional seasonings are labeled gluten-free.
- Best for: Afternoon snacking, party bowls, and crunchy toppings for salads and grain bowls.
What Makes This Gluten-Free Air-Fryer Crispy Edamame Actually Work
- Thorough blotting: Removing surface water lets the beans brown instead of steam, which is the single biggest factor in crunch.
- A hot start: Preheating to 400°F (200°C) sets the outer skin quickly, so moisture escapes without softening the bean.
- A single layer: Hot air has to reach every bean. A crowded basket traps humidity and leaves you with soft spots.
- Gentle stirring: A spatula keeps the beans on the tray, while shaking can drop them beneath the perforated tray, where they brown unevenly.
Table of Contents
Ingredients
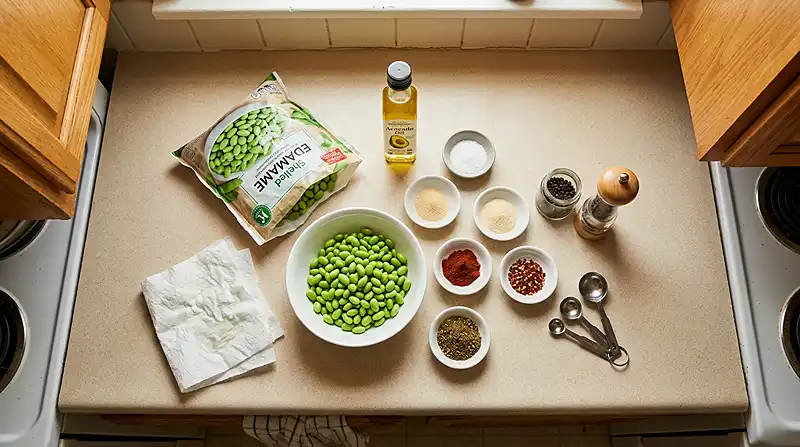
This recipe makes 4 servings. Group your ingredients by base and seasonings so everything is within reach before you start.
| Ingredient | Amount | Notes |
|---|---|---|
| Frozen shelled edamame, thawed | 2 cups | Young soy beans; thaw fully before blotting |
| Avocado oil | 1 tablespoon | Handles high heat without smoking |
| Sea salt | To taste | Add after tasting a warm bean |
| Ground black pepper | To taste | Freshly ground gives more aroma |
| Garlic powder labeled gluten-free | ¼ teaspoon | Optional |
| Onion powder labeled gluten-free | ¼ teaspoon | Optional |
| Smoked paprika labeled gluten-free | ¼ teaspoon | Optional; adds a gentle campfire note |
| Red pepper flakes, za’atar, or curry powder labeled gluten-free | Optional | Choose one; check the label for gluten |
Blended spices are where hidden gluten tends to show up. Read the label each time, and read the celiac-focused guidance from the Celiac Disease Foundation’s gluten-free living resources if you are newly diagnosed.
Instructions
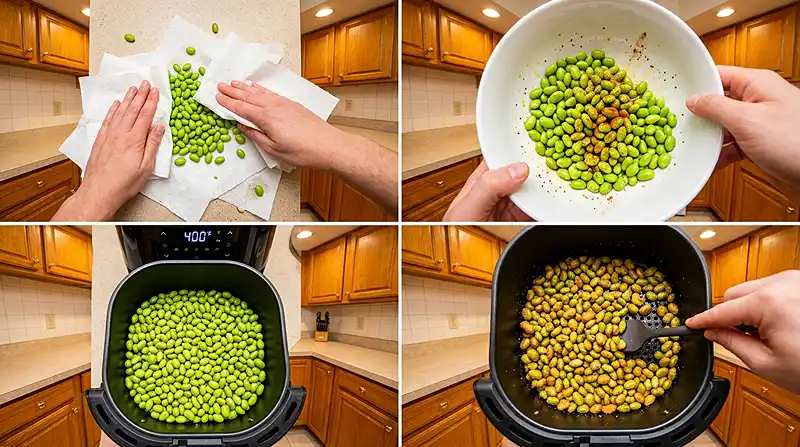
- Preheat the air fryer. Preheat the air fryer to 400°F (200°C). A hot basket helps the beans start crisping the moment they land.
- Dry the edamame. Use paper towels to blot the thawed edamame thoroughly, removing as much surface moisture as possible. Pro Tip: the beans should feel tacky, not slick, when you roll one between your fingers.
- Season. Transfer the edamame to a medium bowl. Add the avocado oil, sea salt, black pepper, and any optional gluten-free seasonings. Toss until evenly coated and lightly glossy.
- Air-fry. Spread the edamame in the air-fryer basket in a single layer. Cook for 12 to 14 minutes, stirring gently with a spatula every 3 to 4 minutes. Avoid shaking the basket, as the edamame may fall beneath the perforated tray and brown unevenly.
- Check for crispness. Start checking at 12 minutes. Continue cooking until the edamame is golden brown and crisp, adding a few extra minutes if needed. The skins should look slightly wrinkled and sound dry when you stir them.
- Serve. Let the edamame cool briefly, then serve immediately for the best crunch. They firm up a little more as they cool.
Adapting This Recipe to Your Kitchen
You can change the seasonings freely. Za’atar gives an herby, tangy edge, while curry powder brings warmth and color. Use only versions labeled gluten-free, and add them at the seasoning step so they cling to the oil.
If you do not have avocado oil, another neutral oil with a high smoke point works. Avoid delicate oils like extra-virgin olive oil at 400°F, since they can smoke and taste bitter. Keep the amount at one tablespoon so the beans crisp rather than turn greasy.
Trust me on this one… stick with shelled edamame for this method. Pods hold steam inside the shell and block the hot air, so the beans never dry out properly. If you want to try a different legume, these air fryer crispy chickpeas follow a similar logic.
These soy beans are not a swap for anyone with a soy allergy. In that case, chickpeas are the closest crunchy alternative. Plain edamame bites also work for most vegan and dairy-free tables without any changes.
Troubleshooting: Fixes for the Most Common Issues
Problem: The edamame are soft or chewy. Solution: Blot them longer and cook a few extra minutes. Why: Leftover moisture turns to steam in the basket, and steam softens the skin instead of crisping it.
Problem: Some beans are pale and others are dark. Solution: Stir gently every 3 to 4 minutes and keep a single layer. Why: Beans that sit beneath the tray or in a pile get less airflow, so they brown at different speeds.
Problem: The beans taste dry or tough. Solution: Start checking at 12 minutes and pull them once golden. Why: Soy beans are small, and a minute or two past golden pushes them from crisp to hard.
I’ll be straight with you… the seasoning will not always stay put. Problem: Spices collect at the bottom of the bowl. Solution: Toss with the oil first, then the spices. Why: The oil acts as a light glue that holds the seasoning on the surface.
Storage & Meal Prep
| Method | Duration | Notes |
|---|---|---|
| Counter | 2-3 days | Airtight container |
| Fridge | 5-7 days | Bring to room temp |
| Freezer | 2-3 months | Wrap individually |
Honest expectations: the crunch fades in storage, so these taste best the day they are made. To refresh them, return the beans to a hot air fryer for a couple of minutes until the surface dries again.
Leftover beans that have softened are still useful. Stir them into grain bowls, fried rice, or salads. For general safety guidance, see the USDA’s leftovers and food safety guidance.
Common Questions, Straight Answers
Can I air-fry edamame straight from frozen?
Thaw them first. This recipe is written for thawed edamame, because frozen beans release extra water as they heat. That water works against crisping, so thaw, then blot thoroughly.
How do I keep crispy edamame crunchy after cooking?
Serve them right away. Let them cool briefly in the basket or on a plate so steam can escape. Covering them while warm traps moisture and softens the skins.
What’s the best seasoning for edamame bites?
Start with sea salt, black pepper, and garlic powder labeled gluten-free. Smoked paprika adds depth, and za’atar or curry powder gives a different flavor. Always check labels for gluten.
Why did my edamame turn out chewy instead of crisp?
Usually there was too much moisture or too many beans in the basket. Blot longer, cook in a single layer, and add a few extra minutes if needed.
Can I make this recipe in the oven?
I only tested this recipe in the air fryer. An oven may work on a preheated sheet pan, but I can’t promise the timing or the same crunch.
Serving Suggestions
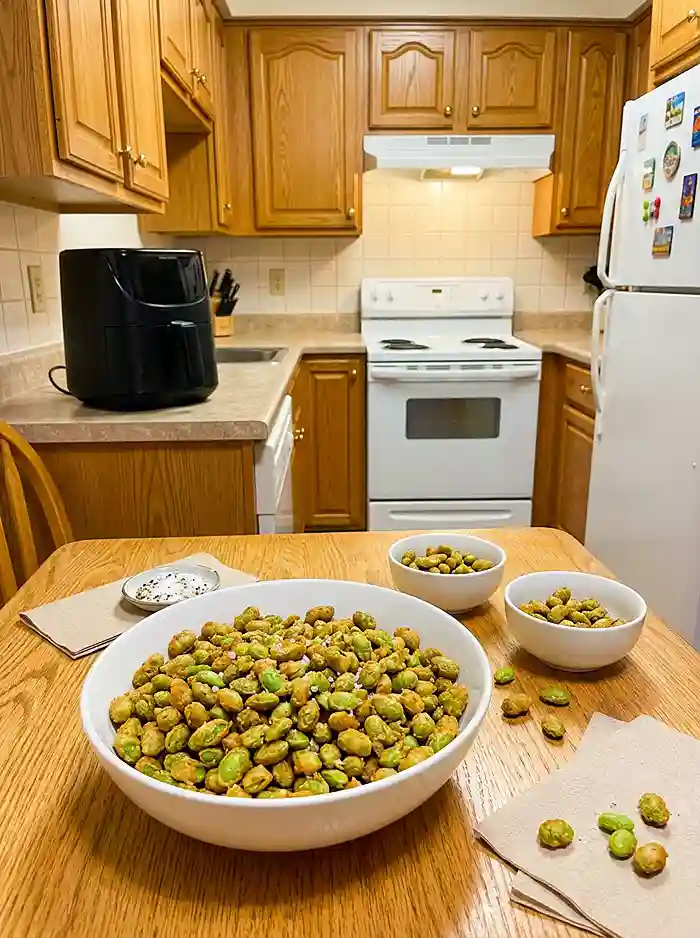
Serve the edamame warm in a shared bowl at a Memorial Day picnic, where they sit comfortably beside grilled vegetables and fruit. They also top salads and grain bowls well.
For a sweet finish, pair them with frozen Greek yogurt berry clusters or stuffed Snickers dates.
Conclusion
Dry the beans, give them room, and stir gently, and this gluten-free air-fryer crispy edamame comes together with very little fuss. Give it a try this week and rate the recipe once you have tasted it.
Tell me in the comments how you seasoned yours, or what happened in your kitchen if the first batch needed tweaking.
Gluten-Free Air-Fryer Crispy Edamame
Equipment
- Air fryer
- Paper towels
- Medium mixing bowl
- Measuring spoons
- Spatula
Ingredients
Edamame Base
- 2 cups Frozen shelled edamame Thawed completely and blotted thoroughly dry
- 1 tablespoon Avocado oil Or another neutral oil suitable for high-heat cooking
Seasonings
- To taste Sea salt Add after tasting a warm bean
- To taste Ground black pepper Freshly ground recommended
- ¼ teaspoon Garlic powder Optional; labeled gluten-free
- ¼ teaspoon Onion powder Optional; labeled gluten-free
- ¼ teaspoon Smoked paprika Optional; labeled gluten-free
- To taste Red pepper flakes, za’atar, or curry powder Optional; choose one and verify that it is labeled gluten-free
Instructions
- Preheat the air fryer to 400°F (200°C). A hot basket helps the edamame begin crisping as soon as cooking starts.
- Thaw the shelled edamame completely. Use paper towels to blot the beans thoroughly, removing as much surface moisture as possible. The beans should feel slightly tacky rather than slick.
- Transfer the dried edamame to a medium bowl. Add the avocado oil, sea salt, black pepper, and any optional gluten-free seasonings. Toss until the beans are evenly coated and lightly glossy.
- Spread the edamame in a single layer in the air-fryer basket. Cook at 400°F (200°C) for 12–14 minutes, stirring gently with a spatula every 3–4 minutes. Avoid shaking the basket because the beans may fall beneath the perforated tray and brown unevenly.
- Start checking for crispness at 12 minutes. Continue cooking for a few additional minutes if needed, until the edamame is golden brown with slightly wrinkled skins. Remove the beans before they become overly dry or hard.
- Let the edamame cool briefly so excess steam can escape. Serve immediately for the best crunch, as the beans firm up slightly as they cool.