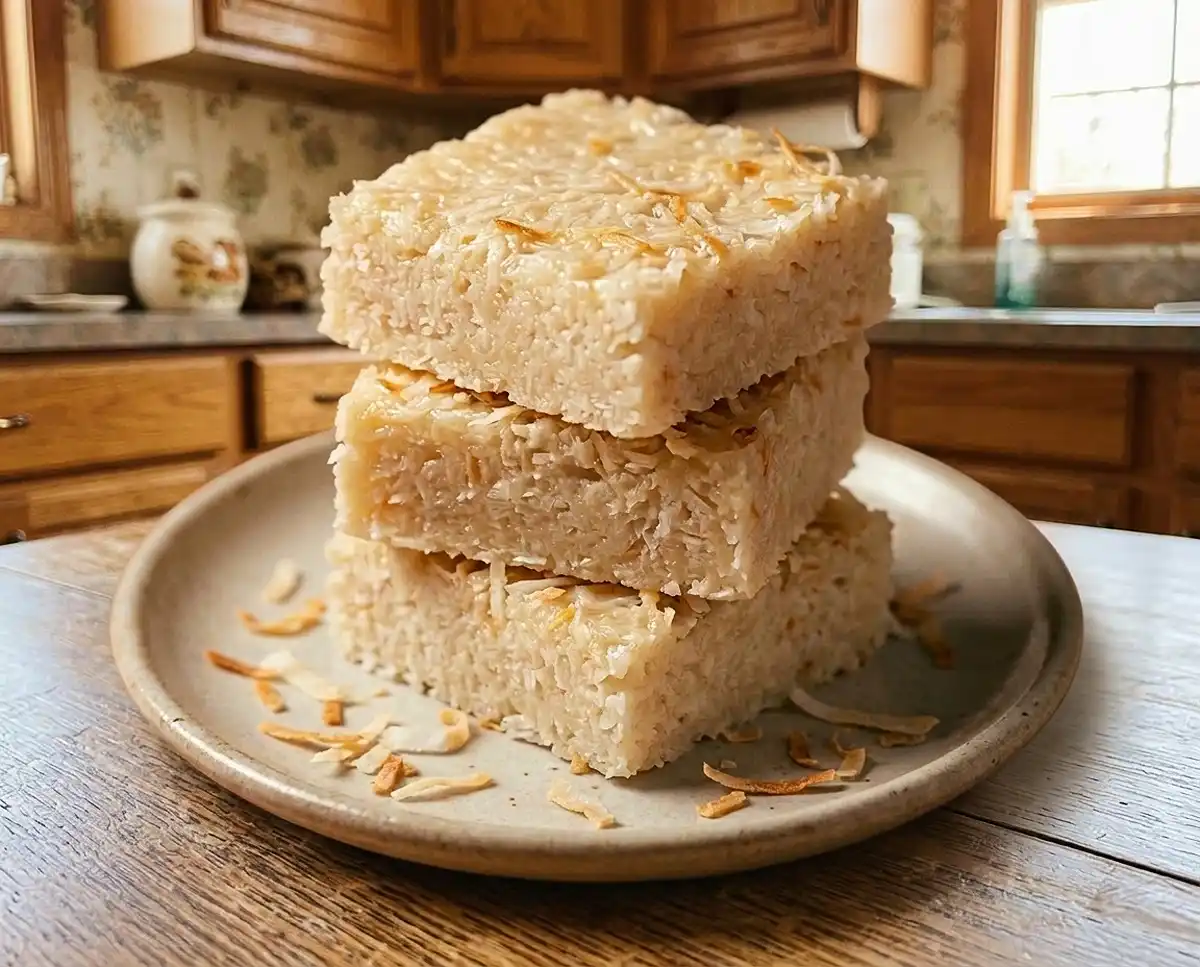
3-Ingredient No Bake Coconut Crack Bars
Make 3-Ingredient No Bake Coconut Crack with shredded coconut, coconut oil, and maple syrup. These easy gluten-free bars require no baking and come with step-by-step instructions, storage tips, and troubleshooting advice.
A student in my Saturday workshop once told me her coconut bars slumped into a puddle every time she made them. Turns out she was pressing the mixture into the pan and leaving it on the counter. Coconut oil is firm when cold and soft when warm, so these bars need the chill.
Craving something sweet, chewy, and ridiculously easy to make? Explore these no bake gluten free snacks for more effortless treats that require minimal prep and no oven. You might discover your next favorite 3-ingredient-inspired snack among these irresistible ideas!
At a Glance: Why This Coconut Crack Bars Recipe Delivers
- Texture and flavor: Dense, chewy, and rich, with a mild natural sweetness from pure maple syrup.
- Difficulty: Beginner-friendly. If you can stir a bowl and press a pan, you can make these.
- Dietary fit: Dairy-free, egg-free, and vegan, as long as your syrup and coconut are labeled gluten-free.
- Best for: Make-ahead desserts, summer gatherings, and anyone who wants a treat without turning on the oven.
What Makes This Gluten-Free 3-Ingredient No Bake Coconut Crack Bars Actually Work
- Coconut oil is the binder: It melts easily and re-solidifies in the fridge, gluing the shredded coconut together without flour or eggs.
- Even coating matters: Stirring until every strand of coconut is slick prevents dry, crumbly patches.
- Maple syrup adds sweetness and cohesion: Its sticky texture helps the mixture hold together when pressed.
- Firm pressing and chilling set the shape: Packing the mixture tightly removes air gaps, and cold temperatures harden the oil so the bars slice cleanly.
Table of Contents
Ingredients
This recipe makes 12 bars and uses an 8 x 8-inch baking pan lined with parchment paper.
- 3 cups unsweetened shredded coconut flakes, labeled gluten-free
- 1 cup coconut oil, melted
- ¼ cup pure maple syrup or monk fruit-sweetened maple syrup, labeled gluten-free
Shredded coconut and syrups can pick up gluten through shared equipment, so check the label. The FDA’s gluten-free labeling rules set a limit of less than 20 parts per million for products making that claim.
If you’re newly diagnosed, this trusted celiac label-reading guide walks through what to look for.
Instructions
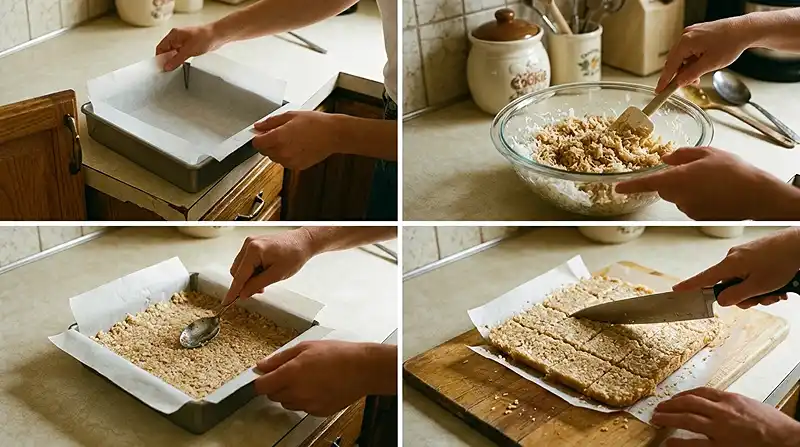
- Prepare the pan. Line an 8 x 8-inch baking pan with parchment paper, leaving some overhang on the sides for easy removal. The overhang acts as a handle later.
- Mix the ingredients. Add the shredded coconut, melted coconut oil, and maple syrup to a large mixing bowl. Stir thoroughly until the coconut is evenly coated and the mixture holds together when pressed. If it seems too dry, add a little more syrup, 1 teaspoon at a time.
- Press into the pan. Transfer the mixture to the prepared pan. Press it firmly and evenly into the corners using the back of a spoon or lightly damp hands. Pro Tip: Press harder than feels necessary. Loose packing leads to crumbling bars.
- Chill. Refrigerate for 2 to 3 hours, or freeze for 20 to 30 minutes, until completely firm. The surface should feel cold and hard when you tap it.
- Slice. Lift the mixture out using the parchment paper. Use a sharp knife to cut into 12 bars or smaller squares. Pro Tip: Wipe the knife between cuts for cleaner edges.
- Serve and store. Enjoy chilled. Keep the bars in an airtight container in the refrigerator, as they soften quickly at room temperature.
Adapting This Recipe to Your Kitchen
For a version closer to coconut chocolate bars, dip the chilled bars halfway into melted dark chocolate and return them to the fridge. The chocolate sets within minutes against the cold surface. Choose a chocolate labeled gluten-free.
Trust me on this one… the monk fruit-sweetened maple syrup works well if you want less sugar. It has a similar thickness, so the bars hold together the same way. Check that the label says gluten-free.
You can use finely shredded coconut for a smoother bar or larger flakes for more chew. Shredded coconut flakes vary in how much oil they absorb, so add the syrup gradually if your coconut feels dry.
If you like coconut dessert recipes, try these healthy no-bake Twix cups for another dairy-free option.
Troubleshooting: Fixes for the Most Common Issues
Problem: the bars crumble when you slice them. Solution: press the mixture more firmly next time and chill it until fully hard. Loose packing leaves gaps, and under-chilled oil can’t hold the coconut together.
Problem: the bars are greasy. Solution: stir the mixture again to redistribute the oil before pressing it. Oil can settle at the bottom of the bowl, which leaves greasy spots on one side.
I’ll be straight with you… the most common issue is bars that melt on the counter. Problem: the bars go soft while serving. Solution: keep them in the fridge until the moment you serve. Coconut oil softens at warm room temperatures, so these are not a leave-out dessert.
Problem: the mixture won’t hold together. Solution: add maple syrup 1 teaspoon at a time until it clumps when pressed. A dry mixture means the coconut needs a little more moisture.
Storage & Meal Prep
| Method | Duration | Notes |
|---|---|---|
| Counter | Serving only (up to 1 hour) | Softens quickly at room temperature |
| Fridge | 5-7 days | Airtight container |
| Freezer | 2-3 months | Wrap individually |
These bars are best served cold, so there’s no need to reheat them. Frozen bars thaw in the fridge in about 20 minutes. Crumbled leftovers make a good topping for yogurt, oatmeal, or ice cream.
Common Questions, Straight Answers
Can I use sweetened shredded coconut?
It’s best to use unsweetened shredded coconut. Sweetened coconut adds extra sugar and moisture, which can make the bars too sweet or sticky. If you do use it, check that it is labeled gluten-free.
How do I keep coconut crack bars from falling apart?
Press the mixture firmly into the pan and chill it until fully hard. Gaps and under-chilled oil are the main reasons for crumbling. Slicing with a sharp knife also helps.
What’s the best way to store coconut crack bars?
Store them in an airtight container in the refrigerator. They soften quickly at room temperature because coconut oil is soft when warm. For longer storage, freeze them individually wrapped.
Why did my coconut bars turn out greasy?
The oil likely wasn’t evenly mixed in. Melted coconut oil can settle at the bottom of the bowl. Stir thoroughly before pressing, and chill the bars until firm.
Can I use a different sweetener?
Yes, as long as it is liquid and labeled gluten-free. Monk fruit-sweetened maple syrup works. Thin sweeteners may need a slightly longer chill time.
Serving Suggestions
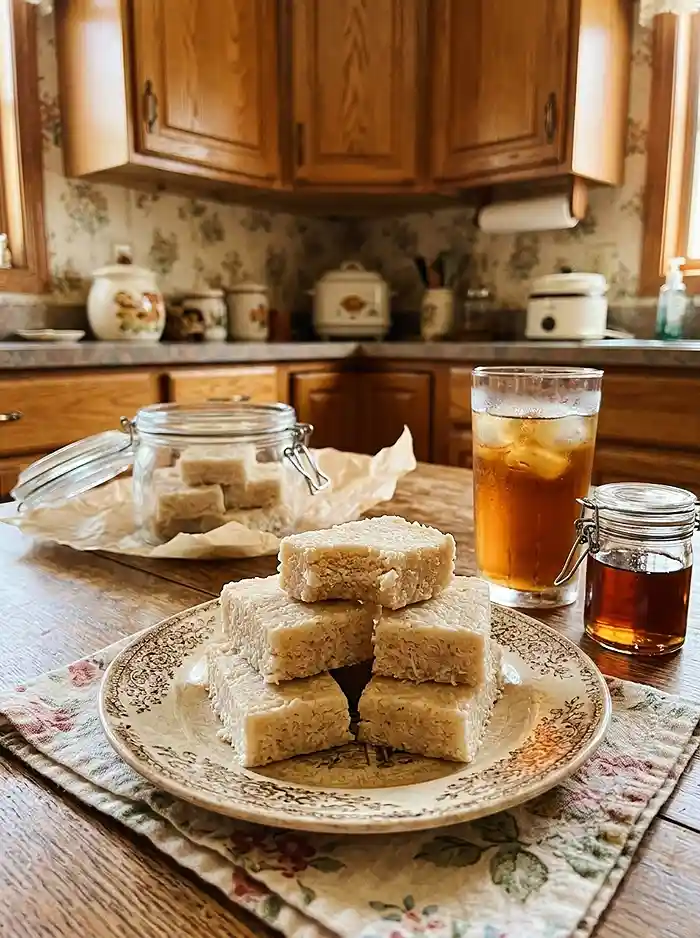
These bars earn a spot on a Christmas cookie tray, where they stay cool and firm next to richer sweets. Cut them into small squares and serve with fresh berries or a cup of hot tea. The first bite is cool and dense, like a chilled truffle.
For more make-ahead ideas, try these gluten-free vegan energy bites or the no-bake almond butter cookies.
Give these bars a try and tell me how they turned out in the comments. Did you add chocolate or change the sweetener? If you have questions from your own kitchen, ask away, and share the recipe if it helps someone else.
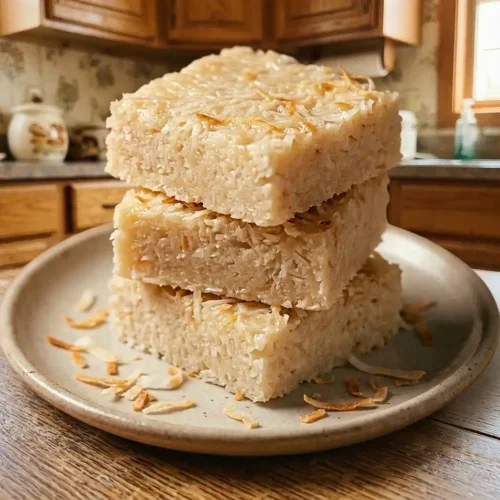
Gluten-Free 3-Ingredient No Bake Coconut Crack Bars
Equipment
- 8 x 8-inch Baking Pan
- Parchment paper
- Large mixing bowl
- Measuring cups
- Measuring spoons
- Mixing spoon or spatula
- Sharp knife
Ingredients
Coconut Bars
- 3 cups Unsweetened shredded coconut flakes Labeled gluten-free. Use finely shredded coconut for a smoother texture or larger flakes for more chew.
- 1 cup Coconut oil Melted.
- ¼ cup Pure maple syrup Or monk fruit-sweetened maple syrup, labeled gluten-free.
Instructions
- Prepare the pan. Line an 8 x 8-inch baking pan with parchment paper, leaving some overhang on the sides. This makes it easier to lift the chilled coconut mixture out later.
- Mix the ingredients. Add the shredded coconut, melted coconut oil, and maple syrup to a large mixing bowl. Stir thoroughly until every strand of coconut is evenly coated and the mixture holds together when pressed. If it seems too dry, add a little more syrup, 1 teaspoon at a time.
- Press into the pan. Transfer the coconut mixture to the prepared pan. Press it firmly and evenly into the corners using the back of a spoon or lightly damp hands. Pack the mixture tightly to prevent the bars from crumbling.
- Chill. Refrigerate for 2 to 3 hours, or freeze for 20 to 30 minutes, until completely firm. The surface should feel cold and hard when tapped.
- Slice. Lift the coconut mixture out using the parchment paper overhang. Use a sharp knife to cut into 12 bars or smaller squares. Wipe the knife between cuts for cleaner edges.
- Serve and store. Enjoy the bars chilled. Transfer leftovers to an airtight container and refrigerate, since coconut oil softens quickly at room temperature.