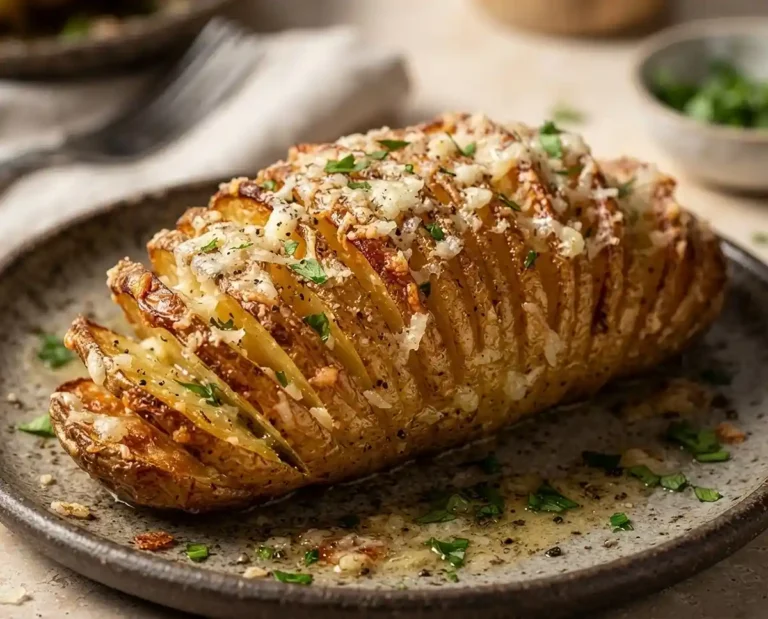
Healthy No Bake Twix Cups
Make gluten-free Healthy no bake Twix cups with almond flour, almond butter, and dark chocolate. Step-by-step recipe with troubleshooting and storage tips.
A student in my Saturday workshop once told me she had written off candy-bar flavors for good after her celiac diagnosis. Then she bit into a cold, homemade layered cup and went quiet for a moment. These gluten-free healthy no bake Twix cups are the recipe I made for that class, and no oven is involved.
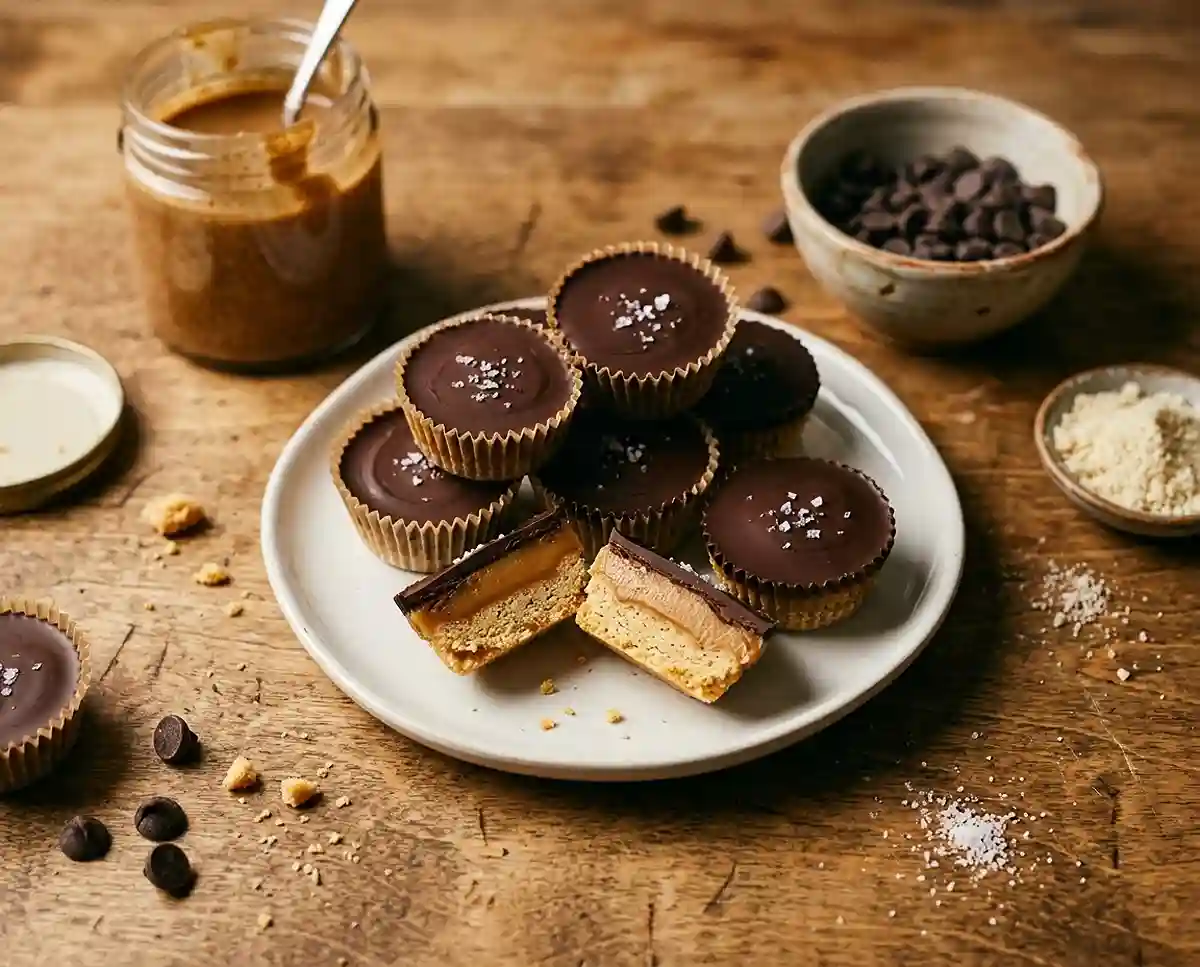
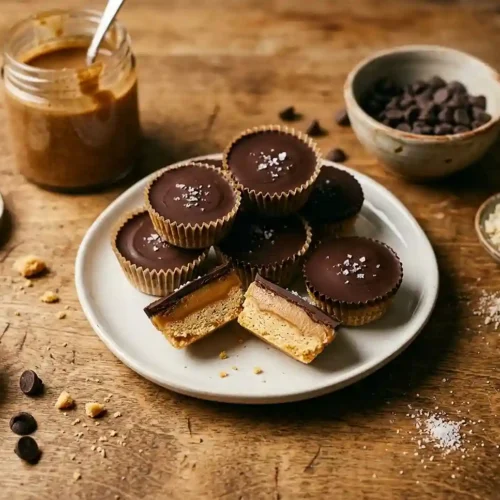
Each cup has three layers: a soft almond flour cookie base, a creamy almond butter caramel, and a dark chocolate top. The recipe makes 12 mini cups from pantry staples you may already own. Why does a no-bake treat ask for so much freezer time between layers?
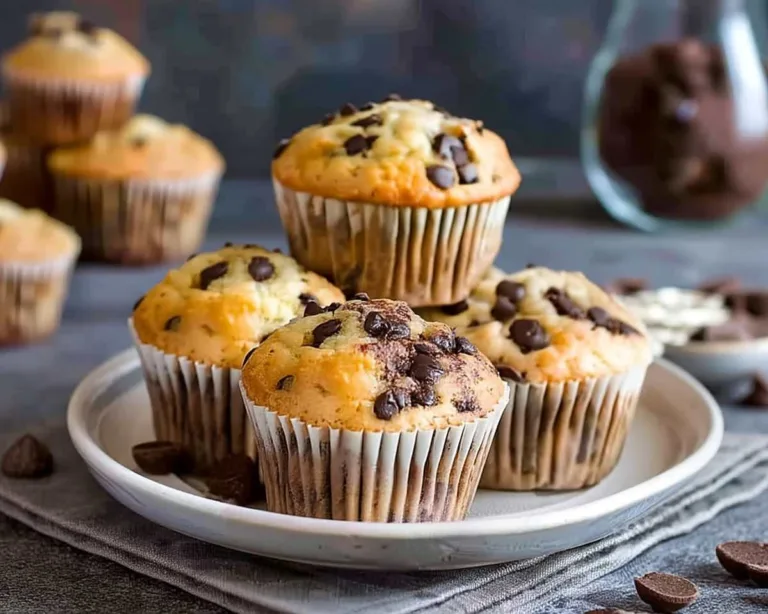
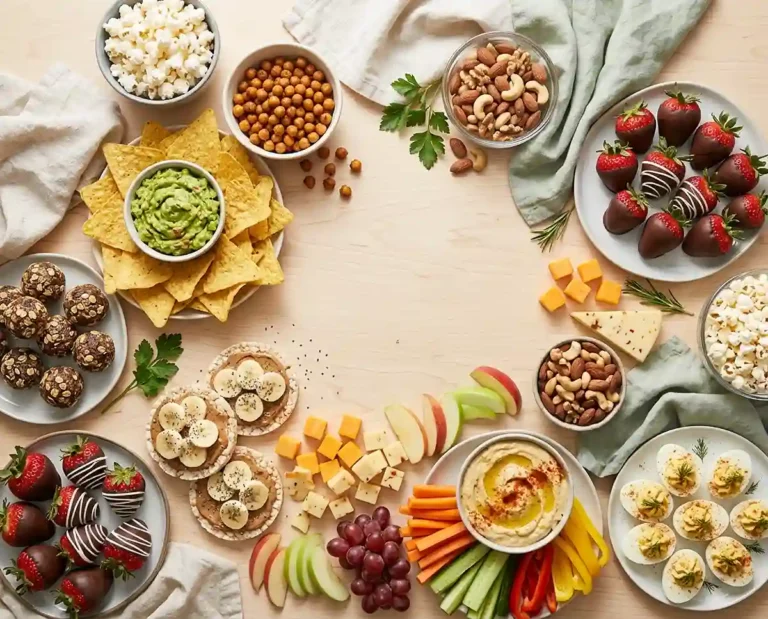
Craving caramel-chocolate goodness without turning on the oven? Discover these no bake gluten free snacks for easy, irresistible treats that satisfy your sweet tooth with less fuss. You might find your next favorite no-bake dessert hiding among these delicious ideas!
At a Glance: Why This Gluten-Free Twix Cup Recipe Delivers
- Texture: A soft, slightly crumbly almond flour base, a creamy almond butter caramel, and a thin dark chocolate top that snaps when you bite it.
- Difficulty: Beginner friendly. There is no oven, no candy thermometer, and roughly 40 to 75 minutes of chilling in total.
- Dietary fit: Gluten-free when every labeled ingredient checks out, and a vegan Twix recipe when you choose dairy-free dark chocolate chips.
- Best for: Make-ahead desserts, lunchbox treats, holiday cookie trays, and potluck tables where several guests eat gluten-free.
What Makes These Gluten-Free Healthy No Bake Twix Cups Actually Work
These cups work because coconut oil, almond flour, and nut butter replace the flour-and-butter structure of a baked cookie. Each ingredient has a specific job, and chilling is what locks it in.
- Coconut oil sets the layers. It is solid below roughly 76°F (24°C), so chilling turns each layer firm enough to hold the next one without smearing.
- Almond flour needs a binder, not gluten. It has no gluten network of its own, so maple syrup and melted coconut oil act as the glue once the base is cold.
- Almond butter makes a stable caramel. Its natural oils firm up as they cool, which gives a thick, spoonable layer without cooking any sugar.
- Label-checked ingredients lower cross-contact risk. Vanilla and chocolate chips are common hidden sources, so it helps to understand how the FDA defined gluten-free labeling before you shop.
Table of Contents
Ingredients
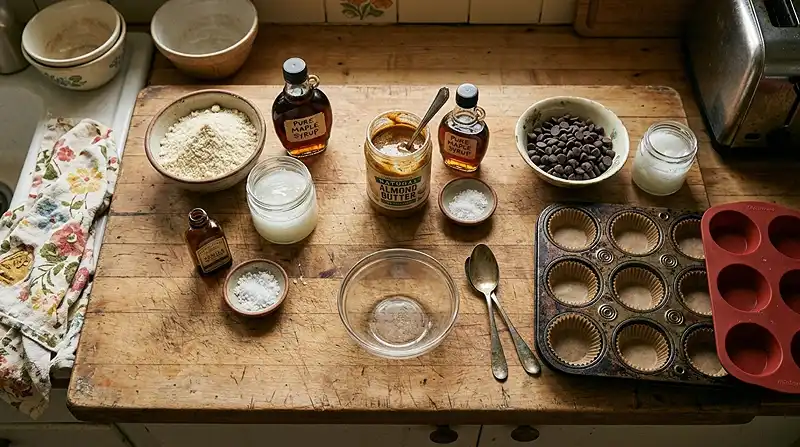
This recipe makes 12 mini cups. You will also need a 12-cup mini muffin pan and paper liners or a silicone mini muffin mold.
For the cookie base
- 1 cup almond flour
- 2 tablespoons pure maple syrup
- 2 tablespoons melted coconut oil
- ½ teaspoon pure vanilla extract labeled gluten-free
- Pinch of sea salt
For the caramel layer
- ½ cup creamy natural almond butter
- 3 tablespoons pure maple syrup
- 2 tablespoons melted coconut oil
- ½ teaspoon pure vanilla extract labeled gluten-free
- Pinch of sea salt
For the chocolate topping
- ¾ cup dark chocolate chips labeled gluten-free
- 1 teaspoon coconut oil
Use finely ground almond flour for the smoothest base. Stir the natural almond butter well before measuring, since the oil rises to the top of the jar.
Vanilla extract and chocolate chips are the two ingredients most likely to carry cross-contact, so read both labels. The Celiac Disease Foundation’s summary of the FDA gluten-free labeling rule explains that a gluten-free claim means less than 20 parts per million of gluten.
Instructions
Build the Cookie Base
- Prepare the muffin pan: Line a 12-cup mini muffin pan with paper liners or use a silicone mini muffin mold. Silicone releases the cups easily, while paper liners keep the sides tidy for gifting.
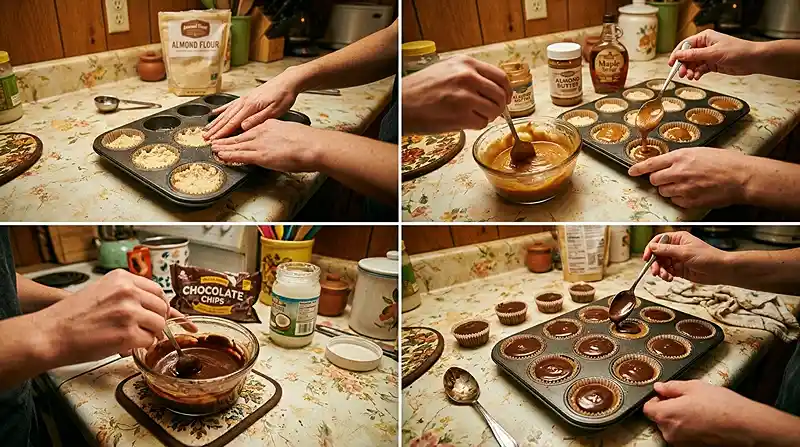
- Make the cookie base: In a bowl, mix the almond flour, maple syrup, melted coconut oil, vanilla extract, and sea salt until a soft, crumbly dough forms. Press approximately 1 tablespoon into the bottom of each mini cup. Pro Tip: The dough should hold together when you squeeze a pinch between your fingers, so press firmly with the back of a small spoon.
- Chill the bases: Place the pan in the freezer for 10–15 minutes to firm up the cookie layer. The bases should feel cold and set when you touch them.
Add the Caramel Layer
- Prepare the caramel: Stir together the almond butter, maple syrup, melted coconut oil, vanilla extract, and sea salt until smooth and creamy. The mixture will look glossy and smell faintly of toasted almonds and vanilla. Pro Tip: If streaks of oil remain, keep stirring until the color is even.
- Add the caramel layer: Spoon approximately 1–2 teaspoons of the caramel mixture over each chilled base. Return the pan to the freezer for 20–30 minutes, until the caramel layer is firm. A fingertip pressed lightly on the surface should leave no dent.
Top and Set the Cups
- Melt the chocolate: Combine the dark chocolate chips and coconut oil in a microwave-safe bowl. Heat in 20–30-second intervals, stirring between each, until smooth. Pro Tip: Chips keep their shape even when soft, so stir to judge whether they have melted.
- Top the cups: Spoon the melted chocolate over each cup, spreading it to cover the caramel layer. The chocolate should look glossy and flow slowly to the edges.
- Chill until set: Refrigerate for 20–30 minutes, or freeze for 10–15 minutes, until the chocolate hardens. It should look dry and feel firm to the touch.
- Serve and store: Remove the liners and enjoy chilled. The first bite is cold and snappy, like tapping the top of a chilled crème brûlée with a spoon. Store the cups in an airtight container in the refrigerator for up to 1 week or freeze for up to 2 months.
Adapting This Recipe to Your Kitchen
Seed butter instead of almond butter. Cashew butter or sunflower seed butter works at the same amount in the caramel layer. Cashew butter gives a milder, rounder flavor closer to butter Twix bars. Keep in mind that the almond flour base still contains almonds, so this swap does not make the cups nut-free.
Keeping it a vegan Twix recipe. Choose dark chocolate chips labeled dairy-free, since some dark chocolate contains milk fat. Pure maple syrup already keeps the cups vegan, which is why honey is not a good swap here.
Coconut oil stays. Trust me on this one… it is the one ingredient I would not replace. Liquid oils stay soft in the fridge, and butter makes the cups sag as they warm. Virgin and refined coconut oil both work, though virgin adds a faint coconut flavor.
Protein cups. These are a modest-protein snack, since the protein comes from the almond flour and almond butter. I do not recommend swapping protein powder for any of the almond flour, because powder absorbs moisture and turns the base dry and chalky.
A lower-sugar route. This recipe uses maple syrup, so it is not a keto dessert. If you track carbs, my keto no bake cookies use a different approach to sweetening.
Troubleshooting: Fixes for the Most Common Issues
Almost every problem with these cups comes down to temperature, pressing technique, or the almond butter in your jar.
Problem: The cookie base crumbles when you remove the liner. Press the dough harder and chill it for the full 10–15 minutes. Almond flour has no gluten, so only compression and cold coconut oil hold the base together.
Problem: The caramel looks oily or runny. Stir the almond butter thoroughly in the jar before measuring, then chill the layer for the full 20–30 minutes. I’ll be straight with you… natural almond butter varies widely between brands, and a very thin jar will give a softer caramel.
Problem: The layers smear together. Wait until each layer is firm to the touch before adding the next. In my third test batch, I poured chocolate over soft caramel and the two blended into a muddy swirl. The coconut oil in each layer must solidify first, and the freezer does that faster than the fridge.
Problem: The chocolate shatters into shards. Use the full 1 teaspoon of coconut oil in the topping, and let frozen cups stand 2 to 3 minutes before eating. The added oil keeps the chocolate from setting brittle, and a short rest softens it slightly.
Problem: The cups stick to the liners. Peel the liners when the cups are cold, not at room temperature. Coconut oil softens as the cups warm up, and the base then clings to paper. A silicone mold avoids the issue entirely.
Storage & Meal Prep
| Method | Duration | Notes |
|---|---|---|
| Counter | Serving time only | Coconut oil softens at room temperature |
| Fridge | Up to 1 week | Airtight container |
| Freezer | Up to 2 months | Wrap individually or layer with parchment |
These cups need no reheating. If frozen, let one sit for 3 to 5 minutes so the chocolate softens enough to bite cleanly.
Chipped or broken cups are not wasted. Crumble them over plain yogurt or oatmeal, or fold the pieces into softened ice cream.
Common Questions, Straight Answers
Can I make this a vegan Twix recipe?
Yes, as long as your chocolate chips are labeled dairy-free. The base and caramel layers already use maple syrup, coconut oil, and almond products. Check the chocolate label, since some dark chocolate chips contain milk fat or traces of milk. Keep the maple syrup rather than swapping in honey.
Can I turn these into protein cups?
Not without changing the texture, so treat them as a snack with modest protein. The protein comes from the almond flour and almond butter. Adding protein powder to the base dries it out and makes it chalky. For a more filling snack, pair two cups with plain yogurt or a glass of milk.
How do I keep the caramel from squishing out when I bite in?
Chill the caramel until it is firm, then cover it completely with chocolate. A firm layer holds its shape, and a sealed chocolate top acts like a lid. Spread the chocolate all the way to the edge of each liner.
What’s the best way to melt the chocolate chips?
Microwave them with the coconut oil in 20–30-second intervals, stirring between each. Chips hold their shape even when soft, so stirring is the only way to tell if they are ready. Stop heating while a few pieces remain and stir them smooth, which prevents scorched, grainy chocolate.
Why did my cups stick to the liners?
They were most likely peeled while too warm. Coconut oil softens as the cups warm up, and the base then clings to paper. Peel the liners straight from the fridge or freezer, or use a silicone mold for easy release.
Serving Suggestions
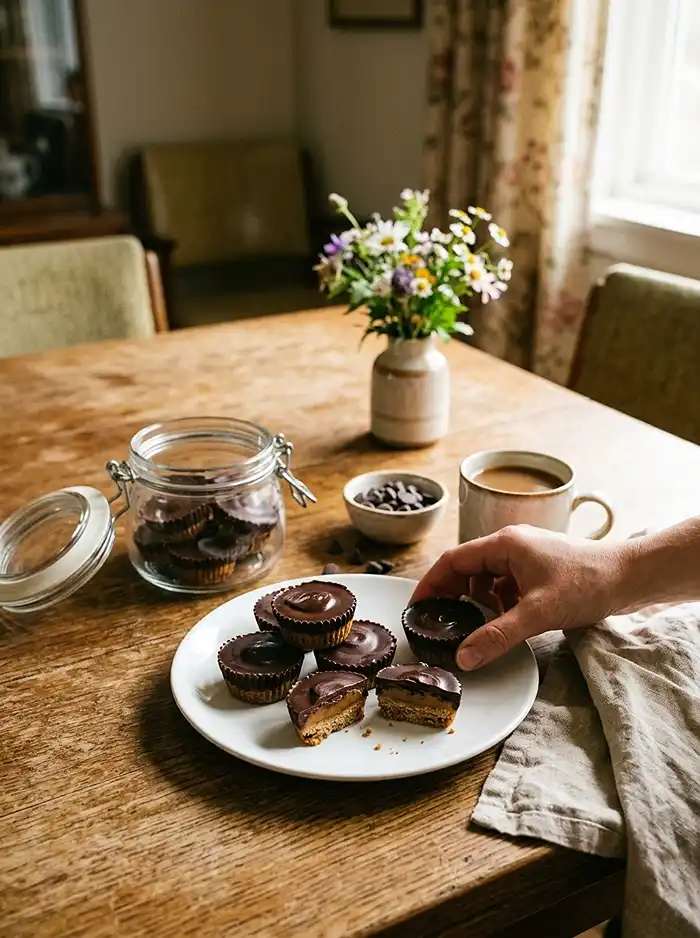
Serve these cups cold, straight from the fridge, with fresh berries or a small cup of coffee. They also fit neatly into Halloween treat bags for trick-or-treaters who eat gluten-free, as long as you keep them chilled until handing them out.
For a fuller dessert table, add a tray of gluten-free no bake cookies or a bowl of no-bake pumpkin bites for a fall dessert spread.
Make a batch this week and tell me how the layers turned out. Leave a rating and a comment with any swaps you tried or questions from your own kitchen.
Gluten-Free Healthy No Bake Twix Cups
Equipment
- 12-Cup Mini Muffin Pan
- Paper Liners or Silicone Mini Muffin Mold
- Mixing bowls
- Measuring cups
- Measuring spoons
- Mixing spoon
- Small spoon
- Microwave-safe bowl
- Microwave
- Airtight container
Ingredients
Cookie Base
- 1 cup Almond flour Finely ground for the smoothest base
- 2 tablespoons Pure maple syrup
- 2 tablespoons Coconut oil Melted; virgin or refined coconut oil works
- ½ teaspoon Pure vanilla extract Labeled gluten-free
- 1 pinch Sea salt
Caramel Layer
- ½ cup Creamy natural almond butter Stir well before measuring
- 3 tablespoons Pure maple syrup
- 2 tablespoons Coconut oil Melted
- ½ teaspoon Pure vanilla extract Labeled gluten-free
- 1 pinch Sea salt
Chocolate Topping
- ¾ cup Dark chocolate chips Labeled gluten-free; choose dairy-free chocolate chips for a vegan version
- 1 teaspoon Coconut oil Helps create a smoother chocolate topping
Instructions
- Line a 12-cup mini muffin pan with paper liners or use a silicone mini muffin mold. Silicone molds make releasing the finished cups easier, while paper liners are convenient for gifting.
- In a bowl, combine the almond flour, maple syrup, melted coconut oil, vanilla extract, and sea salt. Mix until a soft, crumbly dough forms that holds together when squeezed between your fingers.
- Press approximately 1 tablespoon of the cookie mixture firmly into the bottom of each mini muffin cup. Use the back of a small spoon to compact the base so it holds together after chilling.
- Place the pan in the freezer for 10–15 minutes, until the cookie bases feel cold and firm to the touch.
- In a clean bowl, stir together the almond butter, maple syrup, melted coconut oil, vanilla extract, and sea salt. Mix until the caramel mixture is smooth, creamy, and evenly glossy, with no visible streaks of oil.
- Spoon approximately 1–2 teaspoons of the caramel mixture over each chilled cookie base. Return the pan to the freezer for 20–30 minutes, until the caramel layer is firm enough that a light fingertip press leaves no dent.
- Combine the dark chocolate chips and 1 teaspoon of coconut oil in a microwave-safe bowl. Microwave in 20–30-second intervals, stirring between each interval, until the chocolate is smooth and melted.
- Spoon the melted chocolate over each cup, spreading it evenly to cover the caramel layer and reach the edges. The chocolate should look glossy and flow slowly over the surface.
- Refrigerate the cups for 20–30 minutes or freeze them for 10–15 minutes, until the chocolate topping is completely firm and dry to the touch.
- Remove the cups from the liners while cold and serve chilled. Store in an airtight container in the refrigerator for up to 1 week or freeze for up to 2 months.