Gluten-Free No Bake Cheerio Bars
Make gluten-free no bake Cheerio bars with peanut butter, honey, and dark chocolate. Step-by-step directions, storage tips, and fixes for crumbly bars.
The first time I made gluten-free no bake Cheerio bars, I melted the chocolate in the microwave for a full minute and walked away. I came back to a scorched, grainy lump that wouldn’t spread. Well… the kids still ate the bars, but I learned that chocolate needs short bursts and a lot of stirring.
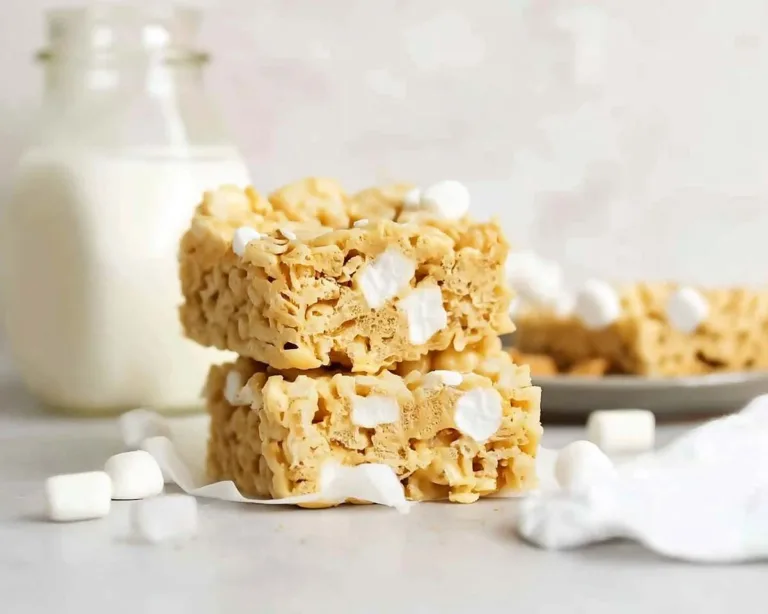
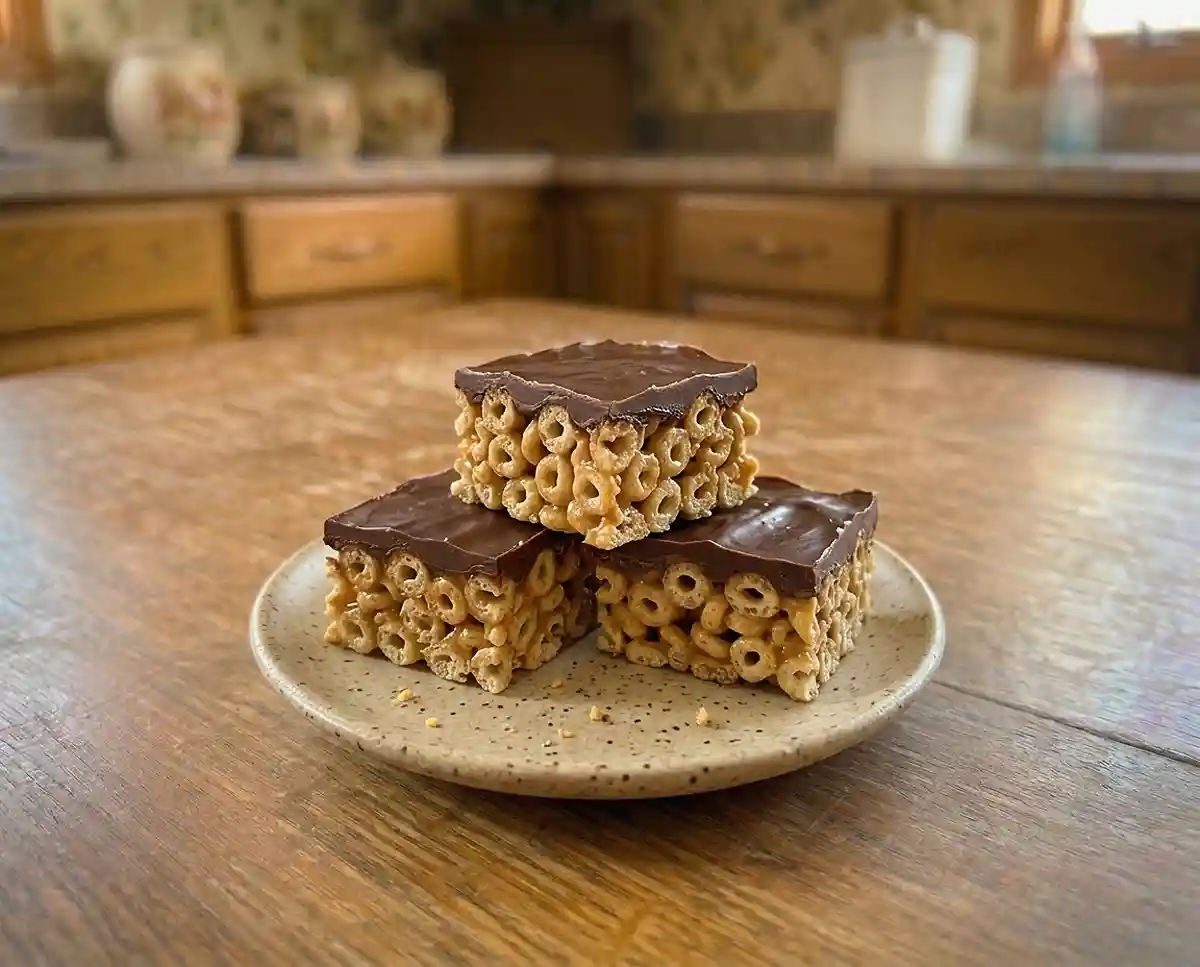
Now this Cheerios cereal bars recipe is one of my easiest snacks. It takes four ingredients, one small saucepan, and a few hours in the fridge. The bars have a crunchy, peanut-buttery base and a thin chocolate topping that snaps like a sheet of ice.
These no-bake Cheerio bars are chewy, crunchy, and kid-approved—the kind of easy treat that disappears before you even get a chance to save one for yourself! Discover more gluten-free snacks for kids for fun, family-friendly ideas they’ll be excited to try.
Why You’ll Love These Gluten-Free No Bake Cheerio Bars
- Crunchy base, snappy chocolate. The cereal stays crisp under a thin layer of dark chocolate, and the peanut butter adds a rich, nutty flavor.
- Beginner-friendly. You stir, press, chill, and top with chocolate. There’s no baking and no special equipment.
- Gluten-free and kid-friendly. They’re made with certified gluten-free Cheerios and are easy for kids to help with. They contain peanuts, so they aren’t safe for peanut allergies.
- Best for after-school snacks and make-ahead treats. They keep well in the fridge, so they work for lunchboxes and busy weeks.
The Secret to Perfect Gluten-Free No Bake Cheerio Bars
The secret is warming the peanut butter and honey together, then folding in the cereal off the heat. That keeps the binder smooth and the Cheerios crisp, so the bars don’t turn soggy or crumbly.
- Warming loosens the binder. Heat makes the peanut butter and honey thin and spreadable, so they coat every piece of cereal evenly.
- Mixing off the heat protects the crunch. Stirring after the pan leaves the burner prevents the honey from scorching and keeps the cereal from softening.
- Pressing firmly closes the gaps. Tight packing gives the sticky binder more contact between pieces, so the bars hold together when sliced.
- Chilling sets the base before the chocolate. Cold fats firm up, and a cold base helps the melted chocolate set quickly into a smooth layer.
Table of Contents
Ingredients
Servings: 9 bars
Bar base
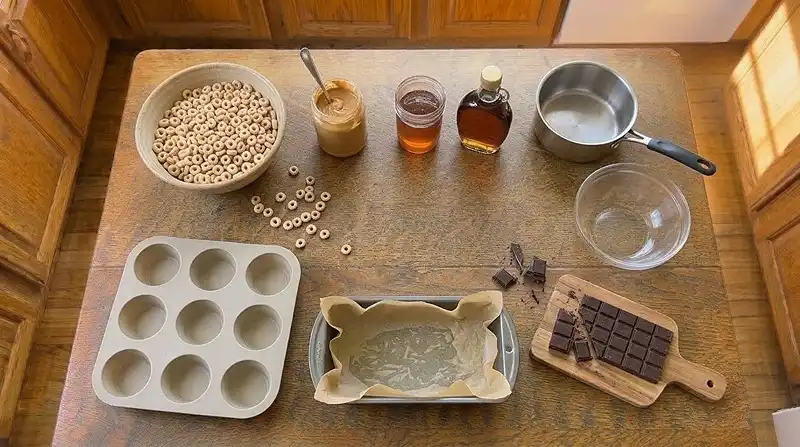
- ⅓ cup creamy natural peanut butter, labeled gluten-free
- ¼ cup honey or pure maple syrup
- 2 cups Original Cheerios, certified gluten-free
Chocolate topping
- 3 ounces dark chocolate, labeled gluten-free
Cheerios are made from oats, and oats are often cross-contacted with other grains. Beyond Celiac’s overview of oats in the gluten-free diet recommends talking to your doctor before adding them if you have celiac disease.
Always check the box and every other label. Beyond Celiac’s cross-contact guide explains why even a trace matters.
Instructions
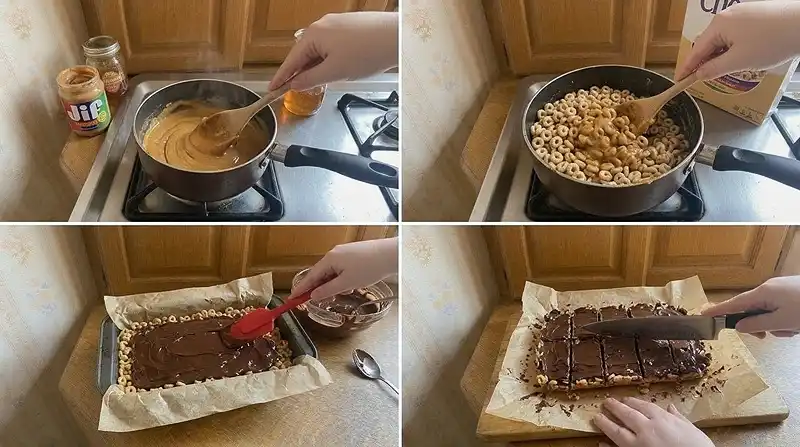
- Make the peanut butter mixture. Add the peanut butter and honey or maple syrup to a small saucepan over medium heat. Stir continuously for about 2 minutes, until smooth and fully combined. The mixture should look glossy and pour off the spoon easily.
-
Add the Cheerios. Remove the saucepan from the heat. Add the certified gluten-free Cheerios and gently stir until every piece is evenly coated with the peanut butter mixture.
Pro Tip: Fold gently with a spatula so you don’t crush the cereal into crumbs. -
Press into the pan. Line a loaf pan with parchment paper, or use a 9-cavity silicone muffin mold. Divide the mixture evenly among the cavities or press it firmly into the loaf pan.
Pro Tip: Press with the back of a spoon or damp fingers, especially into the corners. - Chill. Place the tray in the refrigerator while preparing the chocolate.
- Melt the chocolate. Chop the dark chocolate and place it in a microwave-safe bowl. Microwave in 20-second intervals, stirring thoroughly between each interval, until smooth and melted.
- Add the chocolate. Remove the chilled Cheerio bars from the refrigerator. Divide the melted chocolate evenly over the tops and spread it into a smooth layer.
- Set. Return the bars to the refrigerator and chill until the chocolate is completely firm.
- Serve. Remove the bars from the mold, or lift the slab from the loaf pan using the parchment and cut it into 9 bars.
Make It Your Own
For one of the sweeter Honey Nut Cheerios recipes, use Honey Nut Cheerios in place of Original, in the same amount. Check that the box is labeled gluten-free first. The bars will taste sweeter and a little more toasty.
You can use honey or maple syrup, and both work. Honey gives a stickier, slightly firmer bar, while maple syrup tastes a bit milder. Keep in mind that honey isn’t safe for babies under one year old.
You know… the nut butter is the easiest thing to swap. Sunflower seed butter works in place of peanut butter, in the same amount, for a nut-free option. Choose a creamy one labeled gluten-free so it stirs smoothly.
Try drizzling the chocolate instead of spreading it for a lighter topping. Use the same amount, and let the drizzle set in the fridge. It makes the bars look fancier for parties and is one of my favorite Cheerios snack ideas for gifts.
Common Problems & Solutions
Problem: The bars crumble. Press the mixture harder into the pan, and make sure every piece of cereal is coated. The sticky binder only holds pieces it touches, so tight packing matters.
Problem: The bars are too soft or sticky. Chill them longer before slicing. Man, oh man, warm bars are messy. Cold peanut butter and chocolate firm up and hold the cereal in place.
Problem: The chocolate is grainy or burnt. Melt it in 20-second intervals, stirring thoroughly each time, and stop when a few small pieces remain. Chocolate scorches easily, and stirring lets the leftover heat melt the last pieces gently.
Problem: The chocolate cracks when slicing. Let the bars sit at room temperature for a few minutes, then use a sharp knife. Cold chocolate is brittle, but it softens slightly as it warms.
Storage & Meal Prep
| Method | Duration | Notes |
|---|---|---|
| Counter | Up to 2 days | Airtight container, cool room (chocolate may soften) |
| Fridge | 5-7 days | Airtight container, bring to room temp briefly |
| Freezer | 2-3 months | Wrap individually |
These bars don’t need reheating. Let frozen bars sit at room temperature for about 10 minutes before eating.
Crumble any broken bars over yogurt or ice cream so nothing goes to waste.
Your Questions Answered
Can I make these Cheerio bars nut-free?
Yes, swap the peanut butter for sunflower seed butter in the same amount. Choose a creamy one labeled gluten-free. The flavor is slightly different, but the texture works the same way.
How do I keep the bars from sticking to the pan?
Line the pan with parchment paper and leave an overhang. You can lift the whole slab out and slice it. A silicone muffin mold also works if you prefer individual bars.
What’s the best peanut butter for no bake cereal bars?
A creamy natural peanut butter labeled gluten-free works best. Stir the jar well before measuring so the oil is mixed in. Well-mixed peanut butter blends smoothly with the honey and coats the cereal evenly.
Why did my Cheerio bars fall apart?
The mixture likely wasn’t pressed firmly enough or didn’t chill long enough. Press it tightly into the pan and make sure the cereal is fully coated. Chill the bars until they’re completely firm before slicing.
Serving Suggestions
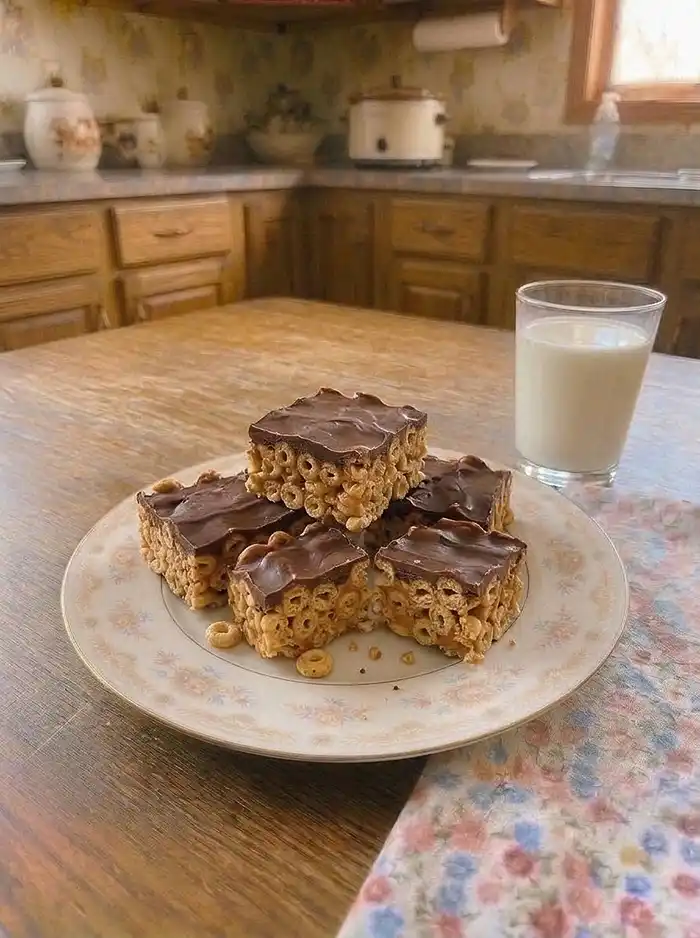
Pack a few small squares in a Halloween treat bag for kids who can’t eat most trick-or-treat candy. They also pair well with a glass of milk or a cup of hot cocoa.
For a snack plate, add some creamy blueberry cheesecake protein bites or gluten-free vegan protein energy bars.
For a lighter sweet to round out a dessert table, try crisp gluten-free meringue cookies.
Conclusion
Give these no bake Cheerio bars a try this week, and pin the recipe on Pinterest so it’s easy to find when you need a quick snack.
Tell me in the comments how they turned out and what swaps you tried. I read every note, and a star rating helps other families find the recipe too.
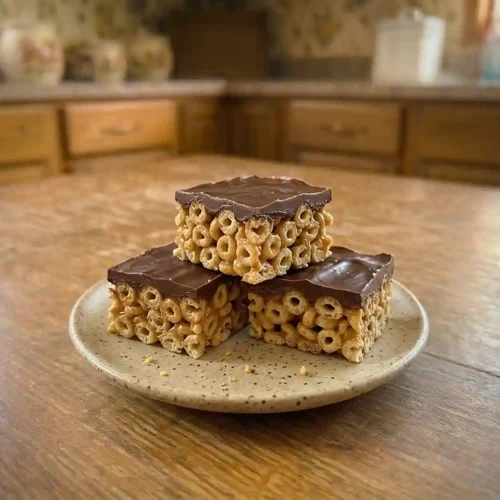
Gluten-Free No Bake Cheerio Bars
Equipment
- Small saucepan
- Spatula
- Loaf pan
- Parchment paper
- Microwave-safe bowl
- Microwave
- Sharp knife
Ingredients
Bar base
- ⅓ cup creamy natural peanut butter labeled gluten-free
- ¼ cup honey or pure maple syrup
- 2 cups Original Cheerios certified gluten-free
Chocolate topping
- 3 ounces dark chocolate labeled gluten-free
Instructions
- Make the peanut butter mixture. Add the peanut butter and honey or maple syrup to a small saucepan over medium heat. Stir continuously for about 2 minutes, until smooth and fully combined. The mixture should look glossy and pour off the spoon easily.
- Add the Cheerios. Remove the saucepan from the heat. Add the certified gluten-free Cheerios and gently stir until every piece is evenly coated with the peanut butter mixture.
- Press into the pan. Line a loaf pan with parchment paper, or use a 9-cavity silicone muffin mold. Divide the mixture evenly among the cavities or press it firmly into the loaf pan.
- Chill. Place the tray in the refrigerator while preparing the chocolate.
- Melt the chocolate. Chop the dark chocolate and place it in a microwave-safe bowl. Microwave in 20-second intervals, stirring thoroughly between each interval, until smooth and melted.
- Add the chocolate. Remove the chilled Cheerio bars from the refrigerator. Divide the melted chocolate evenly over the tops and spread it into a smooth layer.
- Set. Return the bars to the refrigerator and chill until the chocolate is completely firm.
- Serve. Remove the bars from the mold, or lift the slab from the loaf pan using the parchment and cut it into 9 bars.