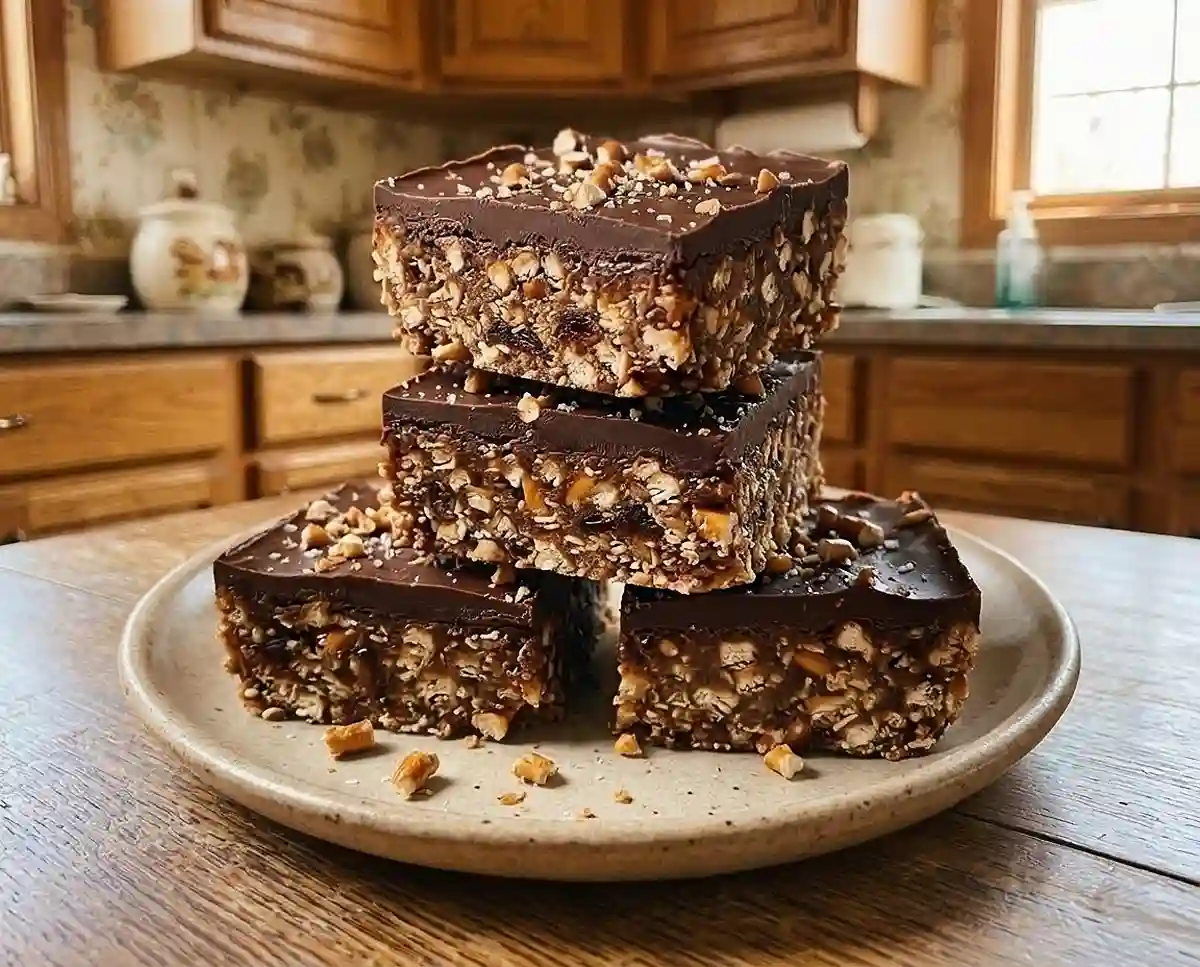
No-Bake Salted Caramel Pretzel Bars
Make gluten-free no-bake salted caramel pretzel bars with dates, oats and chocolate. Step-by-step, no oven, and they set in the fridge in one hour.
Honestly… the first time I made gluten-free no-bake salted caramel pretzel bars, I skipped the parchment because I was tired and the kids were hungry. I learned the hard way that a pan without a paper sling turns a dessert into cement. I chiseled the bars out with a butter knife while my youngest narrated like a sports announcer.
These no-bake salted caramel pretzel bars deliver the perfect mix of sweet, salty, and crunchy without turning on the oven! Discover more no-bake gluten-free snacks for easy treats that might disappear even faster than you can make them!
What Makes These Salted Caramel Pretzel Bars Worth Making
- Chewy, salty, and sweet: Medjool dates give a caramel-like chew, and the pretzels add salt and a little crunch.
- Beginner-friendly: one food processor, one pan, and no oven, with only five short steps.
- Dairy-free and flexible: the recipe uses dairy-free chocolate chips, and you can choose a nut or seed butter.
- Best for busy days: they make 16 bars, set in the fridge in about an hour, and travel well in lunch boxes.
The Science Behind Great Gluten-Free No-Bake Salted Caramel Pretzel Bars
These bars hold together because the dates, nut or seed butter, and brown rice syrup act as natural glue. Here is why each technique matters.
- Processing the oats into a flour-like texture. Finely ground oats soak up moisture from the dates and syrup, which firms the dough without any eggs or gluten.
- Pressing the dough firmly. Compacting the mixture removes air pockets, so the pretzel crust slices cleanly instead of crumbling.
- Adding coconut oil to the chocolate. A small amount keeps the chocolate coating slightly softer, so it cuts into bars instead of shattering.
- Chilling for at least an hour. The fats in the nut butter, coconut oil, and chocolate firm up in the cold, which sets the bars.
Gluten-free here means checking every package. Look for pretzels, oats, and chocolate chips with a gluten-free label, and read the Celiac Disease Foundation label-reading guide for how oats are handled.
Brown rice syrup deserves a quick check, since some makers use barley-based enzymes.
The Celiac Center at BIDMC ingredient guide says the risk looks very low. For extra certainty, choose a syrup labeled gluten-free.
Table of Contents
Ingredients
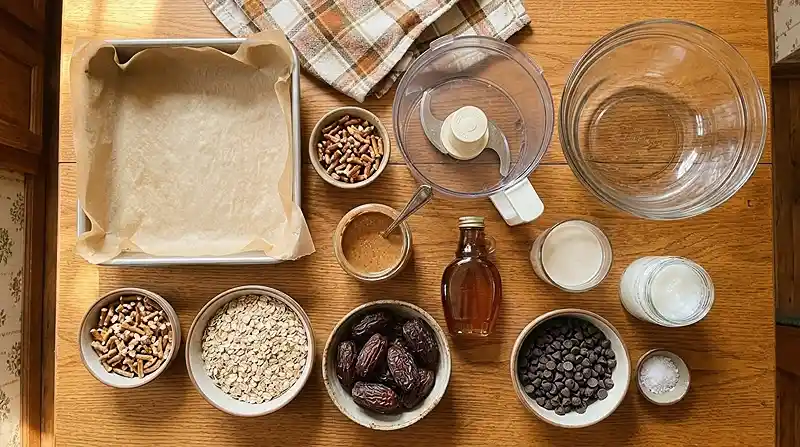
Servings: 16 bars
Crust Base
- 2 cups (68 g) pretzels, crushed*
- 1 cup (80 g) oats
- 3/4 cup (150g) Medjool dates
- 6 Tbsp (96 g) nut or seed butter**
- 2 Tbsp (40 g) brown rice syrup***
- 1 – 2 (15-30 ml) Tbsp. non-dairy milk
Chocolate Layer
- 1 cup (175 g) dairy-free chocolate chips
- 1 tsp (5 ml) coconut oil
Ingredient notes: *Use gluten-free pretzels and crush them in a zip-top bag or processor. **Peanut butter gives the classic salty-sweet flavor, and a seed butter makes the bars nut-free. ***Choose brown rice syrup labeled gluten-free if you want extra certainty.
Instructions
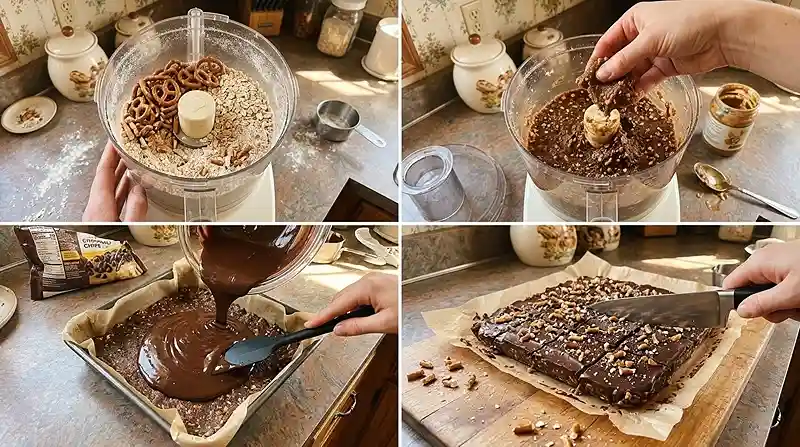
- Prep the pan: Line an 8×8 (20×20 cm) baking pan with a sheet of aluminum foil or parchment paper, leaving a few inches of overhang on the sides to allow for easy removal. Set aside. Pro Tip: The overhang works like handles, so you can lift the whole slab out.
- Make the dough: Add pretzels and oats to the bowl of a food processor and process until the pretzels have broken down into small pieces and the oats resemble a flour. Add dates, nut/seed butter, and liquid sweetener, and continue processing until a dough begins to form and stick together. If it seems too crumbly or dry, add non-dairy milk, one tablespoon at a time, until the dough sticks together when you pinch it between your fingers.
- Press the crust: Transfer dough to your prepared baking pan and use a spatula or your hands to spread it evenly in the pan, making sure to press down firmly. Set aside. Pro Tip: Press the bottom of a flat measuring cup over the dough for an even, tight crust.
- Add the chocolate: Place chocolate chips and coconut oil in a microwave-safe bowl and heat on high in 30 second increments until melted and smooth, making sure to stir between each. Pour chocolate over bars and use a spatula to spread it out evenly. Top with crushed pretzels, if desired, and transfer pan to fridge for at least an hour to allow the bars to set.
- Slice and store: When bars have set, remove from fridge and allow to thaw for a few minutes before using a sharp knife to cut into bars. Store in an airtight container, either in the fridge or at room temperature, depending on how warm it is and how the bars behave.
Ways to Customize This Recipe
Peanut butter is my go-to for these bars, because its roasted flavor plays well with salty pretzels. A drippy, natural jar makes a softer dough, so you may need less non-dairy milk. A thick, no-stir jar gives a firmer bite.
For a nut-free batch, use sunflower seed butter in place of the nut butter. It binds the dough in the same way, since the fat and protein behave much like those in peanut butter. Just double-check that the jar is labeled gluten-free.
Look… a drizzle of dairy-free caramel sauce, labeled gluten-free, on top of the set chocolate is a fun extra. The dates already provide the caramel-like flavor, so this is purely optional. Add it right before serving, so it stays glossy instead of soaking into the chocolate.
If your dates feel firm, soak them in warm water for about 10 minutes, then drain and pat them dry. Softer dates blend into the dough more easily and need less liquid. Too much water, though, will make the pretzel crust soft instead of sturdy.
Want more fun snack ideas for the same table? Try this easy gluten-free snack mix alongside the bars.
If Something Went Wrong, Start Here
Dough too crumbly → Add non-dairy milk one tablespoon at a time. The oat flour absorbs liquid, so a dry dough just needs a bit more moisture to bind. Stop as soon as it sticks when pinched between your fingers.
Dough too sticky → Chill it in the pan for 10 minutes. Oh wow, I once added too much milk and spent ten minutes scraping dough off a spatula. Cold firms up the nut butter and dates, which makes the dough easier to press.
Chocolate cracking when you slice → Let the pan sit at room temperature for a few minutes. Cold chocolate is brittle, and a sharp knife can shatter it. A short rest softens the top just enough for clean cuts.
Bars falling apart → Press harder next time. Loose dough leaves gaps, and gaps turn into crumbles when you cut. Firm pressure packs the crust into one dense layer.
Storage & Meal Prep
| Method | Duration | Notes |
|---|---|---|
| Counter | 2-3 days | Airtight container, only in a cool kitchen so the chocolate stays set |
| Fridge | 5-7 days | Bring to room temp for a few minutes before eating |
| Freezer | 2-3 months | Wrap individually |
No reheating is needed. Frozen bars thaw on the counter in about 10 to 15 minutes, which makes them handy for lunch boxes. Crumbs and broken corners are great sprinkled over dairy-free ice cream or stirred into oatmeal.
Frequently Asked Questions
Can I make these pretzel bars nut-free?
Yes, use a seed butter such as sunflower seed butter. The recipe already allows nut or seed butter, and seed butter binds the dough in much the same way. Check that your seed butter and every other ingredient are labeled gluten-free.
How do I cut clean, even bars?
Let the set pan thaw for a few minutes, then use a sharp knife. Cold chocolate is brittle and can crack. Lifting the slab out by the foil or parchment overhang makes cutting much easier.
What’s the best nut butter for these bars?
Peanut butter is the classic choice. Its roasted, salty flavor pairs well with pretzels and chocolate. Any nut or seed butter works, so use the one your family prefers.
Why did my dough turn out crumbly?
The dough most likely needs a little more moisture. Add non-dairy milk one tablespoon at a time and process until the dough sticks together when pinched. Dry dates can also cause crumbling, so soak firm ones briefly first.
Serving Suggestions
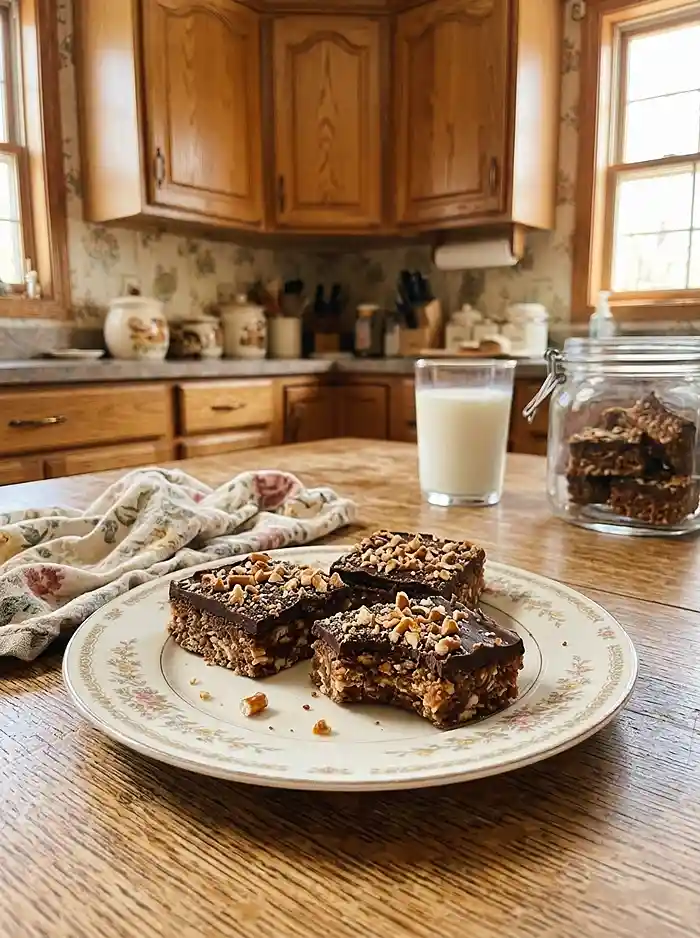
These bars are a lifesaver at a Fourth of July cookout, when nobody wants to bake and the dessert table needs a make-ahead hero. Pack one in back-to-school lunches, too, since they hold their shape without melting easily.
Round out the table with a platter of fun gluten-free sushi cups for something savory. For a fruity companion, serve them next to this gluten-free caramel apple dip.
Final Thoughts
Give these gluten-free no-bake salted caramel pretzel bars a try this week, and tell me how they turn out. Did you use peanut butter, seed butter, or your own twist? Leave a comment with your changes, and a star rating helps other readers find the recipe.
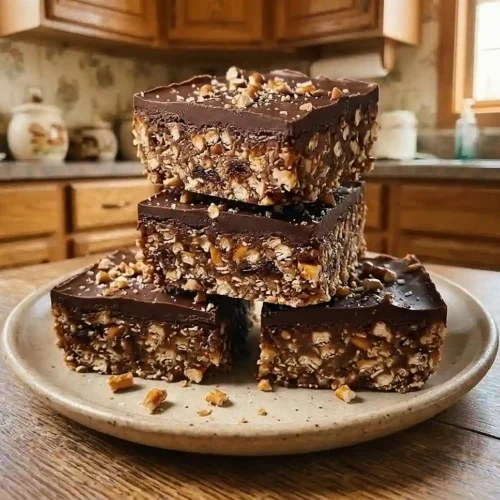
Gluten-Free No-Bake Salted Caramel Pretzel Bars
Equipment
- Food processor
- 8×8-inch baking pan
- Parchment paper or aluminum foil
- Microwave-safe bowl
- Spatula
- Sharp knife
- Measuring cups and spoons
Ingredients
Crust Base
- 2 cups (68 g) pretzels crushed; use gluten-free labeled pretzels
- 1 cup (80 g) oats use gluten-free labeled oats
- ¾ cup (150 g) Medjool dates pitted
- 6 tablespoons (96 g) nut or seed butter peanut butter or sunflower seed butter; check gluten-free labeling
- 2 tablespoons (40 g) brown rice syrup choose a gluten-free labeled product
- 1–2 tablespoons (15–30 ml) non-dairy milk add as needed to help the dough stick together
Chocolate Layer
- 1 cup (175 g) dairy-free chocolate chips check gluten-free labeling
- 1 teaspoon (5 ml) coconut oil
Instructions
- Prep the pan: Line an 8×8-inch (20×20 cm) baking pan with aluminum foil or parchment paper, leaving a few inches of overhang on the sides for easy removal. Set aside. The overhang works like handles, so you can lift the whole slab out.
- Make the dough: Add the pretzels and oats to a food processor and process until the pretzels break into small pieces and the oats resemble flour. Add the dates, nut or seed butter, and brown rice syrup. Continue processing until a sticky dough forms. If it seems too crumbly or dry, add non-dairy milk one tablespoon at a time until the dough sticks together when pinched between your fingers.
- Press the crust: Transfer the dough to the prepared baking pan. Use a spatula or your hands to spread it evenly, pressing down firmly to create a compact layer. For an even, tight crust, press the bottom of a flat measuring cup over the dough.
- Add the chocolate: Place the dairy-free chocolate chips and coconut oil in a microwave-safe bowl. Heat on high in 30-second increments, stirring between each interval, until melted and smooth. Pour the chocolate over the crust and spread evenly with a spatula. Add crushed pretzels on top if desired. Refrigerate for at least one hour until completely set.
- Slice and store: Remove the pan from the refrigerator and let it sit at room temperature for a few minutes. Lift the slab out using the parchment or foil overhang. Cut into 16 bars with a sharp knife. Store in an airtight container in the refrigerator or freezer.