Apple Cinnamon Crumb Muffin Bars
Soft, spiced gluten-free apple cinnamon crumb muffin bars with a buttery crumb topping and vanilla icing—step-by-step recipe, tips, and storage guide.
The first time I baked a gluten-free apple bar for Thanksgiving, I pulled it from the oven convinced I’d nailed it—until it crumbled into sad, gritty chunks the moment I lifted the first piece. That failure taught me everything I now know about getting gluten-free crumb bakes to actually hold together.
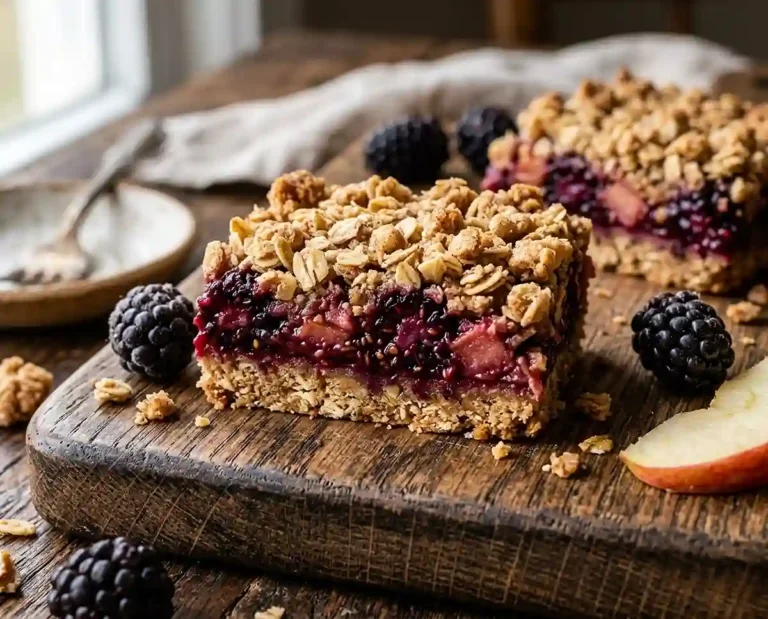
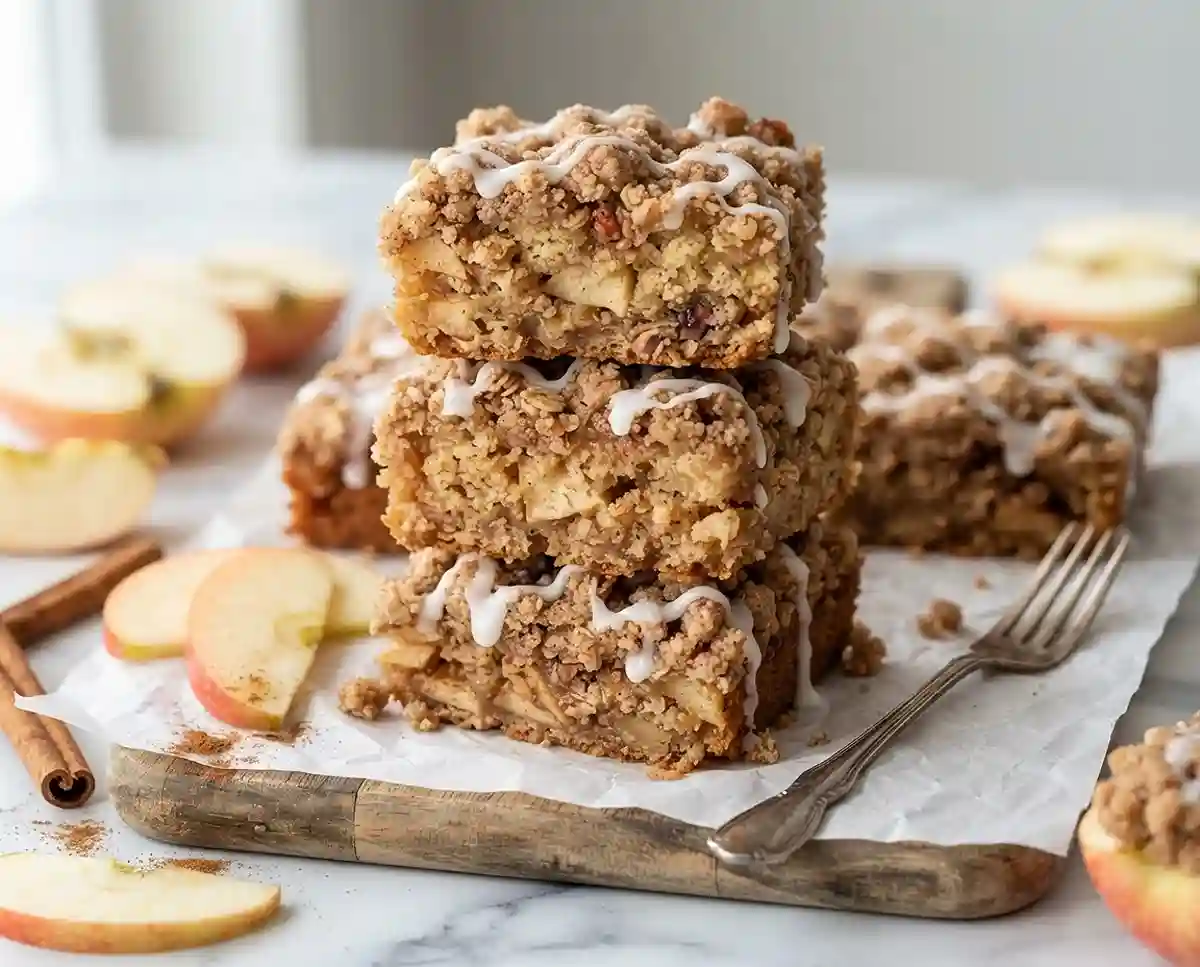
These gluten-free apple cinnamon crumb muffin bars are the result of that hard-won learning. They bake up with soft, tender centers, a crackly cinnamon crumb topping, and a drizzle of vanilla icing that pools into every crevice—like warm apple pie married a coffee cake and moved into bar form.
Well… if you’ve ever struggled with gluten-free baked goods turning out dry or falling apart, this recipe is about to change your morning routine. So, what makes these bars different from every other gluten-free recipe you’ve tried before?
Why You’ll Love This Apple Cinnamon Crumb Muffin Bar Recipe
- Texture that holds: A two-temperature bake method creates a lift on the edges while keeping the center moist—no crumbling, no gumminess.
- Beginner-friendly: One bowl for the batter, one for the crumb. No stand mixer required for the crumb topping.
- Flexible for dietary needs: Easily made dairy-free with plant-based butter and coconut yogurt—without changing the structure.
- Made for real life: These bars cut cleanly, store well for days, and travel better than muffins ever could. Perfect for school mornings, potlucks, or weekend brunches.
The Secret to Perfect Gluten-Free Apple Cinnamon Crumb Muffin Bars
Most gluten-free bar recipes fail for predictable reasons—too much liquid, under-creamed butter, or flour blends that don’t bind. These bars solve each of those problems deliberately.
- The high-heat start: Opening at 425°F gives the batter an immediate structural lift before the heat drops to 350°F. This mimics the “oven spring” that gluten normally provides—without any gluten at all.
- Yogurt or sour cream as a binder: The acidity reacts with the baking soda, adding lift while the fat content keeps the crumb moist and cohesive. This is the single most important ingredient swap in gluten-free baking, backed by trusted celiac nutrition research.
- Creaming butter and sugar fully: Three full minutes of beating incorporates air that the batter needs to stay tender, not dense. Don’t rush this step.
- Fork-mixed crumb topping: Overmixing the crumb creates a paste instead of crumbles. Using a fork and stopping when large clumps form is the only way to get that bakery-style texture.
Table of Contents
Ingredients
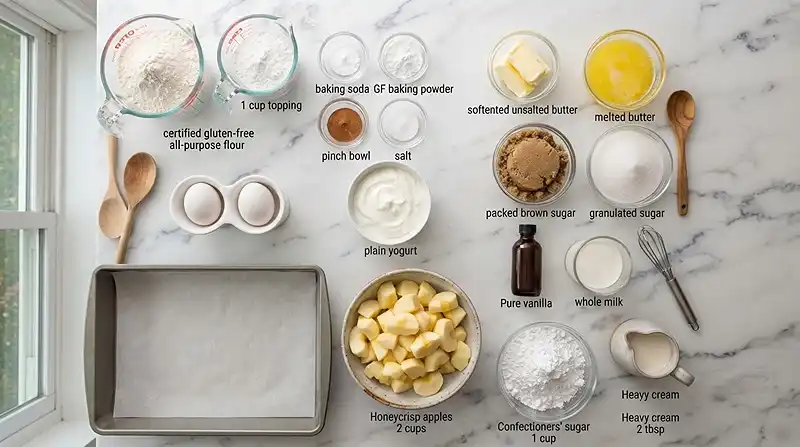
Crumb Topping
| Ingredient | Amount | Notes |
|---|---|---|
| Packed light or dark brown sugar | ⅓ cup (67 g) | Dark gives deeper molasses flavor |
| Granulated sugar | 1 tablespoon (15 g) | |
| Ground cinnamon | 1 teaspoon | |
| Unsalted butter, melted | ¼ cup (56 g) | |
| Certified gluten-free all-purpose flour | ⅔ cup (84 g) | Must be certified GF to avoid cross-contamination |
Apple Cinnamon Bars
| Ingredient | Amount | Notes |
|---|---|---|
| Certified gluten-free all-purpose flour | 1¾ cups (219 g) | Spoon and level—don’t pack |
| Baking soda | 1 teaspoon | |
| Certified gluten-free baking powder | 1 teaspoon | Check label—some brands contain gluten |
| Ground cinnamon | 1 teaspoon | |
| Salt | ½ teaspoon | |
| Unsalted butter, softened | ½ cup (113 g) | Room temperature is critical |
| Packed brown sugar | ½ cup (100 g) | |
| Granulated sugar | ¼ cup (50 g) | |
| Large eggs, room temperature | 2 | Cold eggs can seize the batter |
| Plain yogurt or sour cream, room temperature | ½ cup (120 g) | Full-fat works best |
| Pure vanilla extract | 2 teaspoons | |
| Milk | ¼ cup (60 ml) | Any milk works, dairy or non-dairy |
| Peeled and chopped apples (about 2 medium) | 1½ cups (180 g) | Granny Smith or Honeycrisp hold up best |
Vanilla Icing
| Ingredient | Amount | Notes |
|---|---|---|
| Confectioners’ sugar | 1 cup (120 g) | Sift to avoid lumps |
| Heavy cream or milk | 3 tablespoons (45 ml) | Adjust for desired consistency |
| Pure vanilla extract | ½ teaspoon |
Instructions
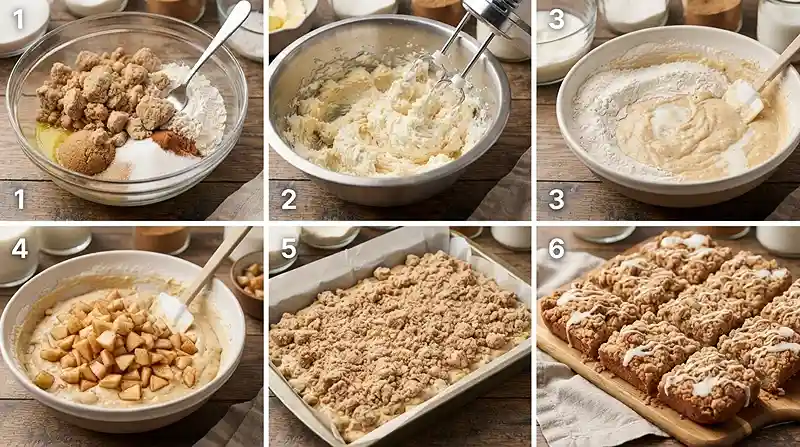
Prep & Crumb Topping
- Preheat and prep the pan. Heat the oven to 425°F (218°C). Line a 9×13-inch baking pan with parchment paper, leaving a couple inches of overhang on each long side. This makes lifting the finished bars out completely effortless.
- Make the crumb topping. Whisk together the ⅓ cup brown sugar, 1 tablespoon granulated sugar, and 1 teaspoon cinnamon in a medium bowl. Stir in the ¼ cup melted butter until combined, then use a fork to mix in the ⅔ cup gluten-free flour. Stop the moment large, shaggy crumbs form—overmixing ruins the texture. Set aside.
The Batter
- Whisk the dry ingredients. In a medium bowl, whisk together the 1¾ cups gluten-free flour, 1 teaspoon baking soda, 1 teaspoon baking powder, 1 teaspoon cinnamon, and ½ teaspoon salt until evenly combined. Set aside.
- Cream the butter and sugars. In a large bowl, beat the ½ cup softened butter, ½ cup brown sugar, and ¼ cup granulated sugar on high speed for about 3 minutes. The mixture should look pale, fluffy, and noticeably increased in volume—this aeration is your structure.
- Add the wet ingredients. Add the 2 eggs, ½ cup yogurt or sour cream, and 2 teaspoons vanilla. Beat until fully combined. Don’t panic if the mixture looks slightly curdled at this stage—it comes together once the flour is added.
- Combine wet and dry. Add the dry ingredients and ¼ cup milk to the bowl. Mix on low speed just until no visible streaks of flour remain—don’t overmix, or the bars can turn dense.
- Fold in the apples. Using a rubber spatula, gently fold in the 1½ cups chopped apples until distributed evenly. You want the pieces tucked in without breaking apart.
Bake and Finish
- Fill the pan and add the crumb. Spread the batter evenly into the prepared pan using an offset spatula. Scatter the crumb topping over the entire surface, then gently press it into the batter with your fingertips so it grips and doesn’t slide off during baking.
- Bake using the two-temperature method. Bake at 425°F for exactly 5 minutes—do not open the oven door. Without opening, reduce the temperature to 350°F (177°C) and continue baking for 20–25 minutes. The bars are done when a toothpick inserted into the center comes out with just a few moist crumbs attached, and the edges look set and golden.
- Cool in the pan. Let the bars rest in the pan for 10–15 minutes before using the parchment overhang to lift the whole slab onto a wire rack. Rushing this step will cause them to break apart.
- Make the icing and drizzle. Whisk together the 1 cup confectioners’ sugar, 3 tablespoons heavy cream or milk, and ½ teaspoon vanilla until silky smooth. If it’s too thick, add milk a tiny drizzle at a time. Drizzle generously over the warm or fully cooled bars.
- Cut and serve. Once cool enough to handle cleanly, slice into 12–14 bars. A sharp knife wiped clean between cuts gives you the neatest edges.
Make It Your Own
You know… one of the best things about a bar recipe like this is how well it takes to substitutions. The base batter is forgiving enough to riff on without losing its structure.
Dairy-free version: Swap the butter for vegan butter (same amounts), the yogurt for full-fat coconut yogurt, and the milk for oat or almond milk. The bars bake up nearly identical in texture. Use coconut cream in place of heavy cream for the icing.
Different fruits: Pears work beautifully in place of apples—use the same 1½ cups chopped. Blueberries or diced peaches are another option, though they release more juice, so the center may need an extra 3–5 minutes in the oven.
Spice swaps: Add ¼ teaspoon of cardamom or nutmeg to the batter alongside the cinnamon for a warmer, more complex spice profile. This is a small change that makes a noticeable difference in the finished flavor.
Nut add-ins: Fold in ½ cup of chopped walnuts or pecans along with the apples. They add crunch and a toasty depth that pairs naturally with the apple cinnamon bake. Just make sure they’re certified gluten-free if cross-contamination is a concern.
For more inspiration on adapting gluten-free recipes without sacrificing texture, the Celiac Disease Foundation’s gluten-free baking guides are an excellent starting point.
Common Problems & Solutions
Man, oh man… gluten-free baking has its own set of pitfalls that regular baking doesn’t. Here’s how to handle the most common ones with this recipe.
Problem: The center sinks after baking. This usually happens when the oven wasn’t fully preheated or the temperature was dropped too soon. Always confirm your oven has fully reached 425°F before putting the pan in, and use an inexpensive oven thermometer—most home ovens run 25°F off.
Problem: The crumb topping sinks into the batter. This means the batter was too loose, or the crumb wasn’t pressed in firmly enough. After scattering the crumb, use clean fingertips to gently press it flush against the surface so it bonds to the batter rather than sitting on top.
Problem: Bars are gummy in the center. Gumminess in gluten-free bakes almost always signals underbaking. The toothpick test isn’t enough on its own—look for set, matte edges and a top that doesn’t jiggle when the pan is nudged. If in doubt, give it another 5 minutes.
Problem: Bars crumble when cutting. This happens when they’re cut too warm. Give the bars a full 10–15 minutes in the pan, then more time on the rack before cutting. A sharp knife and a clean wipe between slices also makes a significant difference in clean edges. For more gluten-free troubleshooting strategies, this authoritative gluten-free baking resource covers the science behind common failures.
Storage & Meal Prep
| Method | Duration | Notes |
|---|---|---|
| Counter | 2–3 days | Airtight container, room temperature |
| Fridge | 5–7 days | Bring to room temp before serving for best texture |
| Freezer | 2–3 months | Wrap bars individually before freezing |
To reheat from the fridge, microwave a single bar for 15–20 seconds until just warmed through. From frozen, thaw overnight in the fridge or at room temperature for about an hour.
These bars are ideal for weekend meal prep. Bake a full batch Sunday evening and you’ve got grab-and-go breakfasts or after-school snacks ready for the whole week. They also pack well in lunchboxes without crumbling—a rare win in gluten-free baking.
Apple Cinnamon Crumb Muffin Bars FAQs
Can I make these bars ahead of time?
Yes, these bars are great made a day in advance. Bake and cool completely, then store in an airtight container at room temperature for up to 2 days or in the fridge for up to a week. Add the icing the day you plan to serve for the freshest look.
What’s the best gluten-free flour to use for this recipe?
A certified gluten-free all-purpose blend that contains xanthan gum gives the best structure here. Blends from brands like Bob’s Red Mill 1-to-1 or King Arthur Measure for Measure work reliably. Avoid single-grain flours like almond or oat flour—they won’t provide the same binding.
Why did my crumb topping disappear into the batter?
This happens when the crumb isn’t pressed firmly enough into the surface before baking, or if the batter is slightly too wet. After scattering the crumb topping, press it gently but deliberately with your fingertips so it makes contact with the batter and adheres during baking.
How do I know when the bars are fully baked?
A toothpick inserted into the center should come out with just a few moist crumbs, not wet batter. The edges will look set and the top should feel firm when lightly pressed. Gluten-free bars often look done before they are—always rely on the toothpick test, not just appearance.
Can I freeze these apple cinnamon bars?
Yes, they freeze well for up to 2–3 months. Cool completely and drizzle the icing before or after freezing—both work. Wrap each bar individually in plastic wrap, then store in a zip-top freezer bag. Thaw at room temperature for about an hour before eating.
Serving Suggestions
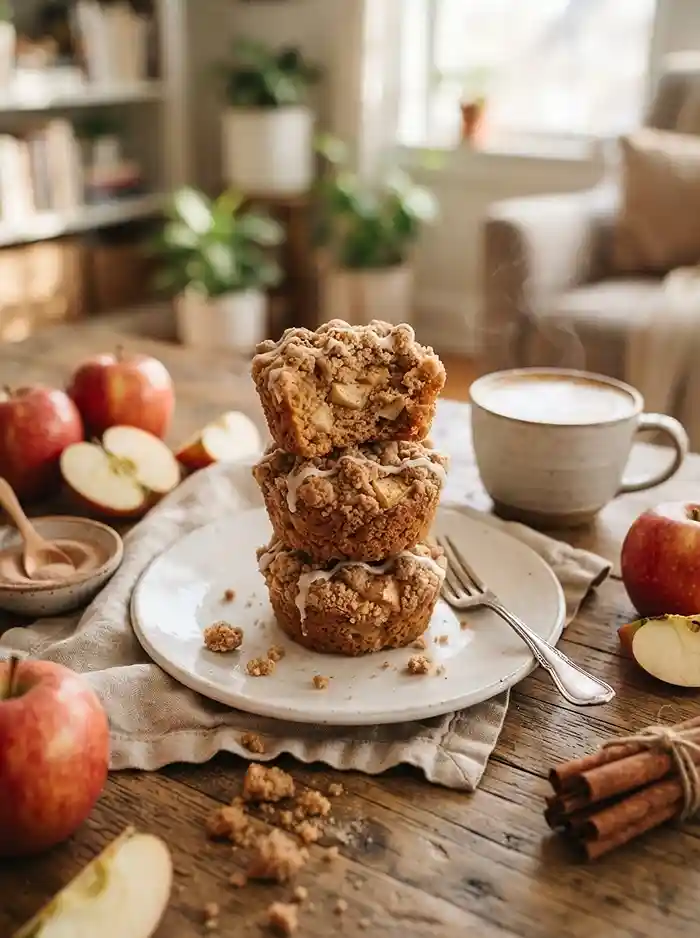
These bars are built for the kind of relaxed weekend morning that stretches into afternoon—served warm with a mug of coffee or alongside a gluten-free dairy-free peach matcha smoothie for a full breakfast spread.
They also shine as a Thanksgiving or Christmas morning treat before the big meal starts. Cut them into smaller squares and arrange them on a platter with a light dusting of cinnamon—guests rarely guess they’re gluten-free.
For a savory-sweet pairing, serve alongside something light and fresh. These gluten-free street corn guacamole cups make a surprisingly fun brunch contrast if you’re feeding a crowd with varied tastes.
If you want to build out a fuller gluten-free baking repertoire, check out these beginner-friendly gluten-free dinner ideas to round out your week beyond breakfast.
Made these bars? Leave a rating and a comment below—I genuinely read every one and love hearing what tweaks you made. If you snap a photo, share it on Pinterest and tag it so others in the gluten-free community can find this recipe too. Your kitchen wins make this whole thing worthwhile.
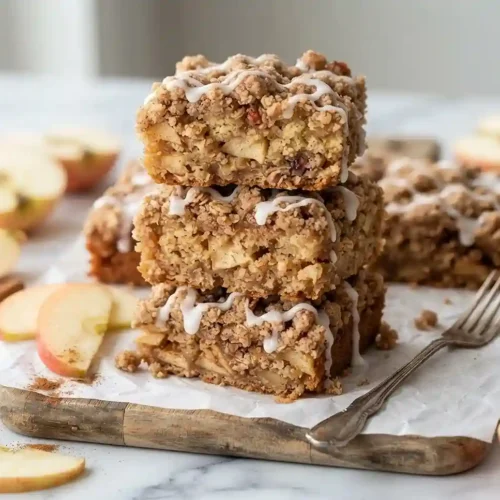
Gluten-Free Apple Cinnamon Crumb Muffin Bars
Equipment
- 9×13 inch baking pan
- Parchment paper
- Medium bowl
- Large bowl
- Whisk
- Electric mixer
- Fork
- Rubber spatula
- Offset spatula
- Wire rack
- Sharp knife
Ingredients
Crumb Topping
- ⅓ cup Packed light or dark brown sugar Dark gives deeper molasses flavor
- 1 tablespoon Granulated sugar
- 1 teaspoon Ground cinnamon
- ¼ cup Unsalted butter, melted
- ⅔ cup Certified gluten-free all-purpose flour Must be certified GF to avoid cross-contamination
Apple Cinnamon Bars
- 1¾ cups Certified gluten-free all-purpose flour Spoon and level—don’t pack
- 1 teaspoon Baking soda
- 1 teaspoon Certified gluten-free baking powder Check label—some brands contain gluten
- 1 teaspoon Ground cinnamon
- ½ teaspoon Salt
- ½ cup Unsalted butter, softened Room temperature is critical
- ½ cup Packed brown sugar
- ¼ cup Granulated sugar
- 2 Large eggs Room temperature; cold eggs can seize the batter
- ½ cup Plain yogurt or sour cream Room temperature; full-fat works best
- 2 teaspoons Pure vanilla extract
- ¼ cup Milk Any milk works, dairy or non-dairy
- 1½ cups Peeled and chopped apples About 2 medium apples; Granny Smith or Honeycrisp hold up best
Vanilla Icing
- 1 cup Confectioners’ sugar Sift to avoid lumps
- 3 tablespoons Heavy cream or milk Adjust for desired consistency
- ½ teaspoon Pure vanilla extract
Instructions
- Preheat the oven to 425°F (218°C). Line a 9×13-inch baking pan with parchment paper, leaving a couple inches of overhang on each long side.
- Make the crumb topping. Whisk together the ⅓ cup brown sugar, 1 tablespoon granulated sugar, and 1 teaspoon cinnamon. Stir in the ¼ cup melted butter, then use a fork to mix in the ⅔ cup gluten-free flour. Stop when large, shaggy crumbs form and set aside.
- Whisk together the 1¾ cups gluten-free flour, 1 teaspoon baking soda, 1 teaspoon baking powder, 1 teaspoon cinnamon, and ½ teaspoon salt in a medium bowl.
- In a large bowl, beat the ½ cup softened butter, ½ cup brown sugar, and ¼ cup granulated sugar on high speed for about 3 minutes, until pale, fluffy, and noticeably increased in volume.
- Add the 2 eggs, ½ cup yogurt or sour cream, and 2 teaspoons vanilla. Beat until fully combined.
- Add the dry ingredients and ¼ cup milk. Mix on low speed just until no visible streaks of flour remain. Do not overmix.
- Gently fold in the 1½ cups chopped apples with a rubber spatula until evenly distributed.
- Spread the batter evenly into the prepared pan using an offset spatula. Scatter the crumb topping over the surface and gently press it into the batter with your fingertips.
- Bake at 425°F for exactly 5 minutes without opening the oven. Reduce the temperature to 350°F (177°C) without opening the door and continue baking for 20–25 minutes, until a toothpick inserted into the center comes out with a few moist crumbs and the edges are set and golden.
- Let the bars rest in the pan for 10–15 minutes. Use the parchment overhang to lift the slab onto a wire rack.
- Whisk together the confectioners’ sugar, heavy cream or milk, and vanilla until smooth. Add milk a tiny drizzle at a time if needed to thin the icing. Drizzle over the warm or fully cooled bars.
- Once cool enough to handle cleanly, slice into 12–14 bars. Use a sharp knife and wipe it clean between cuts for neat edges.