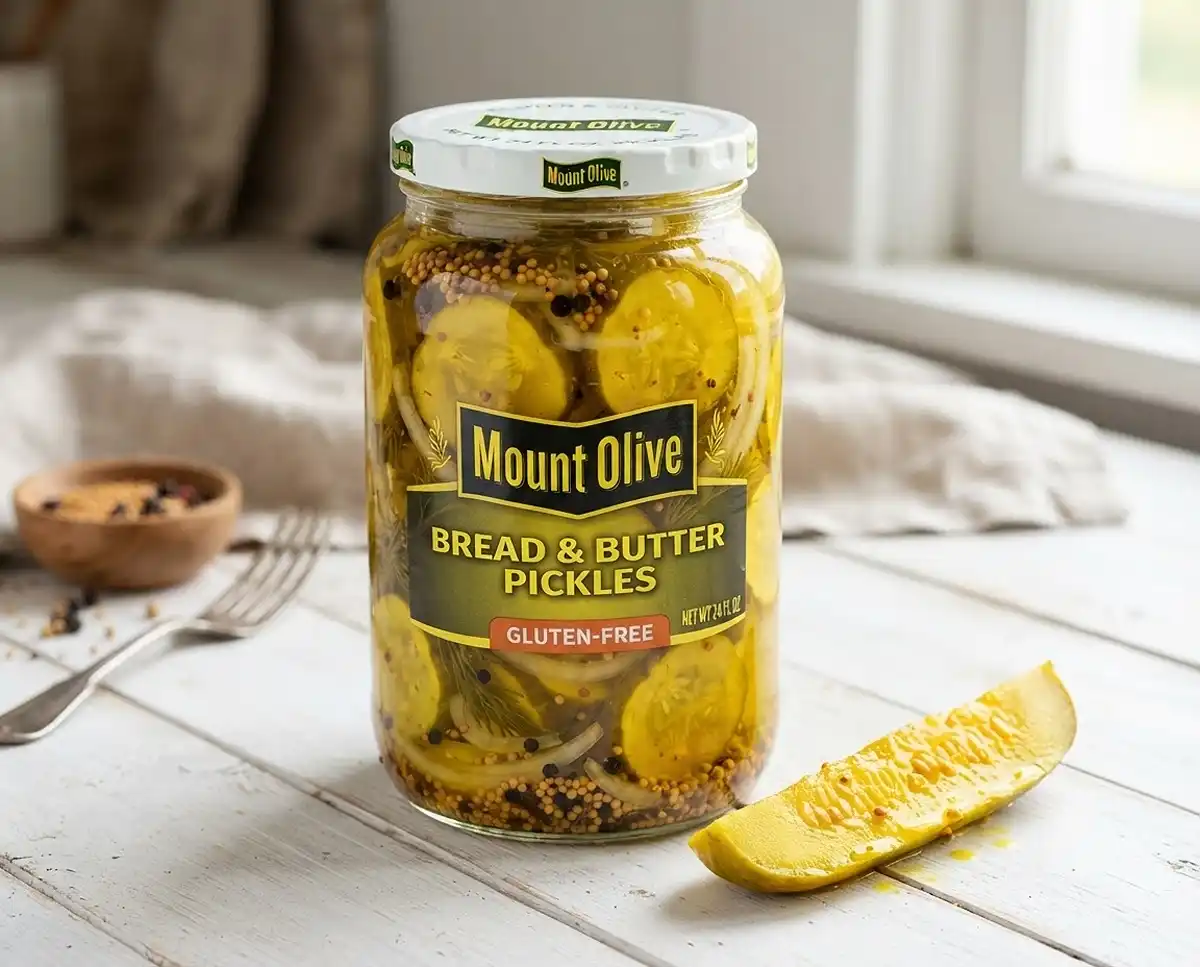
Gluten-Free Bread and Butter Pickles
Make crisp gluten-free bread and butter pickles with a sweet-tangy brine, simple ingredients, and fridge storage tips that keep every jar crunchy.
The first time I made gluten-free bread and butter pickles, I skipped the ice bath step because I was in a hurry. Big mistake. The cucumbers turned soft and limp in the brine instead of staying crisp, and I learned that patience really is the secret ingredient here.
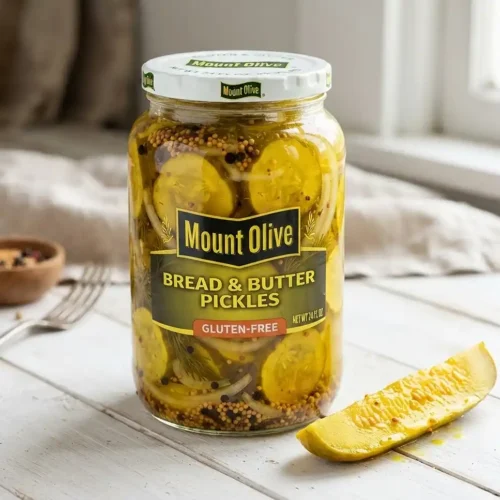
These days this recipe is my go-to whenever I’m craving that sweet-and-tangy flavor you remember from Mount Olive bread and butter pickles, made safely at home with ingredients I trust. Have you ever wanted that classic deli-style pickle chip without wondering what’s hiding in the brine at the store?
Well, that’s exactly why this version works so well. It uses distilled vinegar and simple pantry spices, so there’s no guessing about hidden gluten, and the whole batch comes together in one saucepan.
Why You’ll Love This Gluten-Free Bread and Butter Pickles Recipe
- Crisp, snappy texture: The ice bath step draws out moisture so the cucumbers stay crunchy even after they sit in brine.
- Beginner-friendly: No canning equipment or water bath processing required, just a saucepan and a jar.
- Naturally gluten-free ingredients: Every ingredient here is inherently gluten-free, so there’s no need for special substitutions.
- Best for summer cookouts: These pickle chips work best as a topping for burgers and sandwiches or as a stand-alone snack at a backyard gathering.
The Secret to Perfect Gluten-Free Mount Olive Bread and Butter Pickles
Getting that classic sweet-heat bread and butter pickle chip flavor gluten-free comes down to a few specific techniques.
- Salt and ice the cucumbers first. This draws excess water out of the cell walls before they ever meet the hot brine, which is what keeps the finished pickles crisp instead of soggy.
- Use distilled white vinegar and apple cider vinegar. Both are naturally gluten-free, unlike malt vinegar, which is made from barley and is not safe on a gluten-free diet.
- Don’t overheat the cucumbers in the brine. A brief 3 to 5 minute simmer warms them through without cooking away their natural crunch.
- Let the flavors meld for 24 hours. The sugar, mustard seed, and turmeric need time to fully penetrate the cucumber slices, which is when the classic bread and butter flavor really develops.
If you want to double-check which vinegars and spices are safe, the National Celiac Association’s trusted celiac research on vinegar is a great resource to bookmark.
Table of Contents
Ingredients
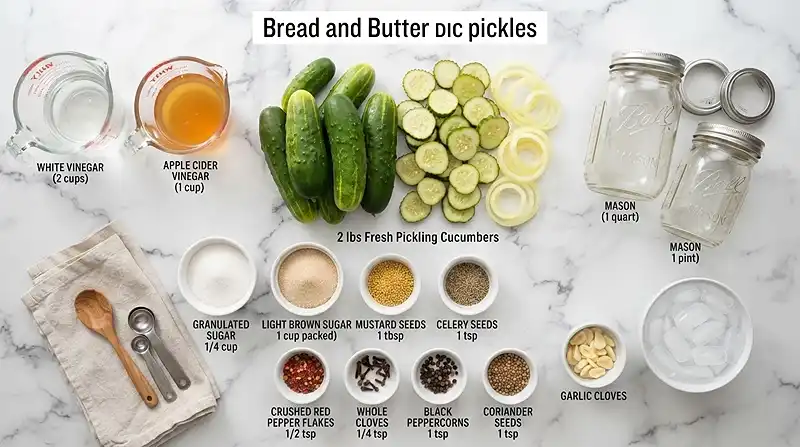
For the Pickles
- 2 lbs small pickling cucumbers, thinly sliced
- 1 medium yellow onion, thinly sliced
- 2 tbsp kosher salt
- 2 cups ice
For the Brine
- 1 ½ cups white vinegar
- ½ cup apple cider vinegar
- 1 cup granulated sugar
- ¼ cup light brown sugar
- 1 ½ tsp mustard seeds
- 1 tsp celery seeds
- ½ tsp ground turmeric
- ½ tsp crushed red pepper flakes, optional
- ½ tsp ground cloves
- ¼ tsp ground black pepper
- 1 small garlic clove, thinly sliced
- 1 tsp whole coriander seeds, optional
Servings: 6-8
Instructions
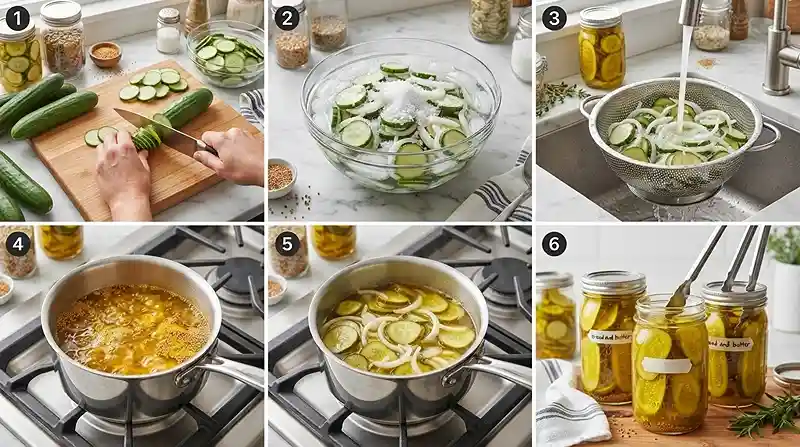
Step 1: Salt the Cucumbers
Add the sliced cucumbers and onion to a large bowl. Sprinkle with kosher salt and toss well.
Cover with ice and refrigerate for 1-2 hours. This helps draw out excess moisture and keeps the pickles extra crisp.
Drain thoroughly and rinse under cold water. Drain again.
Step 2: Make the Bread and Butter Brine
In a saucepan, combine the white vinegar, apple cider vinegar, granulated sugar, brown sugar, mustard seeds, celery seeds, turmeric, red pepper flakes, cloves, black pepper, garlic, and coriander seeds.
Bring to a gentle simmer over medium heat, stirring until the sugars dissolve. The kitchen should start to smell warm and slightly floral from the turmeric and mustard seed as it heats.
Step 3: Add the Cucumbers
Add the drained cucumbers and onions to the hot brine.
Heat for about 3-5 minutes, just until the vegetables are warmed through. Don’t boil them for long, since you want to preserve their crunch, which should stay as crisp as a fresh fall apple.
Step 4: Cool and Refrigerate
Transfer the pickles and brine to clean glass jars or a covered container.
Let cool slightly, then refrigerate. For the best flavor, allow them to sit for 24 hours before eating.
Step 5: Serve
Enjoy them cold straight from the jar, alongside sandwiches, burgers, grilled meats, potato salad, or your favorite gluten-free deli-style lunch.
Make It Your Own
You know, this recipe is easy to adjust once you understand how the base brine works.
Sweet heat variation: Double the crushed red pepper flakes and add a pinch of cayenne for a spicier take, similar to Mount Olive sweet heat bread and butter pickles. The extra heat pairs especially well with grilled sausages.
Chip-style cut: Slice the cucumbers into rounds instead of spears for a texture closer to Mount Olive bread and butter pickle chips, which makes them easier to layer on sandwiches.
Lower sugar option: Reduce the granulated sugar by a quarter cup if you prefer a more tangy pickle. The flavor will lean more toward vinegar-forward than sweet, so taste the brine before adding the cucumbers.
Onion-free version: Leave out the onion entirely if you’re not a fan. The pickles will taste slightly less savory, but the sweet and tangy cucumber flavor still comes through clearly.
Common Problems & Solutions
Problem: The pickles turned out soft instead of crisp. Solution: the salt and ice step likely got skipped or cut short. Give the cucumbers a full 1-2 hours in the ice bath so they lose enough moisture to hold their crunch in the brine.
Problem: The brine tastes too sharp or vinegary. Solution: this usually means the sugars didn’t fully dissolve before the cucumbers went in. Man, oh man, I’ve made this mistake myself, so simmer the brine a bit longer and stir until it looks glossy and smooth before adding the vegetables.
Problem: The pickles taste bland after 24 hours. Solution: they likely need more time. The flavor keeps developing for several days, so if it tastes flat at 24 hours, give it another day or two in the fridge.
Problem: I’m not sure if my spices are gluten-free. Solution: check for a gluten-free label or contact the manufacturer directly, since cross-contact can happen during processing even with naturally gluten-free spices. The Gluten Intolerance Group’s authoritative gluten-free nutrition guide walks through how to read labels correctly.
Storage & Meal Prep
| Method | Duration | Notes |
|---|---|---|
| Fridge | 1-2 months | Keep fully submerged in brine, airtight jar |
| Freezer | Not recommended | Cucumbers turn soft and watery after thawing |
These are refrigerator pickles, not shelf-stable canned pickles, so they need to stay chilled at all times rather than sitting out on the counter. Save any leftover brine to quick-pickle a fresh batch of sliced onions or cucumbers, so nothing goes to waste.
Gluten-Free Bread and Butter Pickles FAQs
Can I use regular cucumbers instead of pickling cucumbers?
Yes, but the texture will be softer and less crisp. Pickling cucumbers have thinner skin and fewer seeds, which is why they hold up better in brine over time.
How do I make sure this recipe stays gluten-free?
Use distilled white vinegar and apple cider vinegar, both of which are naturally gluten-free, and double-check that your spices don’t share equipment with gluten-containing products. Avoid malt vinegar entirely, since it is made from barley.
What’s the best way to keep these pickles crunchy?
The salt and ice bath step before brining is the biggest factor in crunch. Skipping or shortening this step is the most common reason pickles turn out soft.
Why did my pickles turn out too sweet?
This usually means the sugar to vinegar ratio was off, often from measuring cups packed too tightly with brown sugar. Try reducing the granulated sugar slightly next time for a more balanced, tangy flavor.
Can I can these pickles for long-term shelf storage?
This recipe is designed as a refrigerator pickle and has not been tested for water bath canning safety. For shelf-stable canning, follow a tested canning-specific recipe and processing method instead.
Serving Suggestions
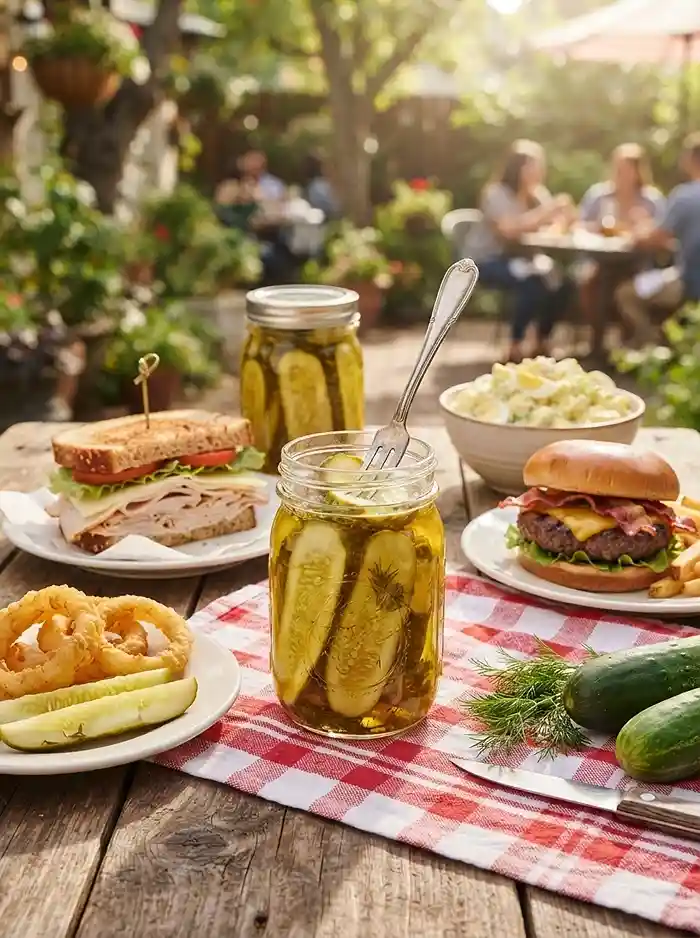
These pickles are a fixture at our Fourth of July cookout every year, piled high on burgers next to the potato salad. Try them chopped into tuna or chicken salad, or served alongside a cheese board for something a little different.
For more gluten-free recipes to round out your spread, check out this beginner-friendly gluten-free bread recipe or this make-ahead breakfast bake for your next brunch.
Give It a Try
I’d love to hear how these gluten-free bread and butter pickles turn out in your kitchen, especially if you try the sweet heat variation. Snap a photo, save it to Pinterest, and leave a comment or rating below to let other readers know what worked for you.
Homemade Gluten-Free Bread and Butter Pickles
Equipment
- Large mixing bowl
- Saucepan
- Measuring cups and spoons
- Wooden spoon
- Clean glass jars or covered container
- Refrigerator
Ingredients
For the Pickles
- 2 lbs small pickling cucumbers thinly sliced
- 1 medium yellow onion thinly sliced
- 2 tbsp kosher salt
- 2 cups ice
For the Brine
- 1 ½ cups white vinegar distilled
- ½ cup apple cider vinegar
- 1 cup granulated sugar
- ¼ cup light brown sugar
- 1 ½ tsp mustard seeds
- 1 tsp celery seeds
- ½ tsp ground turmeric
- ½ tsp crushed red pepper flakes optional
- ½ tsp ground cloves
- ¼ tsp ground black pepper
- 1 small clove garlic thinly sliced
- 1 tsp whole coriander seeds optional
Instructions
- Add the sliced cucumbers and onion to a large bowl. Sprinkle with kosher salt and toss well.
- Cover the cucumbers and onion with ice and refrigerate for 1–2 hours to draw out excess moisture and keep the pickles crisp.
- Drain thoroughly and rinse under cold water. Drain again.
- In a saucepan, combine the white vinegar, apple cider vinegar, granulated sugar, brown sugar, mustard seeds, celery seeds, turmeric, red pepper flakes, cloves, black pepper, garlic, and coriander seeds.
- Bring the mixture to a gentle simmer over medium heat, stirring until the sugars dissolve.
- Add the drained cucumbers and onions to the hot brine. Heat for about 3–5 minutes, just until the vegetables are warmed through. Do not boil them for a long time so they retain their crunch.
- Transfer the pickles and brine to clean glass jars or a covered container. Let them cool slightly, then refrigerate.
- For the best flavor, allow the pickles to sit in the refrigerator for 24 hours before eating. Serve cold alongside sandwiches, burgers, grilled meats, potato salad, or a gluten-free deli-style lunch.