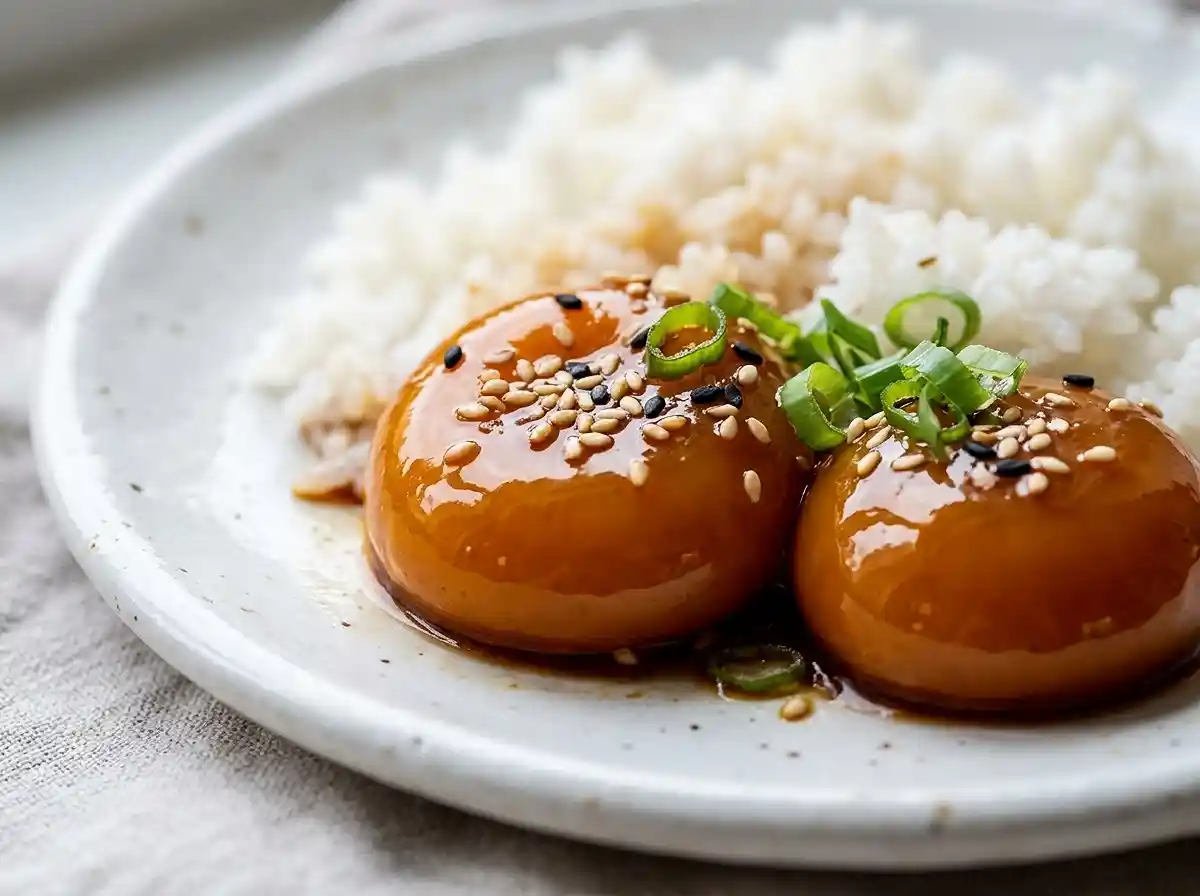
Gluten-Free Soy Sauce Cured Egg Yolks
Learn how to make gluten-free soy sauce cured egg yolks with a simple tamari cure, step-by-step instructions, and storage tips for jammy, rich yolks.
The first time I made gluten-free soy sauce cured egg yolks, I nearly ruined the whole batch by grabbing a bottle of regular soy sauce out of habit. Thankfully I caught myself before the yolks went in, and that near-miss is exactly why I’m so careful about ingredients now.
You know, this recipe is one of those quiet showstoppers — four ingredients, almost no hands-on work, and a finished yolk so rich it tastes like a savory little jewel. Have you ever wondered how restaurants get that deep, glossy, almost custard-like yolk on top of a rice bowl?
Well, it’s this simple soy sauce cure, and once you try it at home you’ll never look at a plain fried egg the same way again.
Table of Contents
Why You’ll Love This Gluten-Free Soy Sauce Cured Egg Yolks
- Rich, savory-sweet flavor that tastes like the yolk melted into concentrated umami, with a texture that ranges from jammy to firm depending on cure time.
- Beginner-friendly — there’s no cooking involved, just mixing a marinade and letting the fridge do the work.
- Naturally dairy-free and easy to keep gluten-free with the right soy sauce, so it fits a wide range of dietary needs.
- Works best as a topping for rice bowls, avocado toast, or grain bowls when you want a restaurant-style finishing touch.
The Secret to Perfect Gluten-Free Soy Sauce Cured Egg Yolks
The secret to perfect gluten-free soy sauce cured egg yolks is controlling cure time and using a soy sauce you trust. Get those two details right and the texture turns out consistent every single time.
- Choose a certified gluten-free tamari — not all tamari is automatically gluten-free, since some brands still include a small amount of wheat as a filler.
- Keep the yolks fully submerged — any exposed portion of yolk won’t cure evenly, which can leave a raw-tasting spot right in the center.
- Separate eggs cold, straight from the fridge — cold yolks hold their shape far better than room-temperature ones, so you’re less likely to break them while separating.
- Match cure time to texture goal — a shorter cure firms the outer edge while keeping the center jammy, while a full 24 hours cures the yolk all the way through for a denser, richer bite.
Ingredients
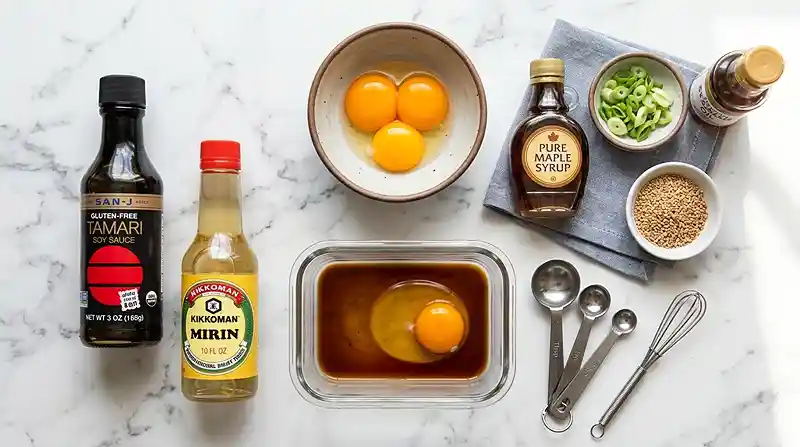
This recipe makes 4 cured egg yolks.
- 4 large egg yolks
- 1 cup gluten-free tamari or gluten-free soy sauce
- 1/4 cup mirin (optional)
- 1 tbsp maple syrup or honey (optional, for a touch of sweetness)
- 1 tsp sesame oil (optional)
- 1 green onion, thinly sliced
- Toasted sesame seeds, for garnish
Note: Always confirm your tamari or soy sauce is labeled gluten-free rather than assuming, since standard soy sauce is brewed with wheat. This authoritative gluten-free nutrition guide breaks down exactly which soy sauce and tamari brands are celiac-safe.
Instructions
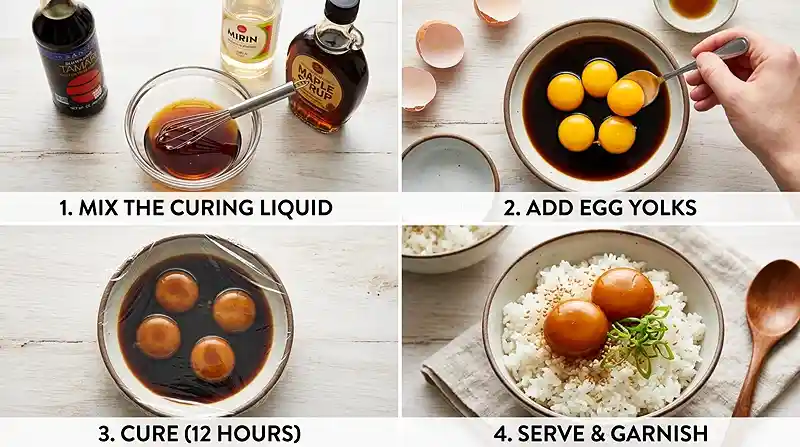
- Pour the gluten-free tamari (or gluten-free soy sauce), mirin, maple syrup, and sesame oil into a shallow container and stir to combine. The liquid should smell nutty and slightly sweet as the ingredients blend together.
- Carefully separate the egg yolks from the whites, keeping the yolks intact. Pro tip: cracking the egg into your clean hand and letting the white slip through your fingers gives you more control than shell-to-shell transferring.
- Gently place the yolks into the curing liquid, ensuring they are completely submerged. You’ll notice the surface immediately take on a deep amber color as the soy sauce coats each yolk.
- Cover the container and refrigerate for 6 to 24 hours, depending on your preferred texture. A shorter cure produces a jammy yolk, while a longer cure creates a firmer, richer yolk.
- Carefully remove the cured yolks with a slotted spoon and lightly pat them dry with a paper towel. They should look glossy and slightly firmer around the edges than when they went in.
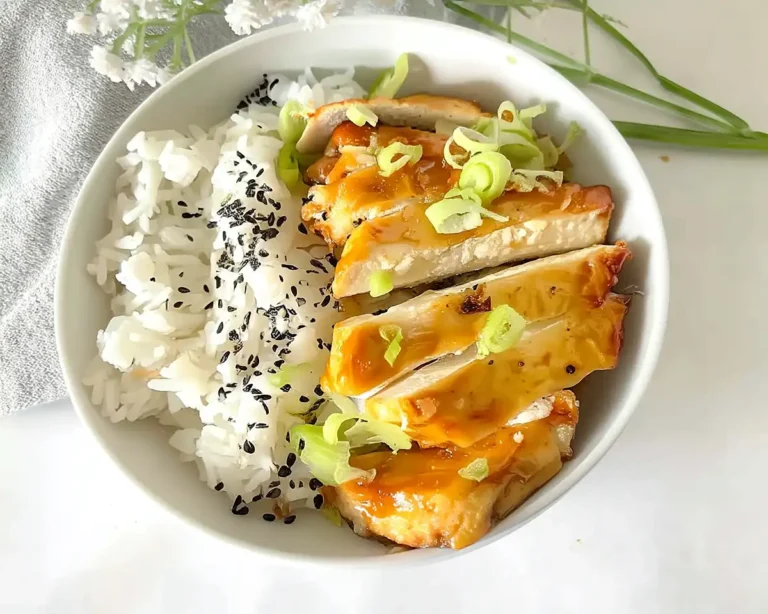
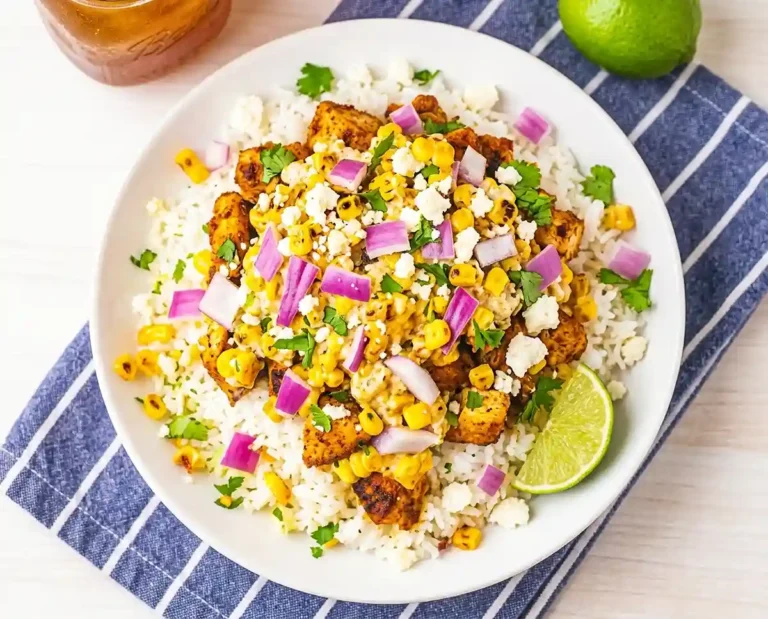
- Serve over warm rice, gluten-free toast, pasta, salads, grain bowls, roasted vegetables, or avocado toast.
- Garnish with sliced green onions and toasted sesame seeds, if desired, right before serving so the toppings stay crisp.
Make It Your Own
Swap the mirin for a splash of rice vinegar mixed with a little extra maple syrup if you don’t keep mirin on hand. It won’t taste identical, but it gets you close to the same sweet-tangy balance.
If you’re working with a soy sauce cured egg yolk recipe that calls for coconut aminos instead, you can use it here too, though the flavor will be milder and slightly sweeter than tamari.
Man, oh man, if you want a spicier version, whisk a small spoonful of chili crisp into the curing liquid before adding the yolks. It infuses just enough heat without overpowering the umami base.
For a lower-sodium option, dilute the tamari with a tablespoon or two of water, though this may slightly slow down how quickly the yolks firm up.
Common Problems & Solutions
Problem: My cured egg yolk recipe turned out runny in the center after 24 hours. Solution: This usually means the yolks weren’t fully submerged the entire time. Well, weigh them down gently with a small plate or spoon so the curing liquid stays in full contact with every surface.
Problem: The yolks broke while I was separating them. Solution: This almost always comes down to using room-temperature eggs. Cold, straight-from-the-fridge eggs hold their membrane structure much better during separation.
Problem: The finished yolks taste overly salty. Solution: Dilute your curing liquid slightly with water next time, or shorten the cure time by a few hours, since salt absorption increases the longer the yolks sit.
You know, the biggest mistake I see is skipping the pat-dry step at the end. Leaving excess curing liquid on the yolk makes the final bite taste harsher and saltier than it needs to.
Storage & Meal Prep
| Method | Duration | Notes |
|---|---|---|
| Counter | 2-3 days | Airtight container |
| Fridge | 5-7 days | Bring to room temp |
| Freezer | 2-3 months | Wrap individually |
These yolks are best served cold or at room temperature, so there’s no reheating involved. Leftover curing liquid can be strained and reused as a savory glaze for roasted vegetables instead of pouring it down the drain.
Your Questions Answered
How do I make a cured egg yolk at home?
Mix gluten-free tamari with optional mirin, maple syrup, and sesame oil, then submerge raw egg yolks in the liquid and refrigerate for 6 to 24 hours. The longer the cure, the firmer and richer the finished yolk becomes.
Can I use regular soy sauce instead of tamari?
Regular soy sauce works for flavor, but it typically contains wheat and is not gluten-free. If you need this recipe to be gluten-free, use a soy sauce or tamari specifically labeled gluten-free.
What texture should a properly cured egg yolk have?
A properly cured yolk should look glossy and slightly firmer at the edges while staying soft and jammy in the center, depending on cure time. A fully cured 24-hour yolk will be firmer and denser throughout.
Can I make cured egg yolks ahead of a party?
Yes, cured egg yolks can be made up to 5 to 7 days ahead and stored in the fridge in their curing liquid or a separate airtight container. Pat them dry right before serving.
Is it safe to serve cured egg yolks to everyone?
Curing does not cook the egg, so it carries the same risks as other raw egg preparations. Pregnant individuals, young children, older adults, and anyone immunocompromised should use pasteurized eggs or avoid this dish.
Serving Suggestions
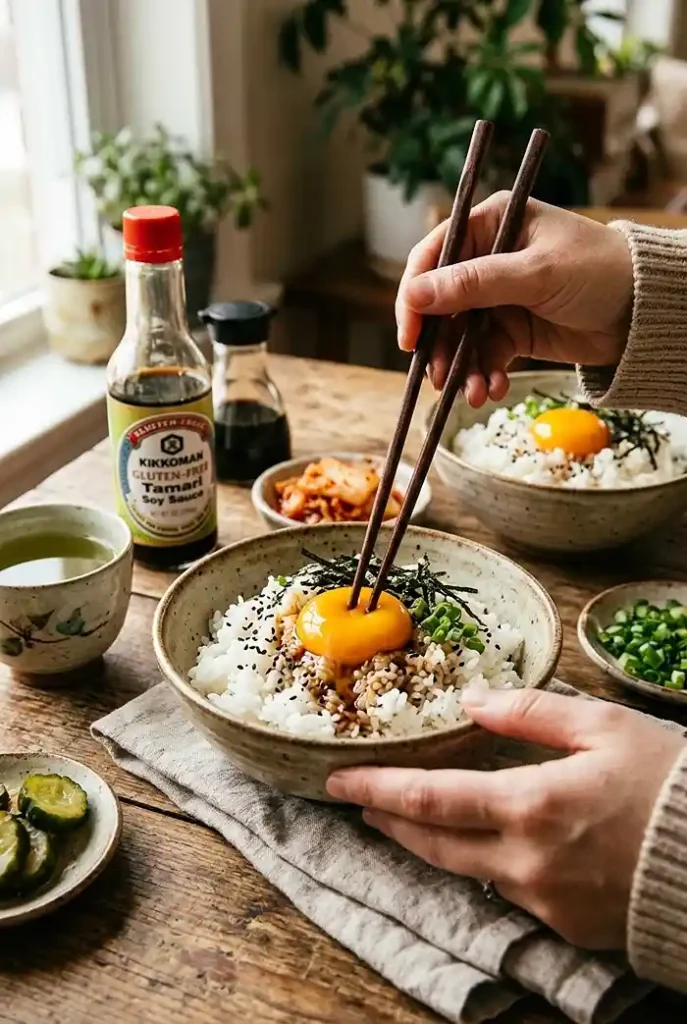
Cured egg yolks make a fantastic addition to a holiday brunch spread, sitting alongside something sweet like blackberry cheesecake oat bars for a savory-sweet contrast on the table.
They also pair beautifully with a glass of gluten-free sugar-free raspberry lemonade if you’re building out a full gluten-free brunch menu for guests.
Conclusion
Give this gluten-free soy sauce cured egg yolks recipe a try the next time you want to turn a simple rice bowl into something that feels a little more special. It takes just a few minutes of hands-on time and mostly works while you sleep.
If you make it, I’d love to hear how your yolks turned out — drop a comment below, leave a star rating, or pin the recipe so you can find it again for your next brunch.
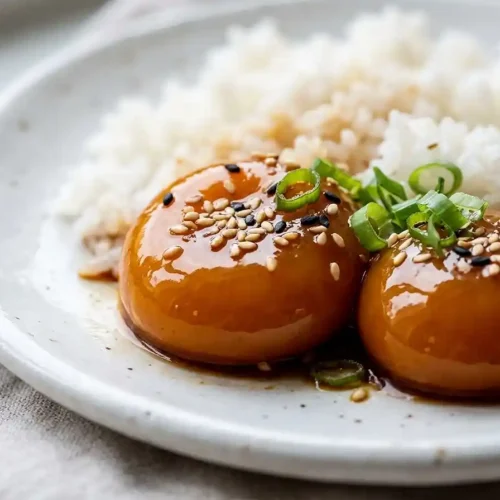
Easy Gluten-Free Soy Sauce Cured Egg Yolks
Equipment
- Shallow container
- Mixing spoon
- Slotted spoon
- Paper towels
Ingredients
Ingredients
- 4 large egg yolks
- 1 cup gluten-free tamari or gluten-free soy sauce
- ¼ cup mirin optional
- 1 tbsp maple syrup or honey optional
- 1 tsp sesame oil optional
- 1 green onion thinly sliced
- toasted sesame seeds for garnish
Instructions
- Combine the gluten-free tamari (or gluten-free soy sauce), mirin, maple syrup, and sesame oil in a shallow container and stir until blended.
- Carefully separate the egg yolks from the whites, keeping the yolks intact.
- Gently place the yolks into the curing liquid, making sure they are completely submerged.
- Cover the container and refrigerate for 6 to 24 hours, depending on your desired texture.
- Remove the cured yolks with a slotted spoon and gently pat dry using paper towels.
- Serve over rice, gluten-free toast, pasta, salads, grain bowls, roasted vegetables, or avocado toast.
- Garnish with sliced green onions and toasted sesame seeds before serving.