Gluten-Free Blackberry Jam Breakfast Bars
The first time I made these gluten-free blackberry jam breakfast bars, I skipped the “set aside 1 cup for topping” step and ended up with a jam-only bar with no crumble on top. Rookie mistake, but it taught me exactly why that reserved cup matters so much.
Well, these bars have been on repeat in my kitchen ever since. They’re the kind of make-ahead breakfast bars you can pull from the fridge on a chaotic school morning and actually feel good about.
Have you ever wanted a snack recipe that doubles as breakfast without a bunch of fuss? That’s exactly what these are built for.
Table of Contents
Why You’ll Love This Gluten-Free Blackberry Jam Breakfast Bars
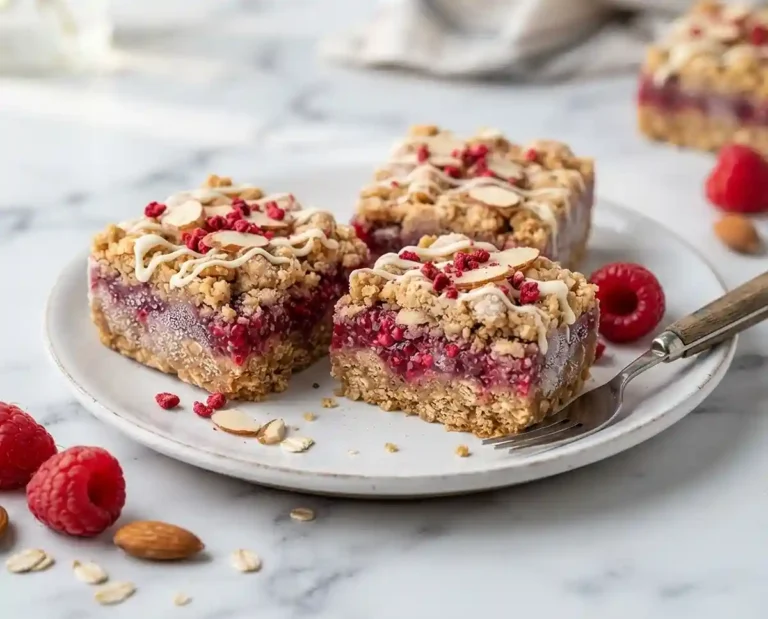
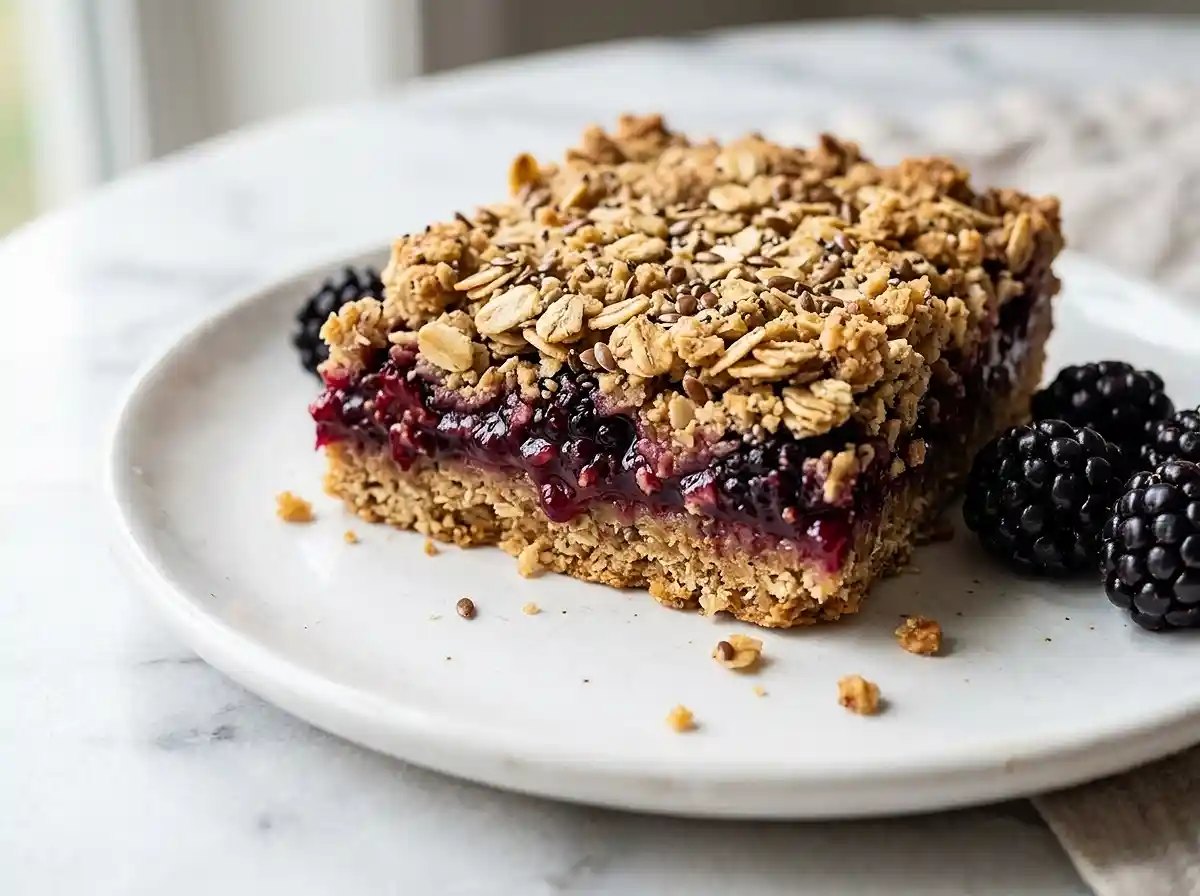
- Sweet-tart flavor from the blackberry jam against a buttery, slightly nutty oat crumble
- Beginner-friendly – one bowl, no mixer, and a simple press-layer-crumble method
- Dairy-free option built right in using plant butter, plus naturally kid-friendly for lunchboxes
- Works best as a make-ahead breakfast, an after-school snack, or a grab-and-go option for busy weeks
The Secret to Perfect Gluten-Free Blackberry Jam Breakfast Bars
This recipe solves the two most common complaints with gluten-free breakfast bars: crumbly bars that fall apart and jam that turns soggy in the middle. Here’s how it works.
- Pressing the base layer firmly compacts the oats and flour so they bind together into a solid bottom instead of crumbling loose
- Reserving exactly 1 cup of the oat mixture for topping gives you enough structure on top to soak up moisture from the jam as it bakes
- Certified gluten-free oats are essential here, since standard oats are frequently cross-contaminated with wheat during processing
- Cooling for a full hour before slicing lets the jam set up so the bars hold together in clean squares instead of oozing
Ingredients
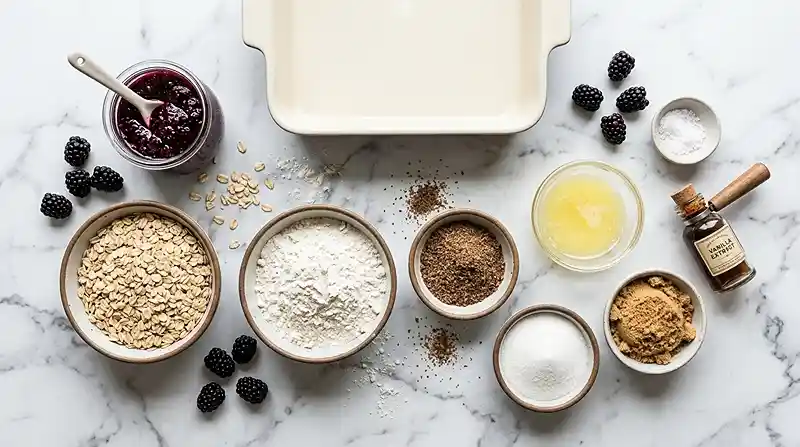
Base & Topping
- 1 cup old fashioned oats, certified gluten free
- 1 cup all-purpose flour (use almond or oat flour for gluten-free)
- ¼ cup ground flaxseeds
- ½ cup granulated sugar
- ¼ cup brown sugar
- 1 teaspoon pure vanilla extract
- Pinch sea salt
- ½ cup melted butter (plant-based butter works for dairy-free)
Filling
- 1.5 cups blackberry chia seed jam, or jam of choice
Instructions
1. Make or measure out 1½ cups blackberry jam and set it aside.
2. Preheat the oven to 350°F. Grease a 9×9-inch baking dish.
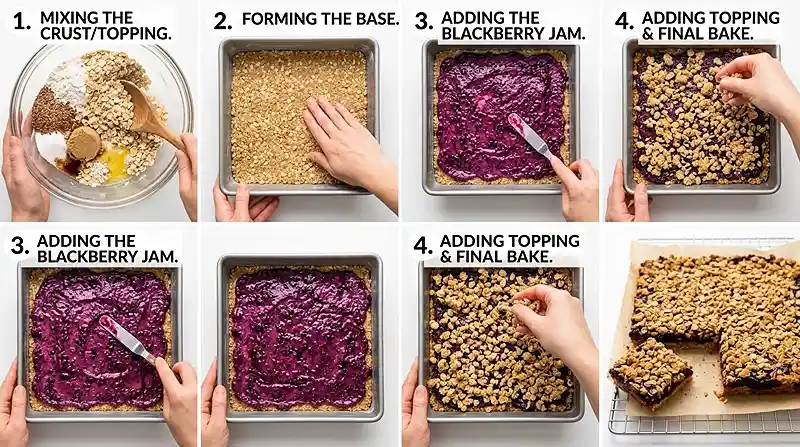
3. In a large mixing bowl, stir together the oats, flour, flaxseeds, white and brown sugars, vanilla extract, salt, and melted butter until well combined. Pro tip: set aside exactly 1 cup of this mixture now for the topping, or you’ll end up short later like I did the first time.
4. Add the remaining oat mixture (about 2 cups) to the bottom of the prepared baking dish. Press down firmly with your fingers to compact it into an even layer.
5. Layer the jam evenly over the pressed base, spreading it all the way to the edges.
6. Sprinkle the reserved 1 cup of oat mixture over the jam, crumbling it evenly across the top so the jam peeks through in spots.
7. Bake uncovered for 30 minutes, or until the topping turns golden brown with a nutty aroma filling your kitchen.
8. Let the bars cool in the pan for a full hour before slicing, giving the jam time to set so your squares hold together cleanly.
Make It Your Own
Almond flour works beautifully in place of a gluten-free all-purpose blend if you want a slightly nuttier, more tender crumb. Oat flour is another solid swap and keeps the flavor closer to a classic gluten-free breakfast bars recipe.
You know, the jam is where you can really have fun. Raspberry, strawberry, or a mixed berry jam all work the same way as the blackberry jam bars in this recipe, so use whatever you’ve got on hand.
Want these fully dairy-free? Stick with a plant-based butter, which the original recipe already calls for, and double check your chocolate or jam add-ins don’t sneak in dairy.
For a lower-sugar version, cut the granulated sugar down to ¼ cup and lean on a naturally sweetened jam. The bars will taste a touch less sweet but still hold together fine.
Common Problems & Solutions
Problem: My bars fell apart when I sliced them. Solution: Let them cool the full hour, or even chill them in the fridge for 20 minutes first. Cutting warm bars is the number one reason gluten-free breakfast bars crumble apart.
Man, oh man, I know waiting an hour feels like torture when the kitchen smells this good. But that cooling time is what lets the jam firm back up and hold the whole bar together.
Problem: The topping didn’t get crumbly and golden. Solution: Make sure you actually reserved the full cup of mixture for the top and sprinkled it loosely rather than pressing it down. A packed topping bakes flat instead of crumbly.
Problem: The jam layer turned soggy in the middle. Solution: Use a thicker jam, like a chia seed jam, rather than a thin fruit spread. Thinner jams release more liquid during baking and can leave the center underbaked.
Storage & Meal Prep
| Method | Duration | Notes |
|---|---|---|
| Counter | 2-3 days | Airtight container |
| Fridge | 5-7 days | Bring to room temp |
| Freezer | 2-3 months | Wrap individually |
These bars actually taste great straight from the fridge, so there’s no need to reheat them for a quick breakfast. If you’ve got extra jam left over, stir a spoonful into oatmeal or yogurt so nothing goes to waste.
Your Questions Answered
What are the ingredients in gluten-free blackberry bars?
The base and topping use certified gluten-free oats, gluten-free flour, ground flaxseeds, sugar, vanilla, salt, and melted butter, layered around a blackberry jam filling.
How do I make gluten-free breakfast bars?
Press a base layer into the pan, add jam, crumble more of the oat mixture on top, then bake until golden. Reserving enough oat mixture for the topping is key.
What’s the best jam for making gluten-free jam bars?
A thicker jam, like a chia seed jam, works best since it holds its shape during baking and avoids a soggy center.
Are there any breakfast bars that are gluten-free?
Yes, as long as you use certified gluten-free oats and a gluten-free flour, homemade breakfast bars like these are naturally gluten-free.
Why did my bars turn out crumbly instead of holding together?
This usually means the base wasn’t pressed firmly enough or the bars were sliced before fully cooling. Press firmly and let them cool a full hour before cutting.
Serving Suggestions
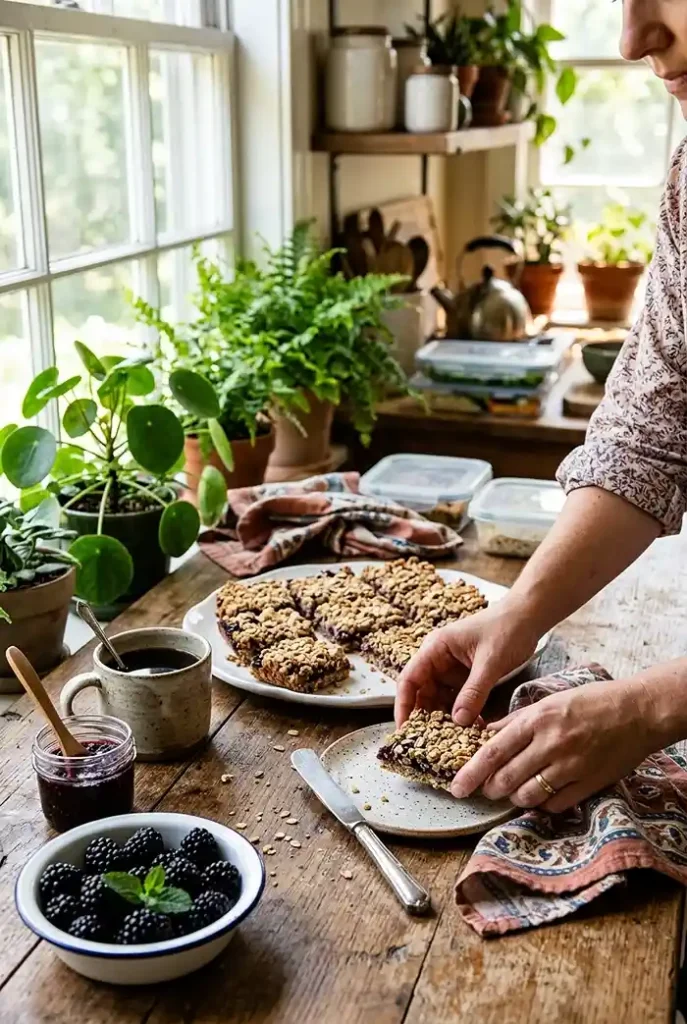
These bars show up in my kitchen every back-to-school season, since they’re an easy way to send the kids off with something homemade instead of a store-bought bar. Pair one with a glass of milk or a smoothie for a more filling breakfast. For another make-ahead option in the same spirit, try our pineapple coconut soft serve cups for dessert later that same day.
If you’re just getting comfortable in a gluten-free kitchen, our beginner-friendly gluten-free recipes are a good next stop. For understanding which oats and flours are safe to use, the trusted celiac research on gluten-free baking covers flour blends and ingredient basics in more depth. Celiac.com’s authoritative gluten-free nutrition guide is another solid resource if you want to dig further into flour swaps.
Conclusion
Give these bars a try the next time you’ve got jam and oats on hand, and let me know how they turn out for you. I’d love to hear which jam flavor you went with.
Snap a photo, pin the recipe for later, and leave a comment below with any swaps you made. Happy baking!
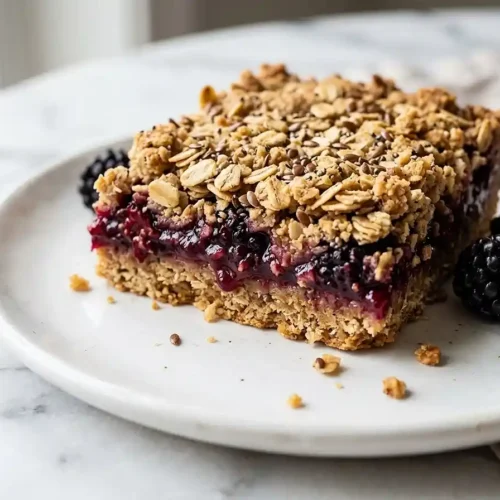
Easy Gluten-Free Blackberry Jam Breakfast Bars
Equipment
- 9×9-inch baking dish
- Large mixing bowl
- Measuring cups
- Measuring spoons
- Spatula
Ingredients
Base & Topping
- 1 cup Old fashioned oats certified gluten-free
- 1 cup All-purpose flour use gluten-free almond or oat flour
- ¼ cup Ground flaxseeds
- ½ cup Granulated sugar
- ¼ cup Brown sugar
- 1 teaspoon Pure vanilla extract
- Sea salt a pinch
- ½ cup Butter melted; plant-based butter works for dairy-free
Filling
- 1 ½ cups Blackberry chia seed jam or jam of choice; thicker jam recommended
Instructions
- Make or measure out 1 1/2 cups blackberry jam and set it aside.
- Preheat the oven to 350°F. Grease a 9×9-inch baking dish.
- In a large mixing bowl, stir together the oats, gluten-free flour, flaxseeds, granulated sugar, brown sugar, vanilla extract, sea salt, and melted butter until well combined. Set aside exactly 1 cup of the mixture for the topping.
- Add the remaining oat mixture to the bottom of the prepared baking dish and press down firmly with your fingers to create an even, compact layer.
- Spread the blackberry jam evenly over the pressed base, taking it all the way to the edges.
- Sprinkle the reserved 1 cup of oat mixture over the jam, crumbling it evenly across the top so the jam peeks through in spots.
- Bake uncovered for 30 minutes, or until the topping turns golden brown and fragrant.
- Let the bars cool in the pan for a full hour before slicing so the jam can set and the bars hold together cleanly.