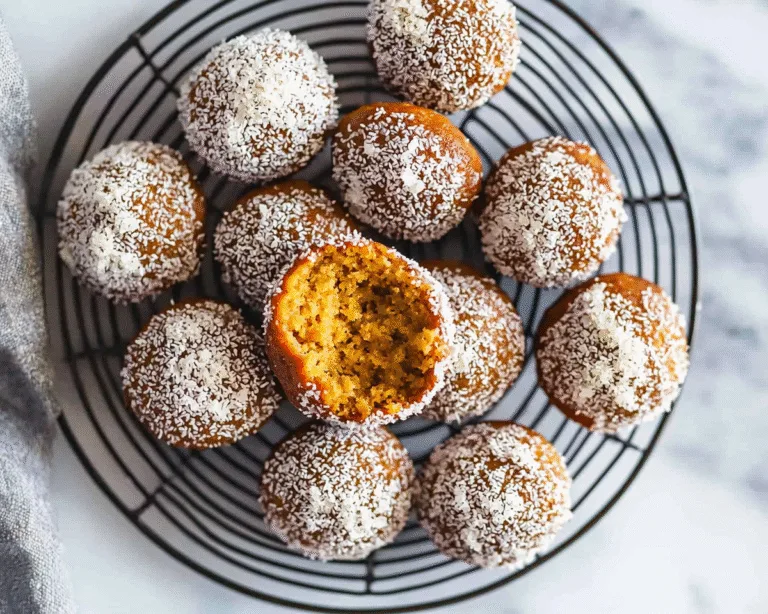
Gluten-Free banana chickpea cookies
Gluten-free banana chickpea cookies made in one food processor. No flour needed—just oats, peanut butter, maple syrup, and chocolate chips. Step-by-step recipe included.
The first time I added chickpeas to a cookie dough, I fully expected my family to stage a revolt. We were hosting a Halloween party, and I needed something that worked for my niece’s gluten intolerance without making her feel like she was eating a consolation prize.
I blended a can of chickpeas with a spotty banana, crossed my fingers, and pulled these gluten-free banana chickpea cookies out of the oven 17 minutes later. My brother—a devoted skeptic of anything labeled “healthy baking”—ate four of them before asking what was in them.
Table of Contents
Why You’ll Love This Gluten-Free Banana Chickpea Cookie Recipe
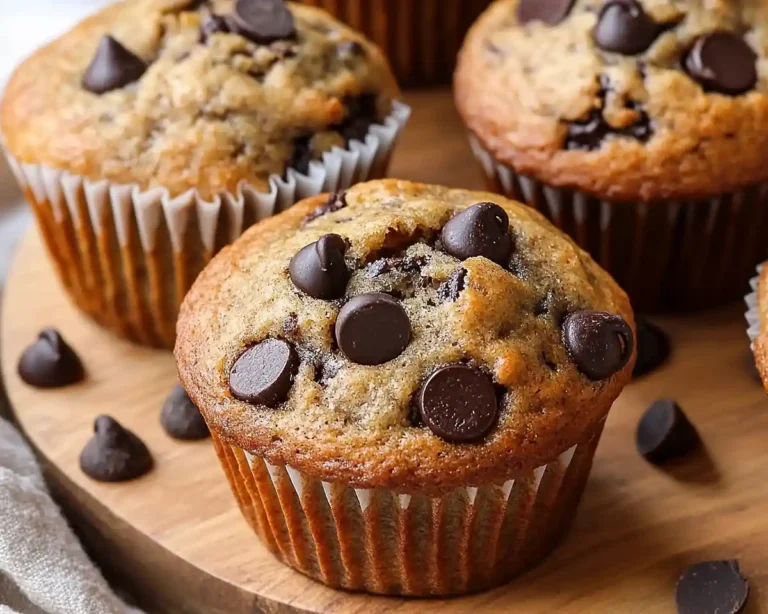
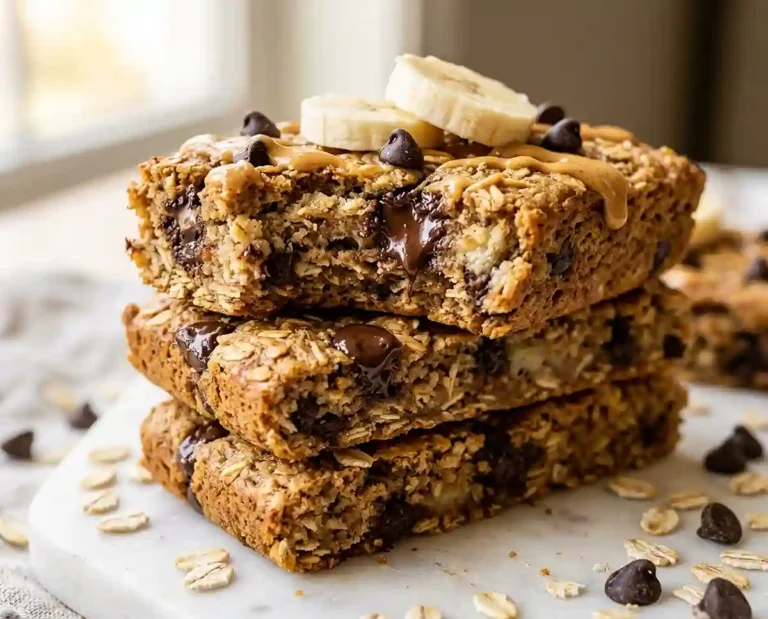
- Texture that surprises you: These bake up soft and chewy in the center with barely-there golden edges—as fudgy as a brownie bite, not cakey or crumbly.
- One food processor, minimal cleanup: Everything blends together in minutes. No stand mixer, no hand whisk, no aching arms.
- Naturally sweetened: Just one ripe banana and 2 tablespoons of maple syrup carry the sweetness—no refined sugar needed.
- Easy to make dairy-free: Every ingredient in this recipe is already dairy-free. No swaps required.
The Secret to Perfect Gluten-Free Banana Chickpea Cookies
- Pat your chickpeas completely dry. Excess moisture from the can is the number one reason these cookies come out gummy or fail to set. Spread them on a clean kitchen towel and press firmly before blending.
- Use a very ripe banana. The darker and spottier, the better. An overripe banana is naturally sweeter and blends smoother, which means better flavor and better texture in the finished cookie.
- Don’t skip the flatten step. Unlike wheat-based cookies, these will not spread in the oven. Gently pressing each scoop with the back of a spoon is what gives them that classic cookie shape.
- Pulse the dry ingredients in gently. Over-processing after you add the oat flour can develop the starches too much, making the dough sticky and tough. A few short pulses is all it needs.
Ingredients
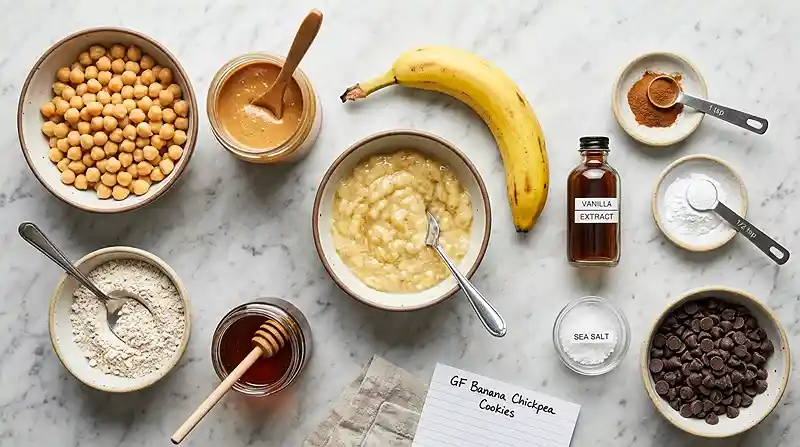
Here’s everything you need. No unusual specialty items—just pantry staples that happen to work beautifully together.
| Ingredient | Amount | Notes |
|---|---|---|
| Ripe banana, mashed | 1 | The spottier the better for sweetness |
| Canned chickpeas, drained, rinsed, and patted dry | 1 cup | Drying is non-negotiable—see tips above |
| Creamy peanut butter or almond butter | 1/2 cup | Natural nut butters work best |
| Certified gluten-free oat flour | 1/3 cup | Must be certified GF to avoid cross-contact |
| Pure maple syrup | 2 tbsp | Honey works as a substitute |
| Vanilla extract | 1 tsp | Pure, not imitation |
| Cinnamon | 1/2 tsp | |
| Baking powder | 1/2 tsp | Check label for gluten-free certification |
| Salt | 1/4 tsp | |
| Gluten-free dark chocolate chips | 1/3 cup | Enjoy Life and Hu Kitchen are solid options |
A quick note on oat flour: oats are naturally gluten-free, but they’re frequently processed in facilities that also handle wheat. For anyone with celiac disease, always look for the certified gluten-free label. The Celiac Disease Foundation’s guide to gluten sources is a helpful reference if you’re navigating this for the first time.
Instructions
Makes 20–24 cookies. Prep time: 10 minutes. Bake time: 14–17 minutes.
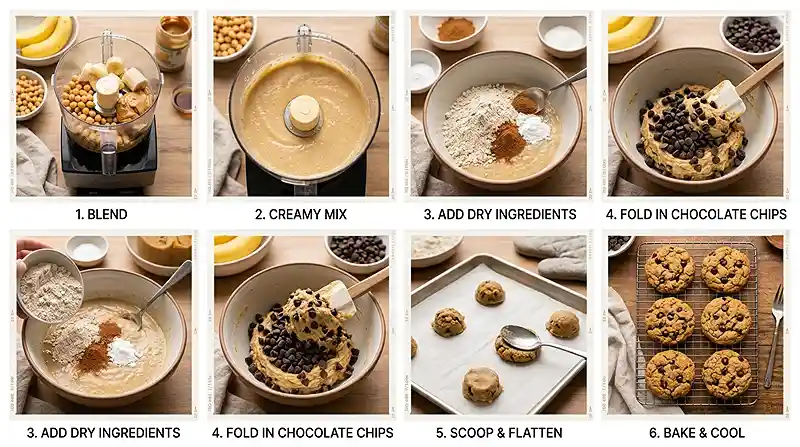
Preheat and prep your pan. Set your oven to 350°F (175°C) and line a baking sheet with parchment paper. Don’t skip the parchment—these cookies can stick without it.
Blend the wet base. Add the banana, chickpeas, peanut butter, maple syrup, and vanilla to a food processor. Blend until completely smooth and creamy, scraping down the sides as needed. You’re looking for a uniform mixture with no visible chickpea chunks.
Add the dry ingredients. Scatter the oat flour, cinnamon, baking powder, and salt over the blended mixture. Pulse until just combined—three to five short pulses is enough. The dough will look thick and slightly sticky.
Fold in the chocolate chips. Transfer the dough to a bowl and use a spatula to gently fold in the chocolate chips. This keeps them whole and prevents the food processor from chopping them.
Scoop and flatten. Scoop about 2 tablespoons of dough per cookie onto the parchment-lined sheet, spacing them about 1.5 inches apart. Gently press each one flat with the back of a spoon—these won’t spread on their own, so the shape you press is the shape you get.
Bake until set. Bake for 14–17 minutes, until the edges are lightly golden and the centers no longer look raw or shiny. They’ll still feel slightly soft in the middle—that’s exactly right.
Cool completely before moving. Let the cookies rest on the baking sheet for 10 minutes. They firm up as they cool, so if you try to transfer them too early, they’ll fall apart. After 10 minutes, move them to a wire rack to finish cooling.
Pro Tip: If your dough feels too soft to scoop cleanly, refrigerate it for 15–20 minutes. Cold dough holds its shape better and the cookies will bake up with slightly crisper edges.
Make It Your Own
Well… sometimes you want to bake with what you already have. Almond butter is a fantastic swap for peanut butter here—it’s slightly milder in flavor and works especially well if you’re serving these to anyone with a peanut allergy. Sunflower seed butter is another option that keeps the recipe nut-free entirely.
If you’re out of oat flour, you can blend certified gluten-free rolled oats in the food processor until fine before starting the recipe. The texture of the finished cookie is nearly identical, and it saves you an extra product to buy. Just make sure your oats are certified GF.
Want to use these as a base for simple 4-ingredient chickpea cookies? You can strip this recipe down to banana, chickpeas, peanut butter, and chocolate chips for an even more minimal version. The oat flour and baking powder add lift and structure, but the stripped-down version still bakes into something satisfying.
For a deeper chocolate flavor, swap the dark chocolate chips for cacao nibs—they’re less sweet and add a slightly nutty crunch that pairs beautifully with the banana. These flourless banana cookies also work with white chocolate chips or dried cherries if you want something different entirely.
Common Problems & Solutions
Problem: My cookies came out gummy in the center. The most common cause is underdrying the chickpeas. Excess water from the can steams inside the cookie as it bakes, creating a wet, gummy center that never fully sets. Pat them very firmly with paper towels or a clean kitchen towel before blending—more than you think you need to.
Problem: The cookies are falling apart when I try to lift them. They likely needed more cooling time on the pan. Gluten-free baked goods are more fragile when warm because there’s no gluten network holding them together. Give them the full 10 minutes on the baking sheet before touching them.
Problem: My dough is too wet to scoop. This can happen if your banana was very large or very juicy. Refrigerate the dough for 15–20 minutes—it firms up nicely and becomes much easier to handle without adding any extra flour.
Man, oh man… baking without gluten really does teach you to read the dough differently. According to research on gluten-free baking science, moisture management is one of the most critical variables in achieving good texture when baking without wheat flour. These chickpea cookies are a perfect illustration of that—the difference between patting and not patting those chickpeas can completely change your result.
Problem: My cookies taste too much like chickpeas. This usually means the banana wasn’t ripe enough. A green or just-yellow banana doesn’t have enough natural sweetness to balance the legume flavor. Next time, use a banana with visible brown spots—or pop an unpeeled banana in a 300°F oven for 15–20 minutes to ripen it quickly.
Storage & Meal Prep
| Method | Duration | Notes |
|---|---|---|
| Counter | 2–3 days | Airtight container, room temperature |
| Fridge | 5–7 days | Bring to room temp before eating for best texture |
| Freezer | 2–3 months | Wrap individually in plastic wrap, then freeze in a bag |
These cookies freeze exceptionally well, which makes them great for weekly meal prep. I usually make a double batch on Sunday and freeze half in individual portions.
To reheat from frozen, pop a cookie on a plate and microwave for 20–25 seconds. They come out soft and warm, almost like they just came out of the oven. No need to thaw overnight.
You know… if you’re prepping for the week, the raw dough also freezes well. Scoop into balls, freeze on a tray until solid, then transfer to a bag. Bake straight from frozen at 350°F—just add 3–4 minutes to the bake time.
Your Questions Answered
Can I use dried chickpeas instead of canned?
Yes, cooked dried chickpeas work perfectly. Cook them until very soft, use about 1 cup cooked, and pat them dry the same way you would canned chickpeas. Cooked-from-dried chickpeas often have a cleaner flavor, which can actually improve the final cookie.
How do I store gluten-free banana chickpea cookies?
Store at room temperature in an airtight container for up to 3 days, in the refrigerator for up to 7 days, or wrap individually and freeze for up to 3 months. Reheat from frozen in the microwave for 20-25 seconds.
Why do my chickpea cookies come out gummy?
Gummy texture almost always means the chickpeas were not dried thoroughly enough before blending. Pat them very firmly with paper towels or a kitchen towel to remove as much moisture as possible before adding them to the food processor.
Can I make these cookies nut-free?
Yes. Swap the peanut butter or almond butter for sunflower seed butter in the same amount. The flavor will be slightly different but the texture holds up well. Make sure your chocolate chips are also nut-free if allergies are a concern.
Do gluten-free banana chickpea cookies freeze well?
They freeze very well. Wrap each cookie individually in plastic wrap and store in a freezer bag for up to 3 months. You can also freeze the raw dough in scooped portions and bake directly from frozen, adding 3-4 extra minutes to the bake time.
Serving Suggestions
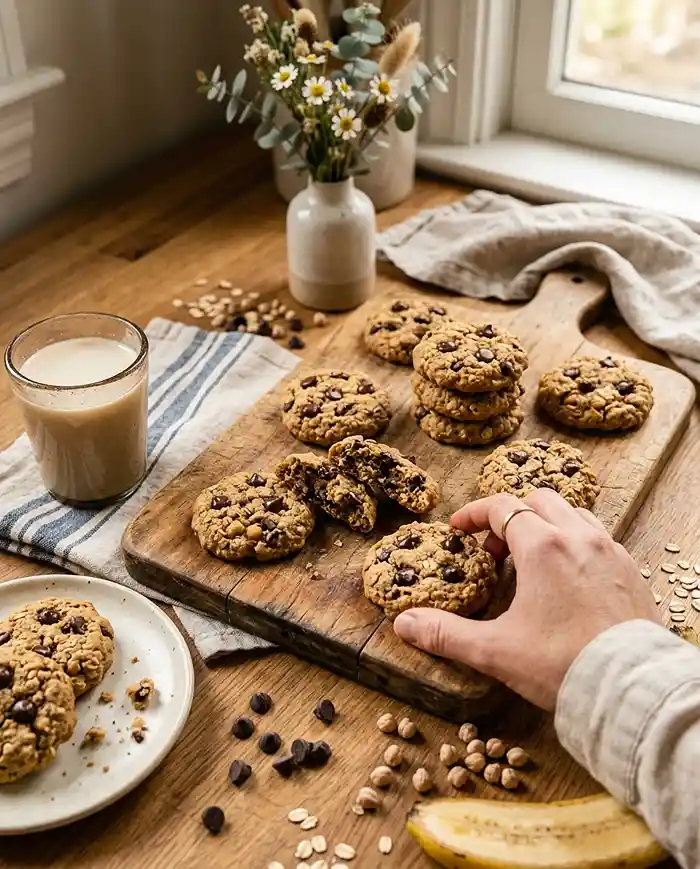
These cookies are at their best slightly warm with a cold glass of almond milk or oat milk alongside. They also make a genuinely satisfying afternoon snack with a spoonful of extra peanut butter for dipping.
For a celebration spread—think a weekend brunch table or a Fourth of July dessert tray—pair these with something creamy and bright. A scoop of banana ice cream or even a homemade raspberry ice cream sandwich alongside these cookies makes a beautiful contrast of flavors and textures.
If you’re building out a full gluten-free dessert table, you might also love these paired with a creamy pasta dish to balance the sweetness—our pappardelle burrata pasta is a dinner that leads naturally into these cookies for dessert.
Final Thoughts
These gluten-free banana chickpea cookies are one of those recipes that genuinely earns a permanent spot in your rotation. They’re quick to make, easy to customize, and they keep well all week.
If you make a batch, I’d love to hear how they turned out. Drop a comment below with any swaps you tried—or if you managed to sneak them past a picky eater without revealing the chickpea secret. (I’ve done it more times than I can count.)
Save this recipe to Pinterest so you can find it again, and rate it below if you loved it. Every rating genuinely helps others find this recipe too.

Easy Gluten-Free Banana Chickpea Cookies
Equipment
- Food processor
- Baking sheet
- Parchment paper
- Mixing bowl
- Spatula
- Wire rack
- Cookie scoop
Ingredients
Cookie Dough
- 1 large ripe banana the spottier the better; broken into chunks
- 1 cup canned chickpeas drained, rinsed, and patted completely dry
- ½ cup creamy peanut butter or almond butter natural nut butter works best
- ⅓ cup certified gluten-free oat flour
- 2 tbsp pure maple syrup honey can be substituted
- 1 tsp vanilla extract pure vanilla preferred
- ½ tsp cinnamon
- ½ tsp baking powder check label for gluten-free certification
- ¼ tsp salt
- ⅓ cup dark chocolate chips gluten-free
Instructions
- Preheat the oven to 350°F (175°C) and line a baking sheet with parchment paper.
- Add the banana, chickpeas, peanut butter or almond butter, maple syrup, and vanilla to a food processor. Blend until completely smooth and creamy, scraping down the sides as needed.
- Add the oat flour, cinnamon, baking powder, and salt. Pulse 3–5 short times, just until combined. The dough should be thick and slightly sticky.
- Transfer the dough to a bowl and gently fold in the gluten-free dark chocolate chips with a spatula.
- Scoop about 2 tablespoons of dough per cookie onto the prepared baking sheet, spacing them about 1 1/2 inches apart. Gently flatten each cookie with the back of a spoon, since they will not spread during baking.
- Bake for 14–17 minutes, until the edges are lightly golden and the centers no longer look raw or shiny. The centers should still feel slightly soft.
- Let the cookies cool on the baking sheet for 10 minutes, then transfer them to a wire rack to finish cooling.