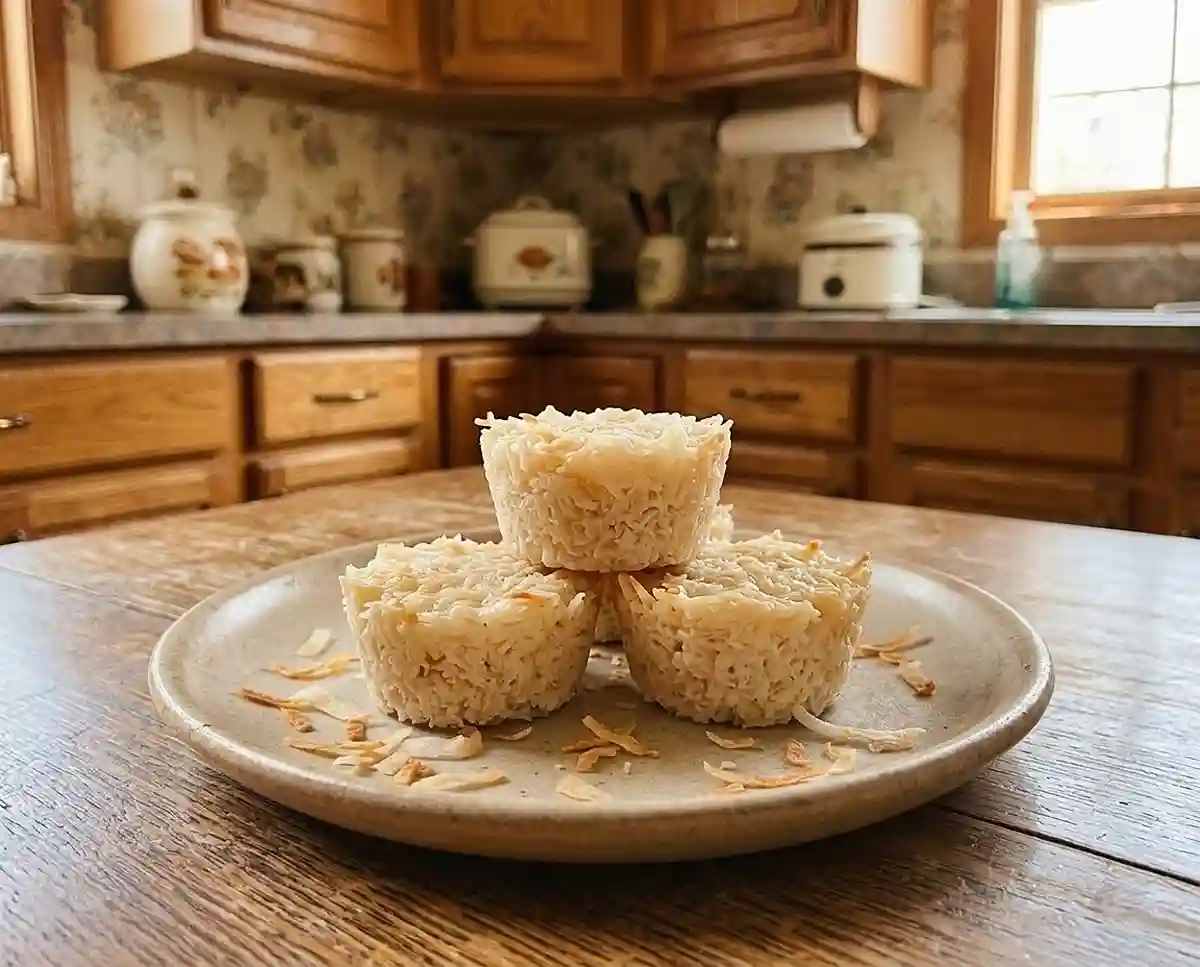
Gluten-Free No Bake Coconut Cups
Make gluten-free no bake coconut cups with shredded coconut, coconut butter, and maple syrup. Get the recipe steps, storage tips, and crumble fixes.
Love simple treats with minimal ingredients? Discover these no bake gluten free snacks packed with quick, delicious ideas that require little prep and no oven. You might find your next favorite 3-ingredient treat among these irresistible bites!
Honestly… the fix took about thirty seconds. Now these three-ingredient cups come together in one bowl and set in the fridge while I pack lunches. Ever wished a make-ahead sweet treat didn’t need an oven or a flour blend?
What Makes These No Bake Coconut Cups Worth Making
- Texture and flavor: Chewy, sticky coconut with a mellow maple sweetness and a soft crunch when chilled, like stepping on fresh snow.
- Difficulty level: Beginner-friendly. You need one bowl, one spoon, and a mini muffin pan.
- Unique advantages: Dairy-free, free of gluten-containing flours, and easy for kids to help press into the cups.
- When they work best: Lunchboxes, party platters, and any evening you want a small sweet bite without turning on the oven.
The Science Behind Great Gluten-Free No Bake Coconut Cups
Great coconut cups depend on softened coconut butter, because it is the binder that holds every shred together. Here’s why each step matters.
- Coconut butter sets as it chills: It is ground whole coconut, so it contains coconut oil, which is solid at cool temperatures. Softened butter coats the shreds, then firms up in the fridge and locks them in place.
- Maple syrup adds stickiness and moisture: Its sugars cling to the coconut and keep the center chewy instead of dry.
- Pressing removes air gaps: Firmly packing the mixture brings the shreds into contact, so the cups hold their shape when you lift them out.
- No flour means no gumminess: With no gluten-free flour blend or starch, these cups skip the gummy or gritty textures that trip up many gluten-free treats.
Table of Contents
Ingredients
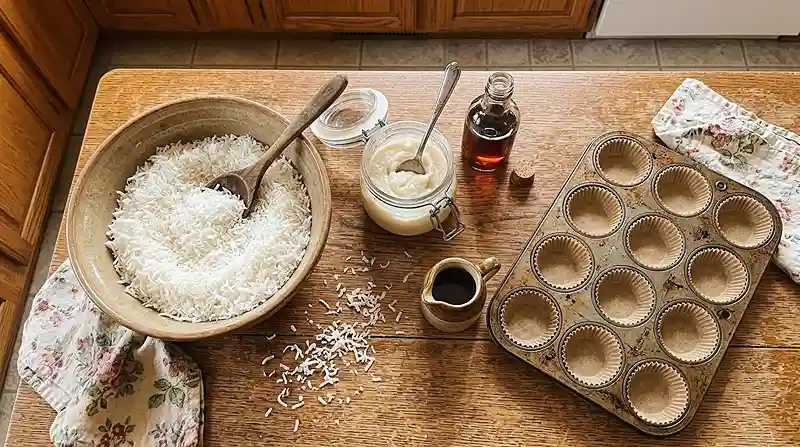
This recipe makes 12 mini coconut cups.
Dry Ingredient
- 2 cups unsweetened shredded coconut, labeled gluten-free
Wet Ingredients
- ½ cup coconut butter, softened
- ¼ cup pure maple syrup
Ingredient notes: Coconut butter (sometimes sold as coconut manna) is ground whole coconut, so it is not the same as coconut oil. Use unsweetened shredded coconut, since sweetened flakes change both the moisture and the sweetness.
Coconut is naturally gluten-free, but processing can introduce cross-contact, so check the label. The gluten-free claim is voluntary and means a food contains less than 20 parts per million of gluten, as explained in this Clemson Extension explainer on gluten-free labeling rules.
The Celiac Disease Foundation’s label-reading guidance is a trusted place to learn what to check on packages. That matters in a house like mine, where one small slip can make someone sick.
Instructions
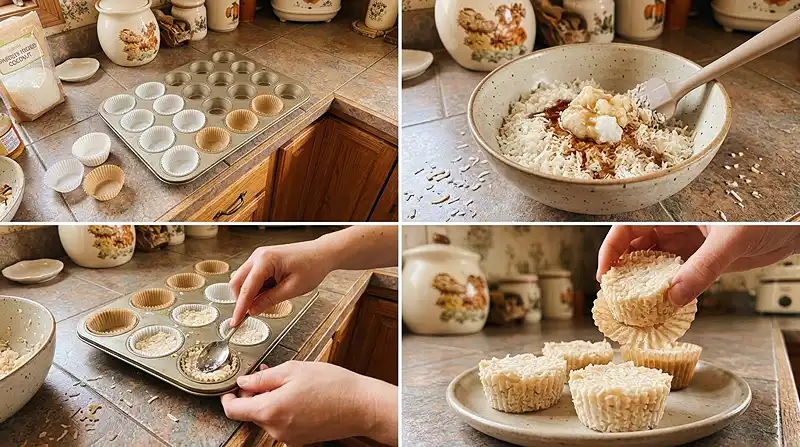
- Prepare the pan. Line a 12-cup mini muffin pan with paper liners or use a silicone mini muffin mold. Pro Tip: Silicone molds release the cups most cleanly once they’re chilled.
- Mix the ingredients. Add the shredded coconut, softened coconut butter, and maple syrup to a bowl. Stir until the mixture is evenly combined and holds together when pressed. Pro Tip: Pinch a little between your fingers, and if it falls apart, keep stirring.
- Fill the cups. Divide the mixture evenly among the 12 muffin cups. Press each portion firmly into the bottom using the back of a spoon until the surface looks smooth and tightly packed.
- Chill. Place the pan in the refrigerator for 1–2 hours, or in the freezer for 20–30 minutes, until the coconut cups are firm. They’re ready when the tops feel dry and solid to the touch.
- Serve and store. Remove the cups from the liners and enjoy chilled. Store in an airtight container in the refrigerator for up to 1 week.
Ways to Customize This Recipe
Peanut butter version: Swap the coconut butter for the same amount of creamy peanut butter labeled gluten-free. Peanut butter is softer when chilled, so these cups set less firmly and are best kept cold. Freeze them for 20–30 minutes if you want a firmer bite.
Coconut balls: Roll the mixture into twelve small balls instead of pressing it into a pan. Look… I make these when I’m out of liners, and they chill just as well. A fridge rest of 1–2 hours firms them up.
Coconut cookies: Flatten portions into thin rounds on parchment paper, then chill until firm. They won’t be crisp like baked cookies, but they make a handy snack with a cup of tea. The same coconut butter binder keeps them together.
Honey instead of maple: Honey works in the same amount and gives a slightly floral flavor. It’s thicker than maple syrup, so stir well until the coconut is evenly coated. The cups will taste a little sweeter.
Chocolate dip: Dip the chilled cups in melted chocolate chips labeled gluten-free and return them to the fridge. The chocolate adds a thin snap that contrasts the chewy center. Check that the chips are labeled gluten-free.
If Something Went Wrong, Start Here
Problem: The cups crumble when I lift them out. Soften the coconut butter more and press the mixture firmly into the cups. Coconut butter is the only binder here, and if it’s stiff it can’t coat the shreds evenly.
Problem: The cups won’t firm up. Chill them longer, or move the pan to the freezer for 20–30 minutes. The coconut oil in the butter firms only when cold, so a warm kitchen can keep the cups soft.
Problem: The mixture looks oily or uneven. Oh wow… I once scooped only the oil from the top of a jar and ended up with a puddle. Stir the coconut butter thoroughly before measuring, because the oil and solids separate as the jar sits.
Problem: The cups stick to the liners. Chill them fully before peeling, or switch to a silicone mold. Cold coconut butter is firmer and releases more cleanly than a soft, warm cup.
Storage & Meal Prep
| Method | Duration | Notes |
|---|---|---|
| Counter | 2-3 days | Airtight container |
| Fridge | 5-7 days | Bring to room temp |
| Freezer | 2-3 months | Wrap individually |
The cups are best chilled, so keep them in the fridge and use the counter only in a cool kitchen. They need no reheating, just a few minutes at room temperature if they’ve been frozen.
Crumbs left in the container make a good topping for yogurt or oatmeal. You can also press leftover mixture into coconut balls so nothing goes to waste.
Frequently Asked Questions
Can I freeze gluten-free no bake coconut cups?
Yes, you can freeze them for 2-3 months. Wrap each cup individually or layer them with parchment in an airtight container. Let them sit at room temperature for a few minutes before eating, since they’re firmest straight from the freezer.
How do I soften coconut butter?
Warm the jar in a bowl of hot water or microwave it in short bursts, stirring between each. Aim for a pourable, spreadable texture, not hot or melted. Stir the whole jar well first, because the oil can separate and settle.
What’s the best coconut to use for these cups?
Use unsweetened shredded coconut labeled gluten-free. Unsweetened coconut lets the maple syrup control the sweetness. Sweetened flakes add extra sugar and moisture, which can change how well the cups hold together.
Why did my coconut cups fall apart?
The coconut butter was probably too stiff or the cups weren’t pressed firmly enough. Soften the butter until it stirs easily and press each portion down hard with the back of a spoon. Chill the pan fully before removing the liners.
Serving Suggestions
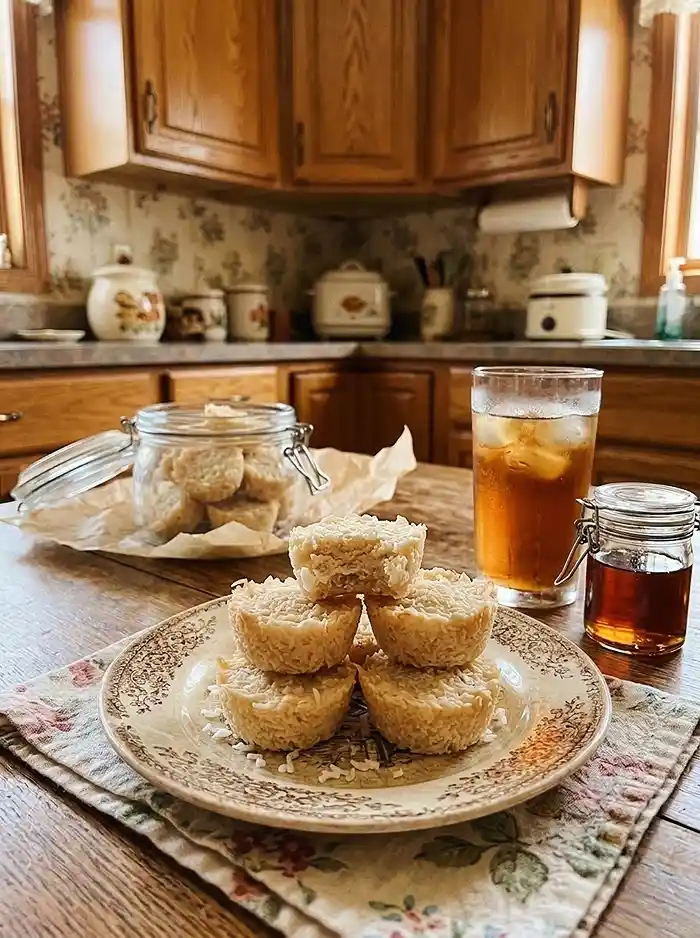
Serve these cups chilled with fresh berries, a cup of coffee, or a mug of hot tea. They also earn a spot on the Thanksgiving dessert table, where the one gluten-free guest can finally skip the pie-envy.
For a full dessert spread, pair them with flourless oatmeal cookie bars and oatmeal cookie dough balls. Chocolate fans can add these easy no bake chocolate oat bars.
Give these cups a try and tell me how they turned out in the comments, including any swaps you made. Your notes help other gluten-free families figure out what works in their kitchens.
If the pan empties fast at your house, leave a star rating and pin the recipe to your Pinterest dessert board so you can find it again.
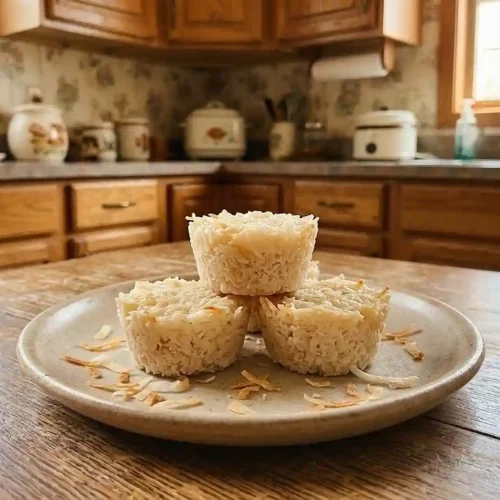
Gluten-Free No Bake Coconut Cups
Equipment
- Mixing bowl
- Spoon
- 12-Cup Mini Muffin Pan
- Paper Muffin Liners or Silicone Mini Muffin Mold
- Measuring cups
- Refrigerator
Ingredients
Coconut Cups
- 2 cups Unsweetened shredded coconut Labeled gluten-free
- ½ cup Coconut butter Softened; also called coconut manna
- ¼ cup Pure maple syrup
Instructions
- Line a 12-cup mini muffin pan with paper liners or use a silicone mini muffin mold. Silicone molds make releasing the chilled coconut cups especially easy.
- Add the shredded coconut, softened coconut butter, and maple syrup to a mixing bowl. Stir until the mixture is evenly combined and holds together when pressed. Pinch a little between your fingers to check the consistency. If it falls apart, keep stirring until everything is coated.
- Divide the mixture evenly among the 12 muffin cups. Press each portion firmly into the bottom using the back of a spoon until the surface looks smooth and tightly packed.
- Place the pan in the refrigerator for 1–2 hours, or in the freezer for 20–30 minutes, until the coconut cups are firm. The tops should feel dry and solid to the touch.
- Remove the cups from the liners and enjoy chilled. Store leftovers in an airtight container in the refrigerator for up to 1 week.